– 57 –
DT-X200/DT-X8
(2) Removing the NFC-UNIT (NFC type)
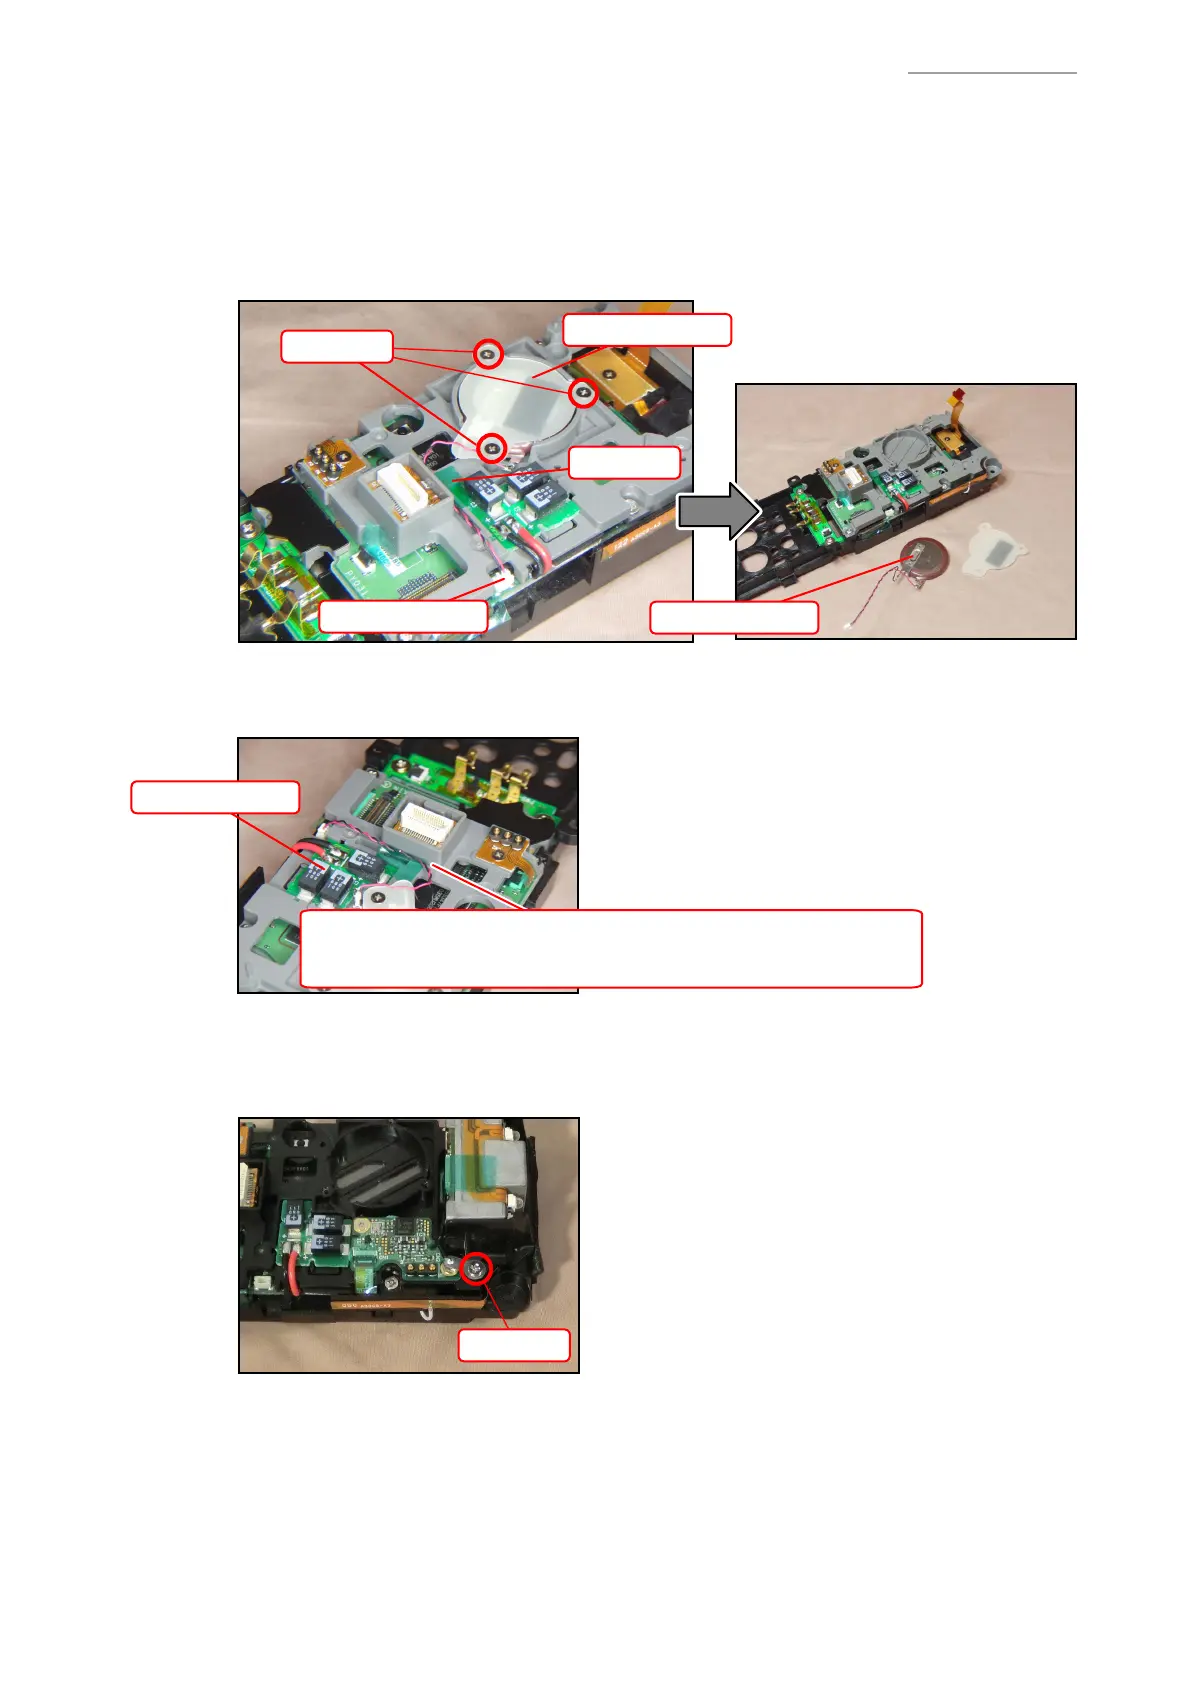
1. Remove the screw S7 (1 pce.).
Note:
The ground wire from the FRI-ASSY is also fastened here.
Screw S7
6-3-2. FULL RANGE IMAGER MODEL
(1) Removing the SBAT-UNIT
1. Remove the screws S1 (3 pcs.) and detach the SBAT-SPACER.
2. Peel off the tape.
3. Disconnect the SBAT-UNIT connector to remove the SBAT-UNIT.
Note:
SBAT-UNIT is fi xed with a double-face tape.
Note on reassembling:
• Stick the lead wires (2 pcs.) with a tape.
Connector
SBAT-SPACER
Screws S1
Tape
CAP-UNIT PCB
SBAT-UNIT
Note on reassembling:
Run the lead wires so that they do not run off the CAP-UNIT PCB.
 Loading...