
K
Kathryn NolanJul 29, 2025
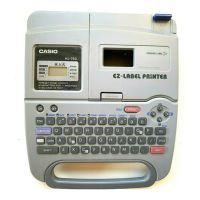
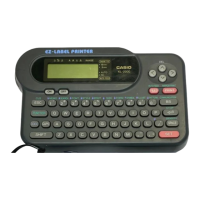
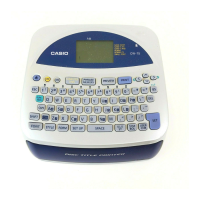
Why nothing appears on the display of my Casio Printer CW-75 Label Maker?
- NNancy SchneiderJul 29, 2025
If nothing appears on the display of your Casio Label Maker, there might be several reasons: * The display contrast setting might be incorrect, so try adjusting it. * If you're using the AC adapter, it might not be connected correctly, so ensure it's properly connected. * Battery power could be low, so replace the batteries or switch to the AC adapter. * The batteries might not be loaded correctly; make sure they are properly installed.