— 6 —
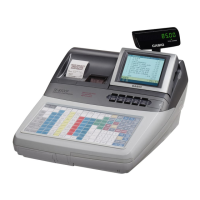
10. In this field, by pressing <YES> the check cluster No, should
be set, if your check tracking system are divided in some
clusters.
(Enter cluster No. “1”~ “9”, if you use check cluster system.)
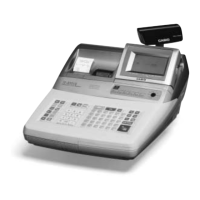
11. In these fields, by pressing <YES> you can select, “1. No/2.
UP-350/3. UP-250” for R/J/Order printer.
Please select one of these options and press the <YES> key.
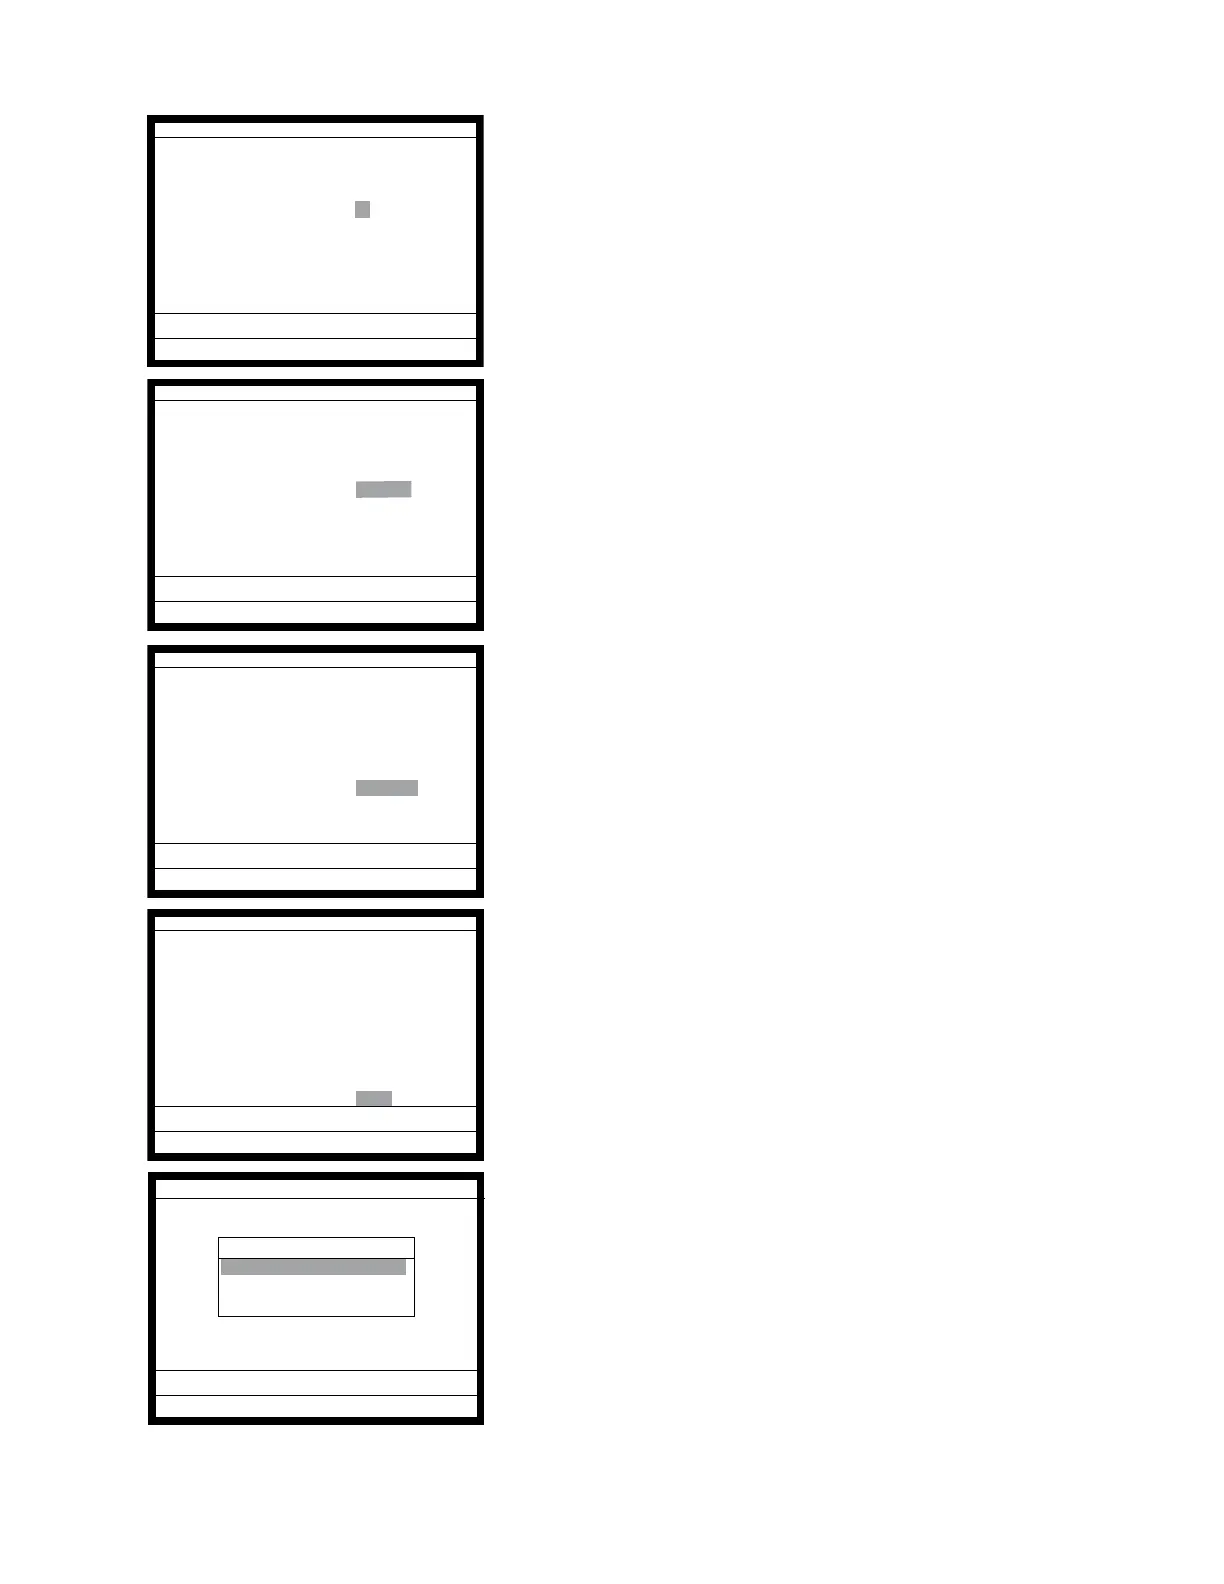
12. In this field, by pressing <YES> you can select, “1. No/2. SP-
1300” for slip printer.
Please select one of these options and press the <YES> key.
13. Please confirm all of the field and if they are all right, press the
<YES> key to proceed the next step.
14. If you want to download program data from other terminal or
CF card, select the appropriate menu and press the <YES>
key and proceed the next step.
If you don’t need to download any program data, just select “1.
No Restore/Receive” and press the <YES> key.
If you have another machine to initialize, return to step 4.
Date 01-10-10
Time 12:34 00
ID Character MC #01
Check System Master
Check cluster ID 0
R/J/Order Printer1 UP-350
R/J/Order Printer2 UP-350
Slip Printer SP-1300
OK? YES
Date 01-10-10
Time 12:34 00
ID Character MC #01
Check System Master
Check cluster ID 0
R/J/Order Printer1 UP-350
R/J/Order Printer2 UP-350
Slip Printer SP-1300
OK? YES
Date 01-10-10
Time 12:34 00
ID Character MC #01
Check System Master
Check cluster ID 0
R/J/Order Printer1 UP-350
R/J/Order Printer2 UP-350
Slip Printer SP-1300
OK? YES
Date 01-10-10
Time 12:34 00
ID Character MC #01
Check System Master
Check cluster ID 0
R/J/Order Printer1 UP-350
R/J/Order Printer2 UP-350
Slip Printer SP-1300
OK? YES
INIT 10-10-01 12:34 000001
AUTO PGM
1. No Restore / Receive
2. PGM Restore (CF Card)
3. PGM Receive (Inline)
 Loading...