Do you have a question about the Cateye Velo Wireless and is the answer not in the manual?
Steps for mounting the bracket on the stem or handlebar.
Instructions for attaching the speed sensor to the front fork.
Instructions for attaching the magnet to the spoke.
Proper alignment and clearance for magnet and sensor.
Setting the correct tire size for accurate measurement.
Important safety instructions and precautions for use.
Procedure for replacing batteries in the computer and sensor.
Solutions for common issues like no speed display or blank screen.
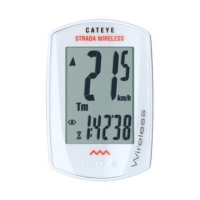
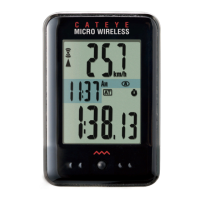
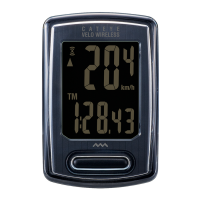
The CatEye Velo Wireless Cyclocomputer (CC-VT230W) is a bicycle computer designed to track and display various cycling metrics wirelessly. It comprises a main computer unit, a speed sensor, a magnet, a bracket, and mounting accessories.
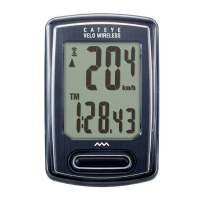
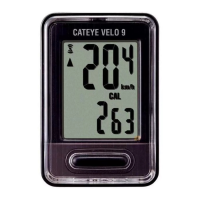
The primary function of the CC-VT230W is to provide real-time and cumulative data related to your bicycle ride. It displays current speed, average speed, maximum speed, trip distance, total distance, elapsed time, calorie consumption, and a clock. The device uses a wireless speed sensor that attaches to the bicycle fork, and a magnet that attaches to a spoke, to measure wheel rotations and calculate speed and distance.
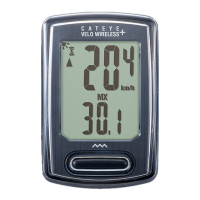
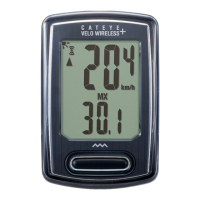
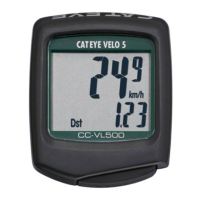
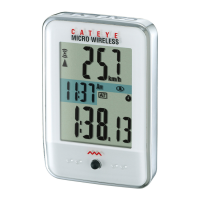
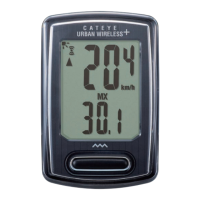
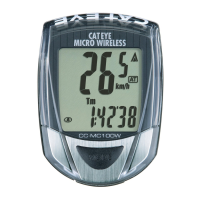
The computer features a clear LCD screen that shows one main measurement at the bottom, which can be cycled through using the MODE button. A smaller display at the top continuously shows the current speed. A "sensor signal icon" flashes in sync with the sensor signal, indicating proper communication. A "pace arrow" indicates whether the current speed is faster or slower than the average speed, providing immediate feedback on your performance.
The device automatically starts measurement when the bicycle moves and stops when it is stationary. During measurement, the measurement unit (km/h or mph) flashes. All measurement data, except for the total distance (Odo), can be reset to zero by pressing and holding the MODE button on the measurement screen.
For power saving, if the computer does not receive any signal for 10 minutes, it enters a power-saving screen, displaying only the clock. If left in this state for 1 hour, it will display "SLEEP." The computer returns to the measurement screen if the MODE button is pressed or a sensor signal is received.
The installation process involves several steps to ensure accurate data collection. First, the bracket is mounted on either the stem or the handlebar. When mounting on the handlebar, it's crucial to adjust the bracket's angle so the back of the computer faces the speed sensor when attached. Next, the speed sensor is mounted on the right or left front fork. The sensor must be positioned so that the distance from the computer to the speed sensor is within the signal range (maximum 70 cm or 27 inches). Finally, the magnet is mounted on a spoke. The magnet must pass through the speed sensor zone, and the clearance between the speed sensor and the magnet should be within 5 mm (3/16 inches). After all components are mounted, the computer unit is attached to the bracket by clicking it into place. A test operation is recommended: rotate the front wheel gently to check if the current speed is displayed. If not, recheck the attachment conditions.
Before initial use or after a factory reset, the computer needs to be set up. This begins by clearing all data by pressing the AC button on the back of the computer. Then, the measurement unit (km/h or mph) is selected. The tire size is a critical setting for accurate speed and distance calculations. Users can choose a simple setting method by selecting a predefined tire size in inches (e.g., 26”, 700C, 27.5”) or an advanced setting method by manually entering the tire circumference in centimeters (from 100 to 299 cm). The clock is then set, allowing selection between 24-hour or 12-hour display modes and adjusting hours and minutes. Once all settings are confirmed by pressing the MENU button, the setup is complete, and the computer switches to the measurement screen.
From the measurement screen, pressing the MENU button accesses the menu screen, where various settings can be adjusted. These include tire size selection, clock settings, manual distance input, and measurement unit selection.
For general maintenance, if the computer or its accessories become dirty, they should be cleaned with a soft cloth moistened with mild soap. Avoid using thinners, benzine, or alcohol, as these can damage the device.
Both the computer unit and the speed sensor use CR2032 lithium batteries.
The manual provides guidance for common issues:
The device is designed for safe use, emphasizing that users should not concentrate on the computer while riding and should always ride safely. It also advises against disassembling the computer or leaving it in direct sunlight for extended periods.
| Type | Wireless bicycle computer |
|---|---|
| Product color | White |
| Time functions | Clock, Ride time |
| Speed functions | Current speed, Average speed, Maximum speed |
| Distance functions | Total |
| Distance system of measurement | Imperial, Metric |
| Additional measuring parameters | Calories |
| Battery life | 1 year(s) |
| Battery type | CR2032 |
| Depth | 16.5 mm |
|---|---|
| Width | 37 mm |
| Height | 55.5 mm |
| Weight | 26.4 g |