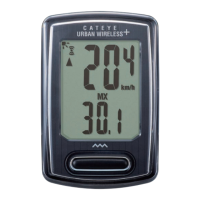
The Cateye Urban Wireless+ Cyclocomputer (CC-VT245W) is a bicycle computer designed to provide cyclists with essential ride data in a compact and user-friendly package. This device offers a range of functions to track and display your cycling performance, from current speed to total distance, and includes features for easy setup and maintenance.
Function Description
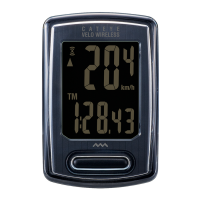
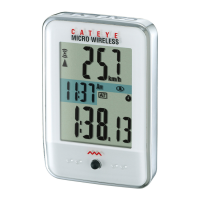
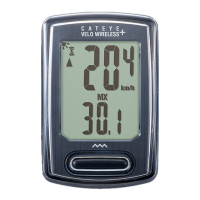
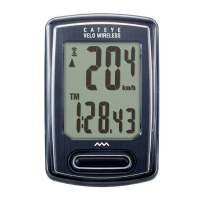
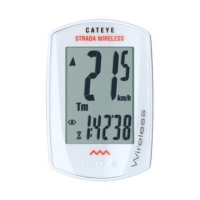
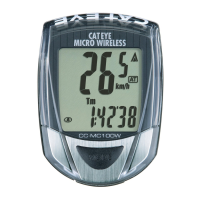
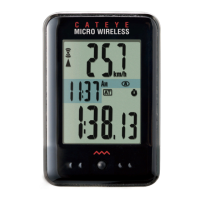
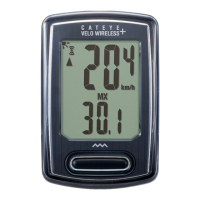
The core function of the Urban Wireless+ is to measure and display various cycling metrics wirelessly. It utilizes a speed sensor and a magnet mounted on the bicycle to accurately track speed and distance. The main display shows the current speed prominently, along with a pace arrow that indicates whether your current speed is faster or slower than your average speed.
Beyond current speed, the cyclocomputer offers several other measurement functions accessible by pressing the MODE button. These include:
- Elapsed Time (TM): Tracks the duration of your ride, up to 9 hours, 59 minutes, and 59 seconds.
- Trip Distance (DST): Records the distance covered during a single ride, up to 999.99 km or miles.
- Average Speed (AV): Calculates your average speed for the current trip, up to 105.9 km/h or 65.9 mph.
- Clock: Displays the current time in either 24-hour or 12-hour format.
- Total Distance (ODO): Accumulates the total distance traveled over the lifetime of the computer, up to 99999 km or miles. This value is retained even after battery replacement if noted beforehand.
- Calorie Consumption (CAL): Estimates the calories burned during your ride, up to 99999 kcal. This is a cumulative value based on speed calculated at one-second intervals.
- Maximum Speed (MX): Records the highest speed achieved during your ride, up to 105.9 km/h or 65.9 mph.
The device also features a sensor signal icon that flashes in sync with the sensor signal, confirming proper communication between the sensor and the computer. The measurement unit (km/h or mph) flashes during measurement, providing a visual cue that data is being recorded.
Usage Features
The Urban Wireless+ is designed for straightforward installation and operation.
Mounting:
The cyclocomputer comes with a bracket band, bracket rubber pad, bracket, and dial for mounting the main unit, and a speed sensor, sensor rubber pad, magnet, and nylon ties for mounting the sensor.
- Bracket Mounting: The bracket can be mounted on either the stem or the handlebar. For handlebar mounting, it's important to adjust the angle of the bracket so that the back of the computer faces the speed sensor when attached. After securing the bracket band, any excess should be carefully cut to prevent injury.
- Speed Sensor Mounting: The speed sensor should be mounted on either the right or left front fork. Crucially, its position must ensure that the distance from the computer to the speed sensor is within the signal range, which is a maximum of 70 cm (27 inches). Nylon ties are used to pull the sensor tight against the fork.
- Magnet Mounting: The magnet attaches to a spoke on the front wheel. It needs to be positioned so that it passes through the sensor zone of the speed sensor, and the clearance between the speed sensor and the magnet must be within 5 mm (3/16 inches). The magnet can be mounted at any position on the spoke as long as these attachment conditions are met.
- Attaching/Detaching Computer: The computer unit clicks securely into the bracket. To detach, simply hold the computer and push it out so the front lifts up.
Setup:
Initial setup is guided through a menu system and involves several key steps:
- Clear All Data: Before first use or after a factory reset, all data can be cleared by pressing the AC button, returning the computer to its default settings.
- Measurement Unit Selection: Users can choose between "km/h" or "mph" for all speed and distance measurements.
- Tire Size Setting: This is crucial for accurate speed and distance calculations. The device offers two methods:
- Simple Setting: Selects from a list of common tire sizes (e.g., 26", 700c, 27", 27.5", 29", 16", 18", 20", 22", 24").
- Advanced Setting: Allows for manual input of the tire circumference in centimeters (from 100 to 299 cm) for greater accuracy. A detailed tire circumference chart is provided in the manual to assist with this.
- Clock Setting: The current time can be set, with options for 24-hour or 12-hour display.
- Manual Distance Input: This feature allows users to manually set the total distance traveled (ODO) from 0 to 99999 km or miles. This is particularly useful when replacing the computer battery or transferring from an old device.
- Night Mode: This feature enables a backlight for improved visibility in low-light conditions. Users can set the backlight to be on or off and define the start and end times for its automatic activation. When night mode is enabled, the backlight turns on for 5 seconds when a button is pressed, and can be extended by pressing the button again.
Operation:
- Starting/Stopping Measurement: Measurement starts automatically when the bicycle moves. It stops when the bicycle is stationary.
- Resetting Data: Pressing and holding the MODE button on the measurement screen resets all measurement data (except Total Distance/ODO) to zero.
- Power-Saving Function: If the computer does not receive any signal for 10 minutes, it enters a power-saving screen, displaying only the clock. If left in this state for 1 hour, it will display "SLEEP." Pressing MODE or receiving a sensor signal will return it to the measurement screen.
Maintenance Features
The Urban Wireless+ is designed for relatively simple maintenance to ensure longevity and accurate performance.
- Cleaning: The computer and its accessories should be cleaned with a soft cloth moistened with mild soap. Harsh chemicals like thinners, benzine, or alcohol should not be used.
- Battery Replacement: The computer and speed sensor each use a CR2032 lithium battery.
- Computer Battery: An icon on the display indicates when the computer battery needs replacement. The battery is inserted with the (+) side up. After replacement, it is essential to follow the setup procedure again, particularly for tire size and clock settings. If the total distance (ODO) value is noted before replacement, it can be manually re-entered.
- Speed Sensor Battery: If speed is not displayed despite correct adjustment, the speed sensor battery may need replacement. The battery is inserted with the (+) side up, and the cover is closed firmly. After replacement, the magnet's position relative to the speed sensor should be re-adjusted.
- Troubleshooting: The manual provides guidance for common issues:
- No Sensor Signal: Checks include ensuring proper clearance between the sensor and magnet (within 5 mm), correct magnet passage through the sensor zone, correct computer mounting angle (facing the sensor), and appropriate distance between the computer and sensor (20 to 70 cm). It also suggests checking if the sensor or computer battery is flat, as battery performance can diminish in winter.
- Blank Display: This typically indicates a flat computer battery, requiring replacement.
- Incorrect Data: This also points to a potential computer battery issue.
Wireless Sensor Considerations:
The speed sensor operates within a maximum signal range of 70 cm (27 inches) to minimize interference. Users should be aware that signals may not be received if the distance is too large, if temperatures are low, or if batteries are flat. Signals are only received when the back of the computer faces the speed sensor. Potential sources of interference include TVs, PCs, radios, motors, cars, trains, railroad crossings, railway tracks, TV transmitter stations, radar stations, other wireless devices, or certain battery-powered lights.
The Cateye Urban Wireless+ Cyclocomputer is a reliable tool for cyclists seeking to monitor their performance with ease, offering essential data, intuitive setup, and straightforward maintenance.