34 | CONGA 7090 AI
ENGELSK
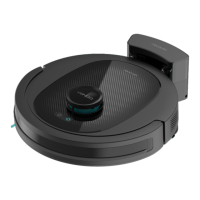
Install the tank in the robot following the indicated direction. Make sure the
clip is properly
fastened.
Fig. 12.
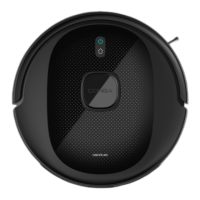
Only for Wet & dry tank installation:
Attach the mop to the bottom part of the mop bracket with the Velcro.
Fig. 13.
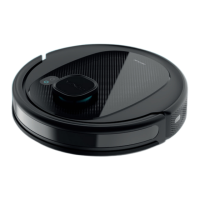
Manually press the tabs on both sides of the Wet & dry tank and push it into
its correct position. You will hear a click when it is properly xed.
Fig. 14.
Recommendations:
Do not use the scrubbing function while the robot is unattended.
Remove the mop bracket when the robot is charging or not in use.
If there are carpets in the house, set Restricted Areas to avoid the robot
from passing over them. Add some drops of cleaning agent (not corrosive) if
considered necessary. To remove the mop bracket, press the release button
and pull from it outwards.
Warnings:
Using cleaning agents in excess might block water outlets.
In order to achieve perfect scrubbing, it is suggested to moisten the mop
before using it.
First cleaning
Once the robot and the charging base are completely installed, follow these
steps before scheduling the rst cleaning cycle.
First of all, the robot must be fully charged. It is suggested to allow the ro-
bot to charge overnight. When it is fully charged, it may carry out the rst
cleaning cycle and save the rst map. To do so, activate Auto cleaning mode
and Eco power level. It is very important to follow these indications for the
robot to recognize each and every corner in the house and to create a com-
plete map.
If the house where the robot is going to be used is too big and the robot
runs out of battery, do not worry. The robot returns to the charging base,
saves the full map and those that have not been completed, and once it is
charged again, it resumes the cleaning cycle from the point it has stopped
until it maps the whole surface. The robot keeps on mapping constantly,
therefore it adapts independently to each house’s features and continuous-
ly improves
previous maps.