5
3
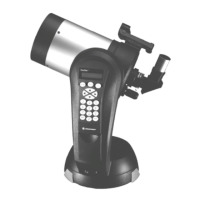
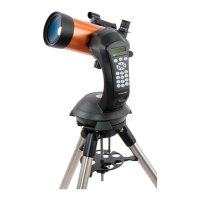
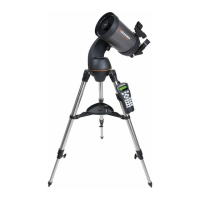
Press ENTER on the hand control to begin
alignment. Use the Up and Down arrow buttons to
position the tube horizontal to the ground. Attach
the included accessories (star diagonal, eyepiece and
Star Pointer finderscope) and remove the front lens
cover. Turn on Star Pointer by rotating the dial on
the side. (For instructions on aligning the Star
Pointer see page 11).
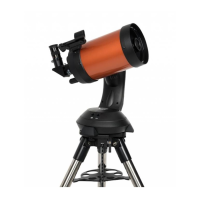
Plug-in the supplied 12v AC adapter* into the jack
at the base of the fork arm and an AC outlet. Power
the NexStar by flipping the "On/Off" switch to the
"On" position.
On / Off Switch
AC Adapter
2
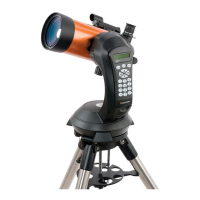
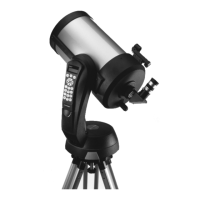
Use the Up and Down scroll buttons to get to the
AutoAlign
menu. Press ENTER. Use the direction
arrow keys to level the tube and rotate it towards
North. (See
Astronomy Basics
for help on finding
North). Input the necessary date and time information
as instructed by the hand control. (See
Hand Control
section for com
lete instruction on enterin
data
.
Up and Down
Scroll Buttons
Direction
Buttons
4
*Note: Use only the AC adapter supplied by
Celestron. Using any other adapter may
damage the electronics and will void your
manufacturer's warranty.
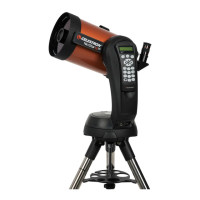
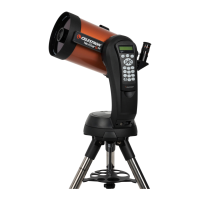
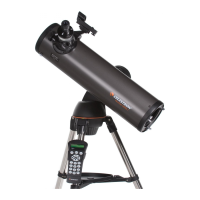
Remove the NexStar from its packaging and
place the base on a sturdy, level surface or
attach to tripod (see page 9). Remove the
accessories from their individual boxes.
1