10
A
AA
A
A
AA
A
t
tt
t
t
tt
t
t
tt
t
t
tt
t
a
aa
a
a
aa
a
c
cc
c
c
cc
c
h
hh
h
h
hh
h
i
ii
i
i
ii
i
n
nn
n
n
nn
n
g
gg
g
g
gg
g
t
tt
t
t
tt
t
h
hh
h
h
hh
h
e
ee
e
e
ee
e
N
NN
N
N
NN
N
e
ee
e
e
ee
e
x
xx
x
x
xx
x
S
SS
S
S
SS
S
t
tt
t
t
tt
t
a
aa
a
a
aa
a
r
rr
r
r
rr
r
t
tt
t
t
tt
t
o
oo
o
o
oo
o
t
tt
t
t
tt
t
h
hh
h
h
hh
h
e
ee
e
e
ee
e
T
TT
T
T
TT
T
r
rr
r
r
rr
r
i
ii
i
i
ii
i
p
pp
p
p
pp
p
o
oo
o
o
oo
o
d
dd
d
d
dd
d
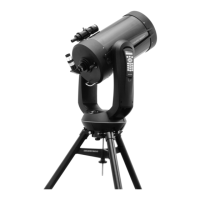
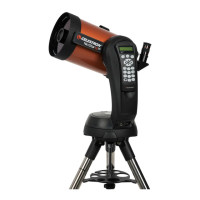
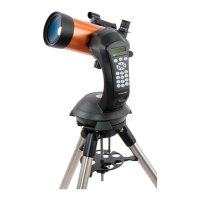
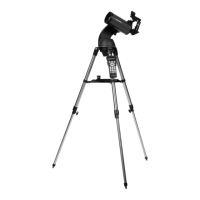
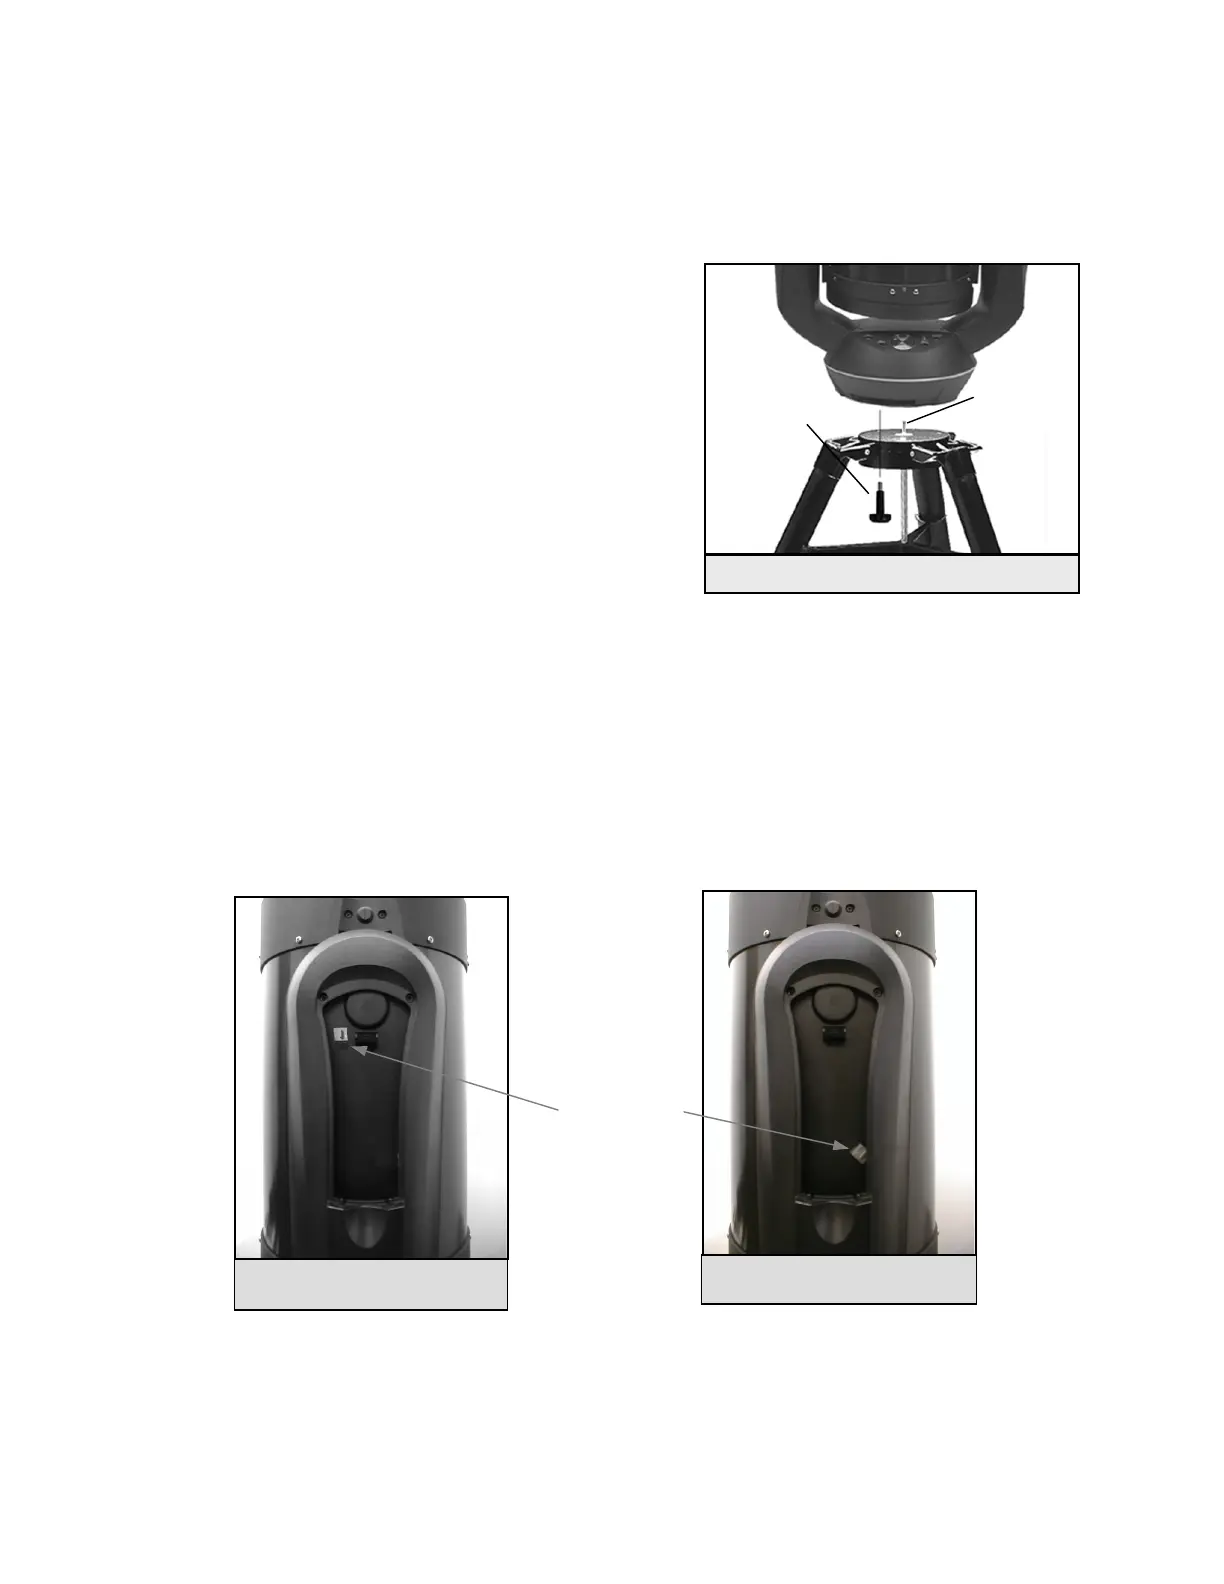
After the tripod is set up, you are now ready to attach the telescope. The bottom of the NexStar base has three threaded holes
that mount to the tripod head and one hole in the center that goes over the positioning pin on the tripod head.
1. Place the center hole in the bottom of the telescope base over the
positioning pin in the center of the tripod plate.
2. Rotate the telescope base until the threaded holes align with the
holes in the tripod head.
3. Thread the three mounting bolts from underneath the tripod head
into the bottom of the telescope base. Tighten all three bolts.
Warning: Never insert bolts with threads longer than 3/8"
into the NexStar base. It can cause damage to the internal
motors.
You are now ready to attach the included visual accessories onto the
telescope optical tube.
A
AA
A
A
AA
A
t
tt
t
t
tt
t
t
tt
t
t
tt
t
a
aa
a
a
aa
a
c
cc
c
c
cc
c
h
hh
h
h
hh
h
i
ii
i
i
ii
i
n
nn
n
n
nn
n
g
gg
g
g
gg
g
t
tt
t
t
tt
t
h
hh
h
h
hh
h
e
ee
e
e
ee
e
H
HH
H
H
HH
H
a
aa
a
a
aa
a
n
nn
n
n
nn
n
d
dd
d
d
dd
d
C
CC
C
C
CC
C
o
oo
o
o
oo
o
n
nn
n
n
nn
n
t
tt
t
t
tt
t
r
rr
r
r
rr
r
o
oo
o
o
oo
o
l
ll
l
l
ll
l
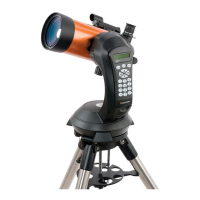
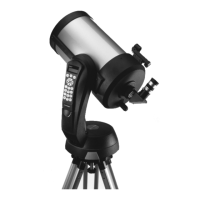
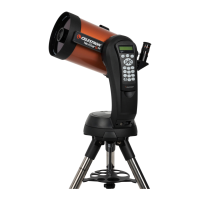
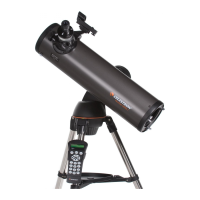
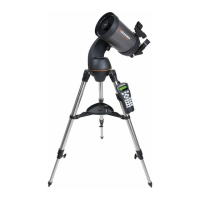
In order to protect your NexStar telescope during shipping, the hand control unit has been packaged along with the other
telescope accessories and will need to be attached to the fork arm of your telescope. The hand control cable has a phone jack
style connector that will plug into the jack outlet located on the inside of the fork arm (see figure 3-3). To connect the hand
control to the fork arm:
•
Insert the hand control connector so that the pins are facing the inside of the fork arm.
•
Push the connector into the jack until it clicks into place.
The hand control can now rest in the fork arm of the telescope.
Mountin
Bol
Positioning
Pin
Figure 3-2 Mounting the Telescope
Figure 3-3b Attaching the Hand
Control for NexStar 11 GPS
Hand Control
Jack Outlet
Figure 3-3a Attaching the Hand
Control for NexStar 8 GPS