5
2
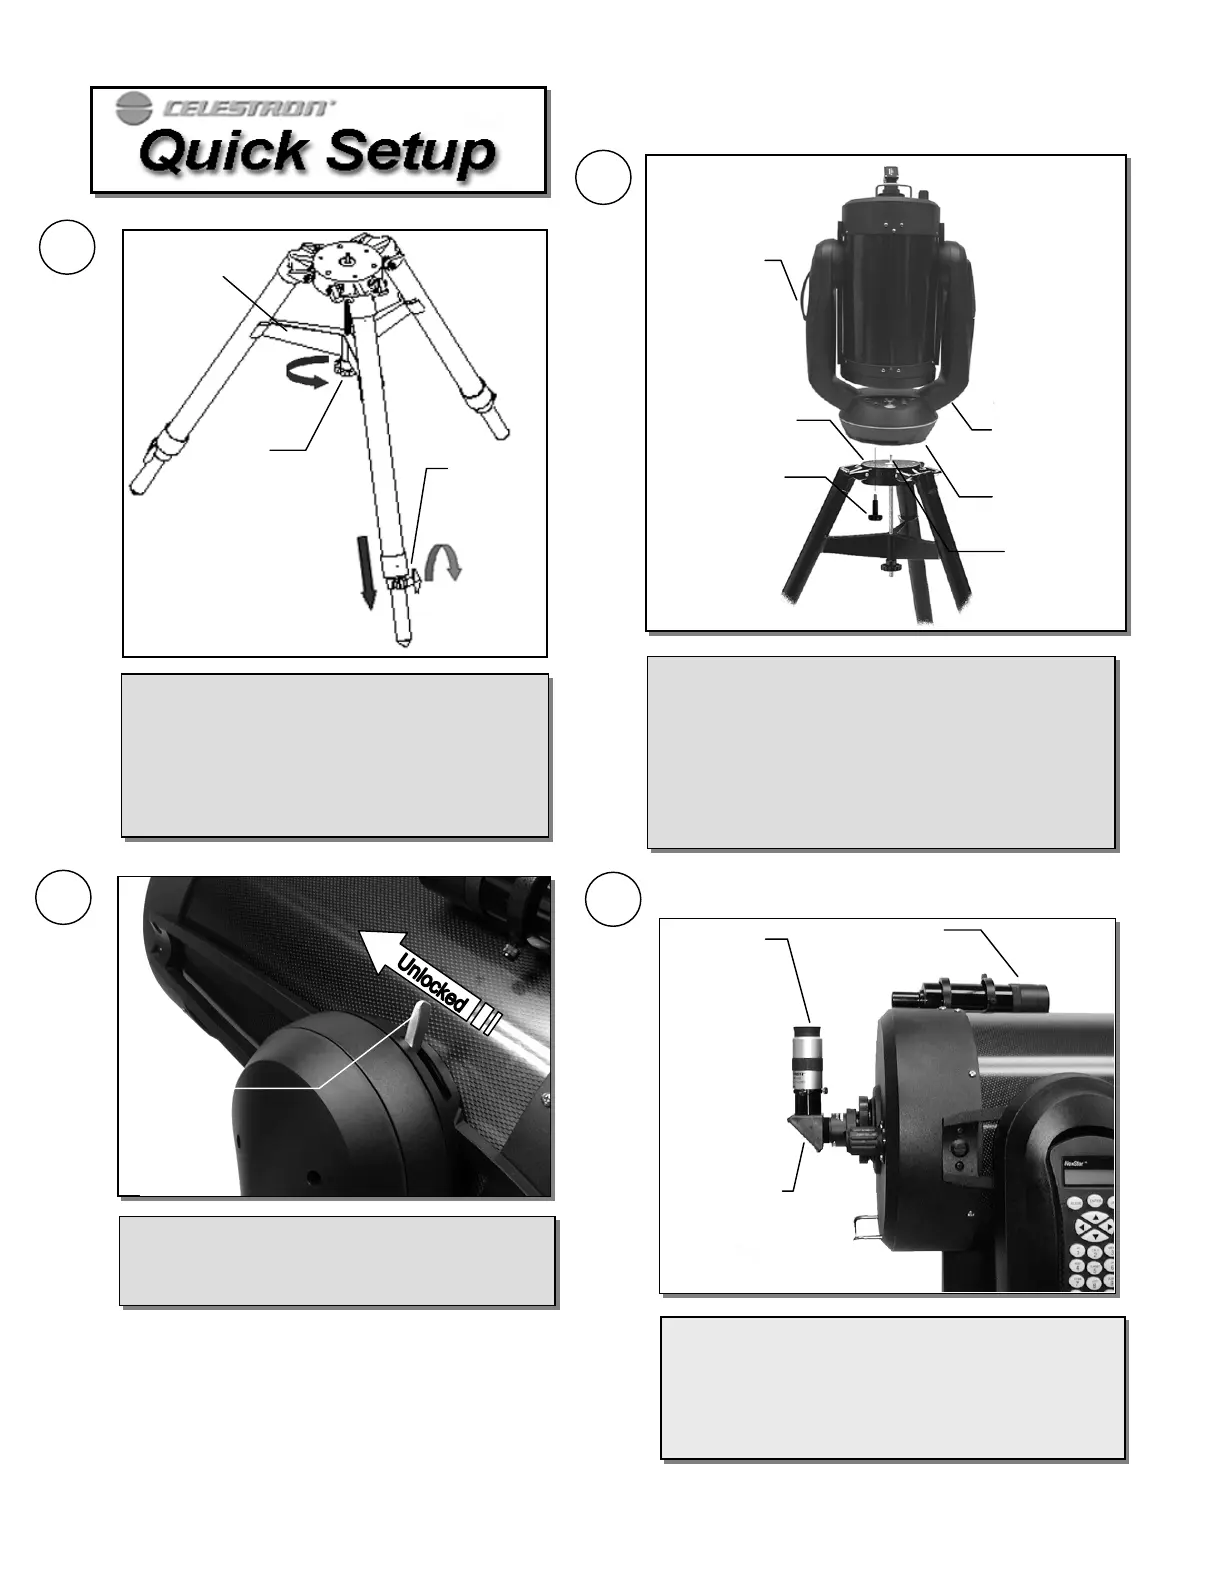
1
3
4
Place the center leg brace between the tripod legs
and tighten the tension knob so that the brace
pushes out against the legs. Loosen the extension
clamp at the end of each tripod leg and slide dow
the inner portion of the leg to the desired height.
Tighten the extension clamp to hold the legs in
place.
Tension
Knob
Leg
Extension
Clam
Center Leg
Brace
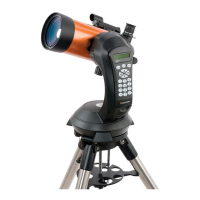
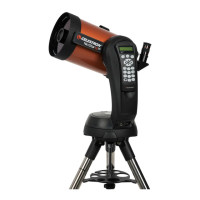
With the tripod set up outside, lift the telescope by the
carrying handle on each fork arm and carefully lower i
onto the tripod head. Make sure that the hole in the
bottom of the drive base goes over the positioning pin in
the center of the tripod head. Rotate the base until the
holes line-up with the mounting holes on the tripod.
Thread the three mounting bolts from underneath the
tripod head into the bottom of the telescope base.
Attach the included accessories (eyepiece, diagonal and
finderscope) and remove the front lens cover. Align the
finderscope on a distant object. (For instructions on
aligning the finderscope, see the Assembly section of the
manual).
Eyepiece
Sta
Diagonal
Finderscope
Tripod Head
Drive Base
Mountin
Bol
Carrying
Handle
Carrying
Handle
Positioning
Pin
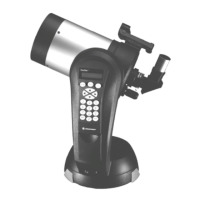
Altitude
Clutch
Lock Lever
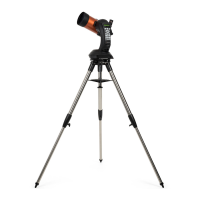
Loosen the Altitude Clutch Lock Lever and rotate
the telescope tube upwards until it is level with the
ground. Tighten the Lock Lever.