
S
Shari CharlesJul 30, 2025
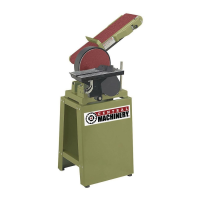
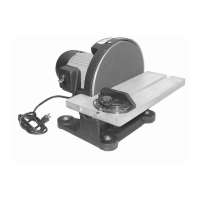
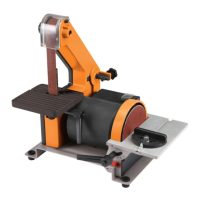
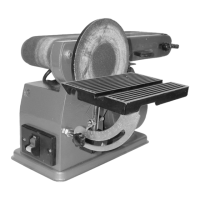
What to do if Central Machinery Belt Sander does not turn on?
- ZZachary HuberJul 30, 2025
If your Central Machinery Sander does not turn on, first ensure it is properly connected to an electrical outlet. Then, check if the switch key is inserted into the switch; if not, insert it and push the switch to the 'On' position. Also, verify that the GFCI or facility circuit breaker is not open and reset them if necessary. If the issue persists, the power switch may be defective and require replacement. In some cases, a motor or wiring problem might be the cause, requiring repair by a qualified technician.