Page 7For technical questions, please call 1-888-866-5797.ITEM 61693
SAFETYSETUPOPERATIONMAINTENANCE
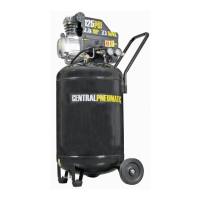
Assembly
1. Attach the Wheels (70) to the Tank (68),
using the Axles (69), Spring Washers
(71) and Nuts (72). See Figure C.
Axle (69)
Bolt (74)
Wheel
(70)
Spring
Washer (71)
Spring Washer (78)
Washer (77)
Foot Pad (76)
Washer (75)
Nut (79)
Nut (72)
Tank
(68)
Figure C
2. Attach the Foot Pads (76) to the bottom of the
Tank using the Bolts (74), Washers (75, 77), Spring
Washers (78) and Nuts (79). See Figure C.
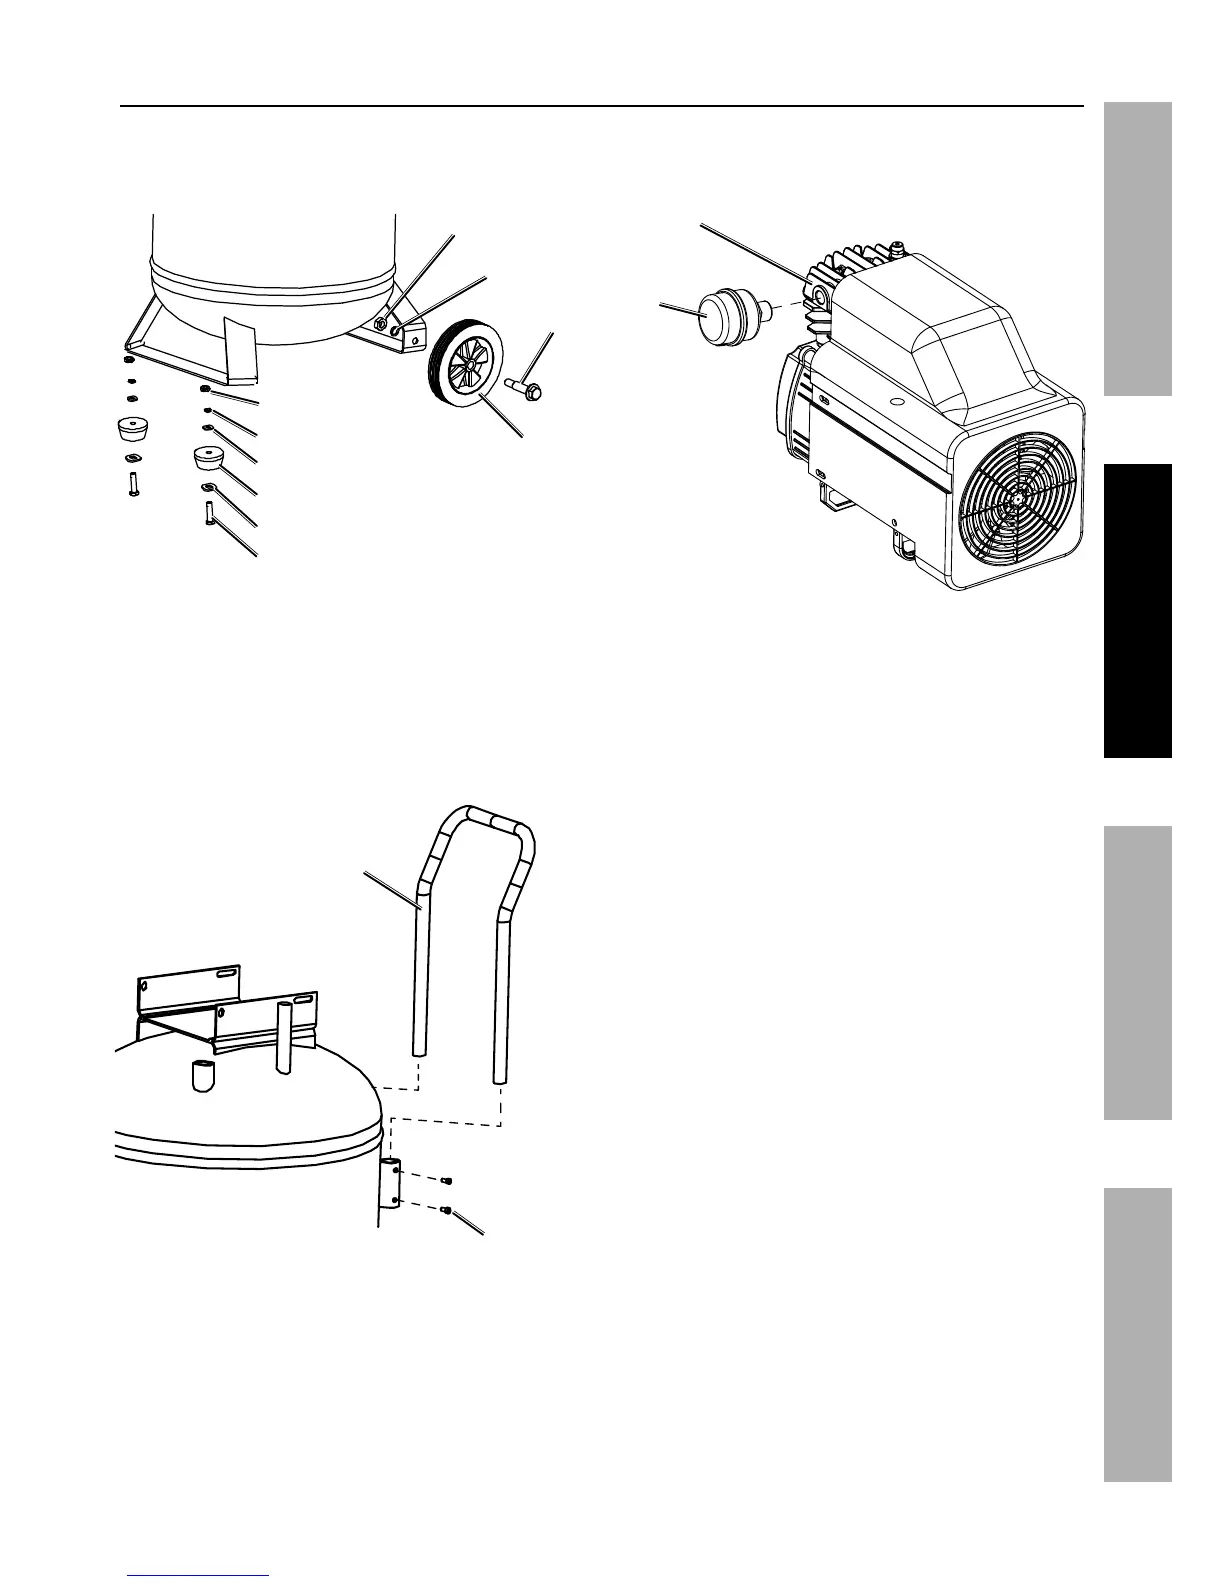
3. Slide the Handle (67) into the two fittings
on the Tank and secure it in place with
four Bolts (66). See Figure D.
Handle (67)
Bolt (66)
Tank
Figure D
4. Thread the Air Filter (8) onto the side of
the Cylinder Head (7). See Figure E.
Air
Filter
(8)
Cylinder
Head (7)
Figure E