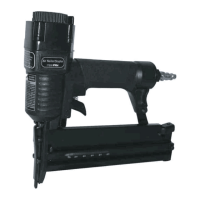
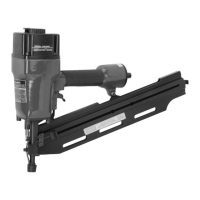
Page 8 For technical questions, please call 1-800-444-3353. SKU 68027
Operating Instructions
Read the ENTIRE IMPORTANT
SAFETY INFORMATION section at the
beginning of this manual including
all text under subheadings therein
before set up or use of this product.
Inspect the tool before use, looking for
damaged, loose, and missing parts.
If any problems are found, do not
use the tool until repaired.
Work Piece and Work
Area Set Up
1. Designate a work area that is clean and well-lit.
The work area must not allow access by children
or pets to prevent distraction and injury.
2. Route the air hose along a safe route to reach
the work area without creating a tripping hazard
or exposing the air hose to possible damage.
The air hose must be long enough to reach
the work area with enough extra length to
allow free movement while working.
3. Secure loose workpieces using a vise or clamps
(not included) to prevent movement while working.
4. There must not be hazardous objects
(such as utility lines or foreign objects) nearby
that will present a hazard while working.
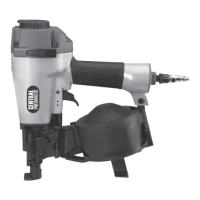
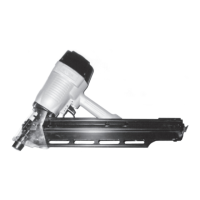
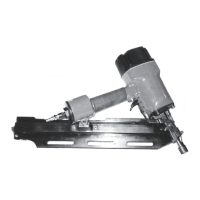
General Operating Instructions
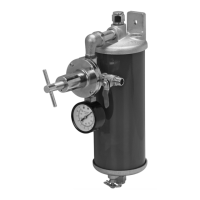
1. Attach the air supply hose (sold separately)
to the tool. If an automatic oiler is not used,
add a few drops of Pneumatic Tool Oil to the
airline connection before use. Add a few drops
more after each hour of continual use.
2. To adjust the driving (countersink) depth, turn the
Depth Sleeve (21), see Figure A on page 5.
CAUTION! Do not loosen the Depth Sleeve
too much or the tool may come apart.
3. Grip the base of the tool in one hand.
Note that there is a hand strap and thumb strap
on the Leather Cover (22) to help hold the tool.
4. When ready to work, hold a nail by the shaft,
and place the at head into the Nail Guide (20).
The nail will be held in place by the magnet.
5. Place the pointed end of the nail on the workpiece.
Keep your free hand away from the tool and the nail.
6. Press the tool straight down. This will trigger the
tool and cause it to hammer the nail. Continue
pressing down until the nail is driven all the way in.
7. If the tool requires more force to accomplish the task,
verify that the tool receives sufcient, unobstructed
airow (CFM) and increase the pressure (PSI) output
of the regulator up to the maximum air pressure
rating of this tool.
CAUTION! TO PREVENT TOOL AND ACCESSORY
FAILURE, RESULTING IN INJURY: Do not exceed
the tool’s maximum air pressure rating.
If the tool still does not have sufcient force
at maximum pressure and sufcient airow,
then a larger tool may be required.
8. When the nail is hammered all the way down,
the tool will stop operating. To stop the tool, release
the downward pressure on the Nail Guide.
9. After use, to prevent accidents:
a. Detach the air supply.
b. Attempt to re the Tool against a piece of
scrap wood to ensure that it is disconnected.
c. Clean external surfaces with clean, dry cloth.
d. Store indoors out of children’s reach.
REV 11d