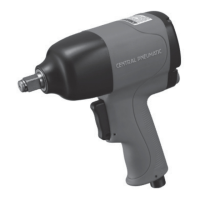
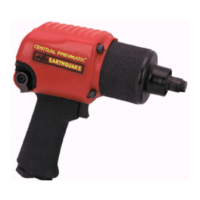
Page 9For technical questions, please call 1-800-444-3353.SKU 95310
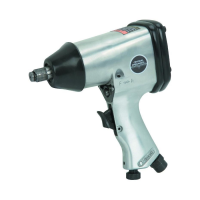
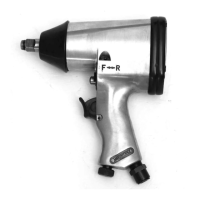
3. Push the Reverse Valve (44) down
so that the end of the Valve protrudes
out above the Trigger for clockwise
(forward) rotation.
4. Place the socket over the nut you
wish to tighten.
5. Grip tool rmly with both hands and
gently squeeze Trigger.
6. Adjust air ow by pushing down Air
Regulator (37) and turning knob
from positions 1 through 4. Match
up desired number setting with the
recessed arrow. Position 1 allows
the lowest amount of air ow, and
Position 4 the highest.
7. If the tool requires more force to
accomplish task, verify that the tool
receives sufcient, unobstructed
airow (CFM) and increase the
pressure (PSI) output of the regulator
up to the maximum air pressure
rating of this tool.
CAUTION! TO PREVENT TOOL
AND ACCESSORY FAILURE,
RESULTING IN INJURY:
Do not exceed the tool’s maximum
air pressure rating.
If the tool still does not have sufcient
force at maximum pressure and
sufcient airow, then a larger tool
may be required.
8. Once nut is tightened, release
Trigger. Turn off the air compressor
and disconnect the hose.
9. If available, check the recommended
torque specication for the nut. Use
a torque wrench to tighten the nut
to the proper setting after using the
Impact Wrench.
10. To set Impact Wrench in
counterclockwise (reverser) rotation,
push Reverse Valve down so that the
end of the Valve protrudes from the
back of the Housing (3).
11. WARNING! Before changing the
rotational direction of the tool, release
the Trigger and allow the tool to come
to a complete stop.
12. Place the socket over the nut you
wish to tighten, grip tool rmly with
both hands, and gently squeeze
Trigger.
13. Adjust air ow by pushing down Air
Regulator and turning knob from
positions 1 through 4. Match up
desired number setting with the
recessed arrow. Position 1 allows
the lowest amount of air ow, and
Position 4 the highest.
14. When the nut is loosened, release
Trigger. Turn off air supply and
disconnect the hose. If needed,
remove the socket from the tool.
15. To prevent accidents, turn off the
tool, detach the air supply, safely
discharge any residual air pressure in
the tool, and release the throttle and/
or turn the switch to its off position
after use. Clean external surfaces
of the tool with clean, dry cloth, and
apply a thin coat of tool oil. Then
store the tool indoors out of children’s
reach.