Do you have a question about the Central Pneumatic 98917 and is the answer not in the manual?
Reduce risks of electric shock, fire, and injury to persons by following basic precautions.
Keep work area clean, well-lighted, and avoid explosive atmospheres for operational safety.
Remain attentive, avoid fatigue, drugs, or medication for safe operation.
Avoid loose clothing or jewelry that can get caught in moving parts.
Ensure trigger is off before connecting air supply; do not carry with finger on trigger.
Remove adjusting keys or wrenches to prevent injury from rotating parts.
Ensure proper footing and balance for better control in unexpected situations.
Wear appropriate safety gear like dust masks, safety shoes, and hard hats.
Do not point tool at yourself or others; ensure safety mechanism is engaged.
Always assume tool contains fasteners; avoid loading with air connected.
Nail only into suitable surfaces, avoid ricochets, never fire into air or at people.
Keep tool away from head and body to prevent injury from kickback.
Prevent workpiece splitting and flying pieces by not nailing near edges.
Tool service and replacement parts must be handled by qualified repair personnel.
Ensure replacement parts are identical and authorized by the manufacturer.
Use only lubricants supplied with the tool or specified by the manufacturer.
Use only clean, dry, regulated compressed air at the specified pressure range (60-120 PSI).
Never use oxygen, carbon dioxide, or other combustible gases as an air source due to explosion risk.
Explains symbols used in the manual for quick reference and understanding.
Alerts to potential health risks from dust, lead, silica, arsenic, and chromium exposure.
Advise regular users or those with medical conditions to consult a doctor for vibration-related issues.
Nicotine reduces blood supply to hands, increasing vibration injury risk.
Use suitable gloves to minimize vibration effects on the user's hands and arms.
Select tools with the lowest vibration levels when multiple options exist.
Schedule regular breaks to reduce cumulative exposure to vibration.
Grip the tool as lightly as possible while maintaining control to reduce vibration.
Details working air pressure, air inlet, magazine capacity, angle, and air consumption.
Lists essential components like oiler, shut-off valve, regulator, and filter for safe operation.
Instructions for attaching a 1/4" connector to the air plug, including using thread seal tape.
Check for damaged, loose, or missing parts; do not use if problems are found.
Detach air supply, discharge pressure, and point tool safely when testing the mechanism.
Verify the tool does not fire when the safety guide is not depressed or when the trigger is released.
Wear safety goggles and ensure tool is not connected to air supply during loading.
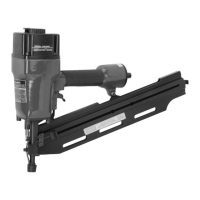
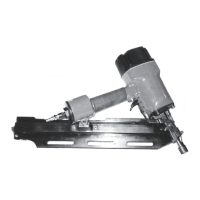
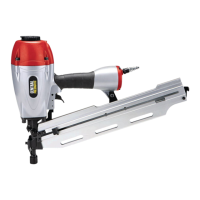
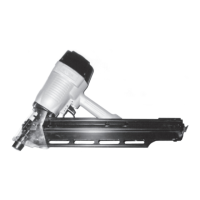
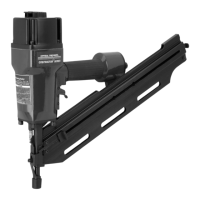
Specifies that the nailer uses 28° paper-collated clip head and wire collated full head nails.
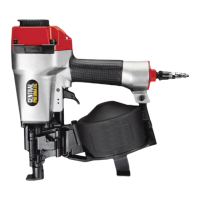
Guide on loading nails, pulling feeder shoe and sliding into magazine.
Attach air supply, start compressor, and set pressure not exceeding 120 PSI.
Rotate exhaust cover to direct air away from the operator for comfort and safety.
Place nose on workpiece, depress safety guide, squeeze trigger to fire; allow tool to recoil.
Disconnect air supply, empty magazine, and store tool safely after use.
Wear safety goggles and hearing protection; disconnect air supply before clearing.
Empty magazine, remove jammed nail using pliers, reassemble, and test functionality.
Disconnect air supply, discharge pressure, and release trigger before any maintenance.
Steps for cleaning external parts, checking air screens, and proper storage.
Section to record the product's serial number or purchase date for reference.
Manufacturer advises reading parts list and assembly diagram carefully before use.
Clarifies that parts are shown for illustration and may not be individually available.
Outlines the process for returning the product for warranty claims, including proof of purchase.
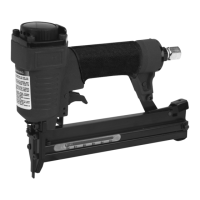
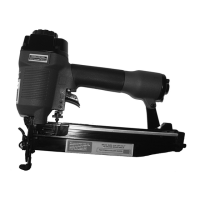
| Fastener Type | 18 gauge brad nails |
|---|---|
| Fastener Length | 3/8 in. to 2 in. |
| Magazine Capacity | 100 nails |
| Air Inlet | 1/4 in. NPT |
| Type | Pneumatic Brad Nailer |