Do you have a question about the Chamberlain 3110 and is the answer not in the manual?
Explains safety symbols and signal words used throughout the manual.
Steps to ensure the garage door is balanced and ready for opener installation.
Guidance on surveying the garage area and identifying installation requirements.
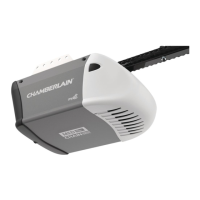
Lists all parts included in the opener package for verification.
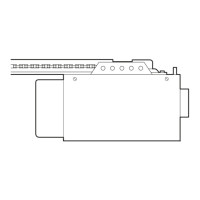
Connects the rail assembly to the motor unit, a key structural step.
Mounts the trolley onto the rail assembly, enabling door movement.
Secures the rail assembly to the header bracket or ceiling support.
Locates and marks the correct position for mounting the header bracket.
Fastens the header bracket securely to the wall or ceiling structure.
Connects the rail assembly to the installed header bracket.
Mounts and aligns the safety reversing sensors for obstruction detection.
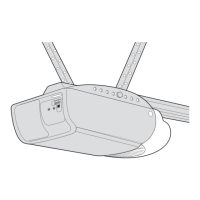
Guides on placing the opener unit correctly relative to the door.
Secures the opener unit to structural supports using hanging brackets.
Mounts the wall-mounted door control and routes its wiring.
Installs the light bulbs into the motor unit's light sockets.
Connects the release handle for manual door operation.
Covers power connection, grounding, and permanent wiring options.
Finalizes the safety sensor installation by checking alignment and indicator lights.
Attaches the bracket to the garage door for connecting the opener arm.
Links the garage door arm to the opener's trolley mechanism.
Sets the open and close limits for the garage door travel.
Regulates the power required to open and close the door safely.
Verifies the door reverses upon contact with an obstruction.
Confirms the safety sensors are functional and detect obstructions.
Explains how to activate the opener using remotes or wall controls.
Details the operation of the wall control, including light and lock features.
Instructions for disengaging the trolley to open the door manually.
Provides maintenance tips and limit/force adjustment guidance.
Addresses common problems like sensors, remotes, and door reversals.
Explains the diagnostic LED codes for troubleshooting motor unit issues.
Instructions for pairing new remote controls with the opener.
Resets the opener's memory to remove all programmed remotes.
Sets or changes the PIN for the keyless entry system.
Lists components related to the garage door opener rail assembly.
Lists components used during the installation process.
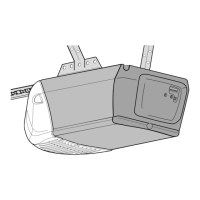
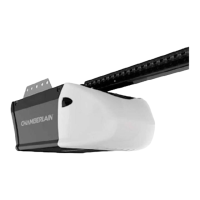
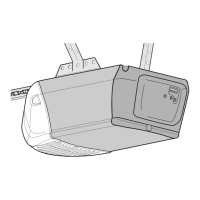
Details the various parts that make up the motor unit.
Describes optional accessories like remotes and keyless entry systems.
Lists optional safety sensors, monitors, and other accessories.
Provides phone numbers and website for installation, service, and support.
Details the terms and conditions of the product's limited warranty.
| Brand | Chamberlain |
|---|---|
| Model | 3110 |
| Category | Garage Door Opener |
| Language | English |