1
To prevent possible SERIOUS INJURY or DEATH from electrocution:
• Be sure power is NOT connected BEFORE installing the receiver.
To prevent possible SERIOUS INJURY or DEATH from a moving gate
or garage door:
• ALWAYS keep remote controls out of reach of children. NEVER
permit children to operate, or play with remote control transmitters.
• Activate gate or door ONLY when it can be seen clearly, is properly
adjusted, and there are no obstructions to door travel.
• ALWAYS keep gate or garage door in sight until completely closed.
NEVER permit anyone to cross path of moving gate or door.
To prevent possible SERIOUS INJURY or DEATH, the use of
CONSTANT OPERATION on residential openers is PROHIBITED.
When a receiver is used to activate a commercial door opener, a
reversing edge MUST be installed on the bottom of the door. Failure to
install a reversing edge under these circumstances may result in
SERIOUS INJURY or DEATH to persons trapped beneath the door.
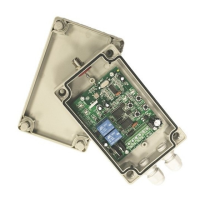
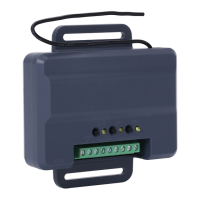
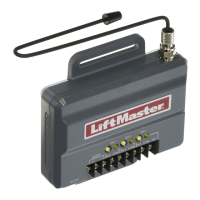
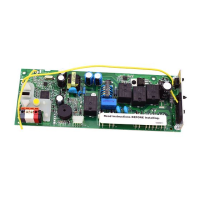
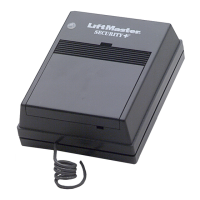
WEATHER RESISTANT UNIVERSAL RECEIVER
MODEL 860LM
APPLICATION
The receiver can be used as a single, two, or three channel receiver to
control up to 3 gates or commercial door operators. The receiver can also
be used with a 3-button remote control to operate the OPEN, CLOSE, and
STOP feature on a commercial door operator. The 860LM Weather
Resistant Universal Receiver may be mounted in outside locations that
may be exposed to rain or moisture. This receiver is not compatible with
MyQ
®
enabled garage door openers or devices.
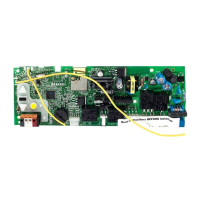
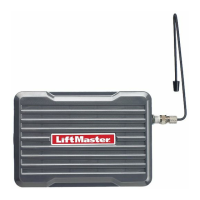
INSTALLATION
The receiver and antenna use TV Type F coaxial connectors. The antenna
can be connected directly to the receiver or it can be installed remotely
using a coaxial cable extension kit Model 86LM or 86LMT.
1. Select a location for the receiver which allows access to the terminals
and space for the antenna. Ensure antenna does not touch metal
surfaces. DO NOT bend or fold the antenna.
2. Attach the receiver bracket to the mounting surface with hardware (not
provided). Snap the receiver onto the bracket and secure the receiver
to the bracket with the #8 screws provided.
3. After the installation is complete, remove the cover. Connect power to
the receiver with a 95LM wired-in transformer, or you may connect to
the power going to the operator (see power ratings on next page).
WIRING
Below are wiring examples. Refer to your commercial door operator or
gate operator owner's manual or wiring diagrams for specific wiring
information.
SINGLE CHANNEL
Receiver
Single Operator(s)
TWO & THREE CHANNEL
Receiver
Operator 1
Operator 2
Operator 3
OPEN/CLOSE/STOP
Receiver
Single Operator
3-Button Control Device
Refer to your commercial
door operator or gate
operator wiring diagrams
for instructions on
connecting two or more
3-Button control devices.