Do you have a question about the Chamberlain 87504-267 and is the answer not in the manual?
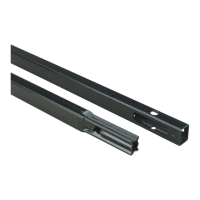
Steps to attach the belt rail assembly to specific garage door opener models.
Steps to attach the chain rail assembly to the garage door opener model 84602.
Steps to attach the I-beam chain rail to the garage door opener model 87802.
Guide to finding the correct location for the header bracket installation.
Detailed steps for mounting the header bracket to either the wall or ceiling.
Connect the opener rail to the installed header bracket.
Instructions on how to safely position the garage door opener unit during installation.
Steps for securely hanging the garage door opener unit to structural supports.
Steps for installing the door bracket onto the garage door panel.
Instructions for connecting the door arm assembly to the opener trolley.
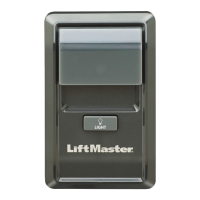
Steps for mounting the control panel on the garage wall.
How to connect the control panel wires to the garage door opener unit.
Detailed instructions for installing safety reversing sensors on door track or wall.
How to connect the safety reversing sensors to the garage door opener.
Instructions for connecting the garage door opener to a power source.
Setting the open and close limits for the garage door opener.
Calibrating the opener's force sensitivity for safe operation.
Procedures to verify the safety reversal system is functioning correctly.
Testing the safety reversing sensors to ensure they detect obstructions.
Guide to connecting the opener to a smartphone and the myQ® app.
A chart listing diagnostic codes, symptoms, and solutions for opener issues.
| Type | Smart Garage Door Opener |
|---|---|
| Max Lift Power | 1/2 HP |
| Connectivity | Wi-Fi, Bluetooth |
| Security | Rolling Code Technology |
| Battery Backup | Yes |
| Drive System | Belt Drive |
| Horsepower | 1/2 HP |
| Lighting | LED |
| Speed | 7 inches per second |
| Motor | DC Motor |
| Remote Controls | 2 included |
| Power Source | AC |
| Compatibility | Compatible with most garage door types |
| Remote Control | Yes |
| Warranty | Lifetime (Motor) |

 Loading...