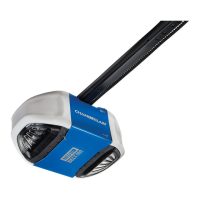
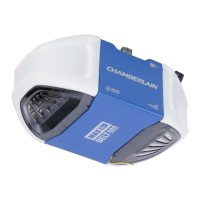
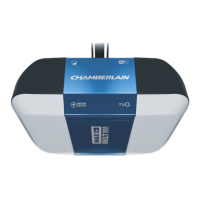
Do you have a question about the Chamberlain BILT B4603T and is the answer not in the manual?
Inspect the garage door for balance, binding, and proper seal.
Verify sufficient Wi-Fi signal strength in the garage for smartphone control.
Lists all necessary tools for installing the garage door opener and its components.
Identifies optional items like wood blocks or brackets for specific door types.
Details all parts and components included in the garage door opener package.
Visual guide and part numbers for all hardware used in assembly and installation.
Guides assembling the rail sections and installing the trolley.
Instructions on securely attaching the rail assembly to the motor unit.
Step-by-step guide for installing the idler pulley onto the rail.
Details on threading and connecting the drive belt to the trolley and sprocket.
Procedure for setting the correct belt tension using the spring trolley nut.
Instructions for installing the protective sprocket cover.
Critical safety and general installation guidelines before commencing work.
Guidance on selecting the optimal header bracket mounting position.
Procedures for wall or ceiling mounting the header bracket securely.
Connects the opener rail assembly to the installed header bracket.
Guides on how to position the opener unit correctly on the ladder for attachment.
Instructions for securely hanging the opener unit using support brackets.
Steps to attach the manual release rope and handle to the trolley.
Instructions for attaching the door bracket to the garage door panel.
Details on connecting the door arms to the opener trolley assembly.
Guides on mounting and wiring the wall-mounted door control.
Connects the door control wiring to the opener's terminals.
Placement instructions for essential safety warning labels.
Installation of safety reversing sensors to prevent entrapment.
Connects the safety reversing sensors wiring to the opener unit.
Options for connecting the garage door opener to a power source.
Procedures for aligning the safety reversing sensors for proper operation.
Verifies correct wiring of the wall-mounted door control.
Introduction to adjustments, door travel notes, and programming buttons.
Guides the user through programming the door's open and close travel limits.
Instructions for testing the safety reversal and protector systems.
Guides on installing the battery backup unit into the opener.
Instructions to test the battery backup functionality.
Information on how the battery charges and its operational lifespan.
Steps to download, set up, and connect the myQ App for smartphone control.
Explains the meaning of the LED indicator for Wi-Fi status.
Guides on downloading the app and setting up the integrated camera.
Table detailing the meaning of camera LED status indicators.
Critical safety warnings and precautions for operating the opener.
How to operate the opener using various controls and its features.
Explanation of the motion detecting control panel features and buttons.
Information on programming and using remote controls and keyless entry.
Procedures for erasing stored remote, keyless entry, and Wi-Fi settings.
Instructions for manually opening and closing the garage door.
Recommended monthly and yearly maintenance tasks for the opener.
Information on replacing the battery in the remote control.
Lists diagnostic codes and their corresponding symptoms and solutions.
Covers common issues like opener not working or lights not turning off.
Provides contact details and warranty information for the product.
| Drive Type | Belt Drive |
|---|---|
| Battery Backup | Yes |
| Smartphone Control | Yes |
| Lighting | LED |
| Smart Technology | myQ Technology |
| Motor | DC |
| Safety Features | Safety Sensors |
| Warranty | Lifetime |


