Do you have a question about the Chamberlain C2405 and is the answer not in the manual?
Instructions for downloading and connecting the myQ app for remote control and updates.
Explains the meaning of WARNING symbols for mechanical and electrical hazards.
Explains the meaning of the CAUTION symbol for potential damage.
Crucial safety measures to prevent severe injury or death during installation.
Guidelines for safe electrical power connection and grounding for the opener.
Details on typical plug-in wiring and permanent wiring methods for installation.
Essential safety rules to prevent severe injury or death during operation and maintenance.
How to test and ensure adequate Wi-Fi signal strength for smartphone connectivity.
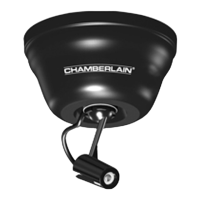
Explains how to align safety sensors and interpret their LED status for proper operation.
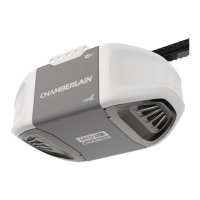
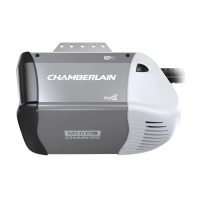
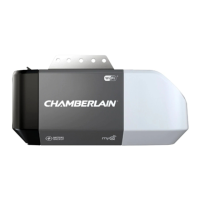
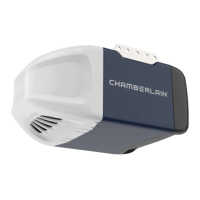
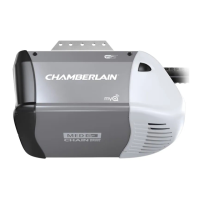
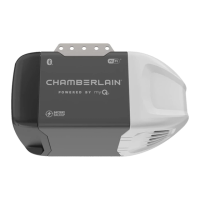
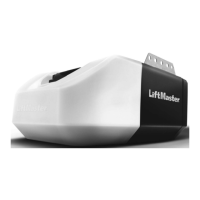
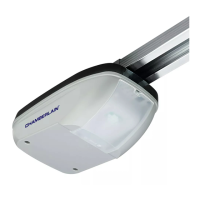
This document describes a Chamberlain Wi-Fi® Garage Door Opener, designed for residential use. It supports both chain drive models (C2405, D2405, C2102, C2202, D2101) and belt drive models (B2202, B2405, B4505T). The opener integrates with the myQ® app for smart control and monitoring.
The Chamberlain Wi-Fi® Garage Door Opener allows users to open and close their garage door, receive alerts, and set schedules from anywhere using the myQ® app. This connectivity also ensures the opener receives software updates for the latest operational features. The opener is compatible with myQ® and Security+ 2.0® accessories. It is crucial to note that the door WILL NOT CLOSE unless the Protector System® (safety reversing sensors) is connected and properly aligned. The opener is designed for use with sectional doors, especially when utilizing features that provide unattended close. It should NOT be installed on a one-piece door if such features are used.
The opener features electronic controls for easy setup and adjustments, allowing users to program the door's open (UP) and close (DOWN) positions. The electronic controls automatically sense the force required to operate the door, adjusting it during travel programming. If anything interferes with the door's upward travel, it will stop. If anything interferes with its downward travel, it will reverse.
Installation and Setup:
Smartphone Connectivity (myQ® App):
Programming:
Operation:
Adjustment:
Safety Reversal System Test:
Protector System® Test:
Every Month:
Every Year:
Every Two to Three Years:
Remote Control Battery:
Troubleshooting Tips:
| Drive Type | Chain Drive |
|---|---|
| Horsepower | 1/2 HP |
| Battery Backup | No |
| Safety Sensors | Yes |
| Smartphone Control | Yes |
| Lighting | Yes |
| Smart Home Compatibility | Yes |
| Speed | 7 inches per second |
| Voltage | 120V |