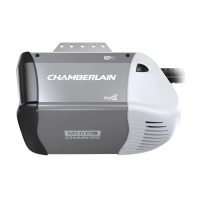
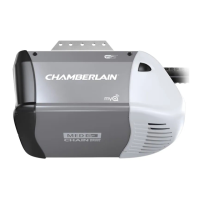
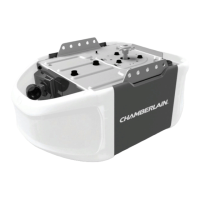
Do you have a question about the Chamberlain C2212T and is the answer not in the manual?
Explains WARNING symbols for mechanical and electrical hazards, alerting users to potential injury or death.
Explains the CAUTION symbol for potential damage to the garage door opener or garage door.
Details risks of unattended operation and specifies use with sectional doors only for safety.
Ensures the garage door is balanced, moves freely, and has a proper seal for safe operation.
Guides on checking Wi-Fi signal strength and preparation for connecting the opener to a smartphone.
Lists all necessary tools required for the installation process.
Lists all parts included in the carton to verify completeness before installation.
Details and identifies all hardware components used in the assembly and installation steps.
Instructions for assembling the opener rail and installing the trolley mechanism.
Guides on securely attaching the assembled rail to the garage door opener motor unit.
Procedure for installing the idler pulley onto the front rail section of the opener.
Details on properly routing and connecting the drive chain to the trolley and sprocket.
Instructions for adjusting the chain tension to the correct specification.
Procedure for attaching the safety cover over the drive sprocket.
Crucial safety warnings and instructions to follow before and during installation for safe operation.
Guidance on selecting the correct mounting location for the header bracket based on door type.
Detailed steps for securely mounting the header bracket to the wall or ceiling.
Instructions for connecting the opener rail to the installed header bracket.
Guidance on correctly positioning the opener unit before hanging it.
Steps for securely hanging the main opener unit to the ceiling or wall supports.
Procedure for attaching the manual release rope and handle for emergency operation.
Steps for attaching the bracket to the garage door itself for arm connection.
Guidance on connecting the opener arm to the door bracket and trolley.
Instructions for mounting and wiring the wall-mounted door control.
Procedure for running wires and connecting the door control to the main opener unit.
Instructions for applying necessary safety labels to the garage door and surrounding wall.
Steps for mounting and aligning the safety reversing sensors for obstruction detection.
Guides on wiring the safety reversing sensors to the garage door opener unit.
Instructions for connecting the opener to the power source, either typical or permanent wiring.
Procedure to ensure proper alignment of the safety reversing sensors for correct operation.
Overview of opener adjustments for door travel limits and force sensing.
Specific advice for adjusting travel limits on one-piece garage doors to prevent issues.
Detailed steps to program the open and close travel limits for the garage door opener.
Procedure to test the safety reversal system's functionality after adjustments.
Verification of the safety reversing sensors' operation to ensure proper safety.
Instructions for installing the 12V battery backup into the opener unit.
Procedure to test the battery backup functionality after installation.
Explains the meaning of different LED colors and patterns for battery status.
Requirements and steps to connect your opener to your smartphone using the myQ app.
Explains the meaning of the LED indicators for Wi-Fi connectivity status.
Critical safety guidelines to follow during the operation of the garage door opener.
How to open and close the door using various controls and what to expect.
Details on operating the multi-function and push button door controls.
Instructions for programming and using remote controls and keyless entry devices.
Procedure to erase stored remote control, keyless entry, and Wi-Fi settings.
Steps for manually opening and closing the garage door using the emergency release.
Recommended monthly and annual maintenance tasks for the opener and garage door.
Instructions and warnings for replacing the battery in the remote control.
Identifies diagnostic codes (flashes) and their corresponding solutions for opener issues.
Addresses common issues like light behavior, Wi-Fi connection, and remote control problems.
Provides contact details and outlines the terms of the limited warranty for the product.
Emphasizes child safety and proper usage of garage door opener controls.
Highlights the importance of regular maintenance for safe and reliable opener operation.
Lists parts specifically for the rail assembly, including part numbers.
Lists various parts required for the installation process, with part numbers.
Detailed breakdown of parts for the Model C2212T garage door opener.
Detailed breakdown of parts for the Model C2405 garage door opener.
| Type | Chain Drive |
|---|---|
| Power Source | Electric |
| Max Lift Power | 1/2 HP |
| Connectivity | Wi-Fi |
| Battery Backup | Yes |
| Security | Security+ 2.0 |
| Warranty | 10-year motor warranty, 1-year parts warranty |
| Drive System | Chain Drive |
| Lighting | LED |
| Speed | 7 inches per second |
| Remote Controls Included | 2 |
| Smart Home Compatibility | Amazon Alexa, Google Assistant |
| Safety Features | Safety Sensors |

