INSTALLATION
TIMER TO CLOSE (TTC)
Timer to Close feature enables the operator to close the door after
a preset time, adjustable from 5 to 60 seconds. LMEP must be
connected and unobstructed in order to activate this feature. See
installation section for proper LMEP installation.
PROGRAMMING TTC
1. Begin with door in fully closed position
2. Press and release the LEARN button (DIAGNOSTIC LED will
light.)
3. Press and release the TTC button.
4. Every press and release of the STOP button will add 5 seconds
to the Timer to Close. Example: 30 second TTC = 6 presses of
the STOP button.
5. Press and release the TTC button to exit programming mode.
6. The DIAGNOSTIC LED will flash once per 5 seconds of timer
setting.
The TTC will become active after completion of the next open cycle.
NOTE: LED does not indicate that timer is running.
CLEARING TTC
1. Press and release the LEARN button (DIAGNOSTIC LED will
light.)
2. Press and hold the TTC button for at least 6 seconds.
3. DIAGNOSTIC LED will flash rapidly when button is released.
TIMER DEFEAT
The TTC can be temporarily disabled by pressing the STOP button
on the logic board or STOP button on the 3-button control station.
TTC becomes active after next open cycle.
BASIC PROGRAMMING
DETERMINE AND SET WIRING TYPE MODE
Read the descriptions of the wiring types to determine which
setting will be correct for each application.
TYPE
C2 Momentary contact to open and stop with constant pressure
to close, open override plus wiring for sensing device to
reverse. Timer to Close feature not available.
B2 Momentary contact to open, close and stop, open override
plus wiring for sensing device to reverse. Timer to Close (TTC)
feature available. (LMEP is required for this wiring
type mode).
The operator factory defaults to C2 mode when installed without a
LiftMaster Monitored Entrapment Protection (LMEP) device and B2
mode when an LMEP is installed.
• If C2 mode is desired in conjunction with an installed LMEP
press and hold LEARN and CLOSE for 3 seconds until
DIAGNOSTIC LED goes off.
• To return to standard operation press and hold LEARN and
Stop for 3 seconds until DIAGNOSTIC LED goes off.
PROGRAMMING REMOTE CONTROLS
Built in 315 MHz radio receiver permits as many as 20 Security✚
®
remote controls or dip switch remote controls in any combination.
SINGLE BUTTON REMOTE CONTROLS
1. Press and release the LEARN button (DIAGNOSTIC LED
will light.)
2. Press and hold the button on the remote
control until the Diagnostic LED flashes
rapidly, then release to complete
programming (LED will go out).
3. Repeat steps 1 and 2 for additional
remotes.
3-BUTTON REMOTE CONTROLS
1. Press and release the LEARN button (DIAGNOSTIC LED will
light.)
2. Press and release the
desired function for the
remote button (OPEN,
CLOSE or STOP.)
3. Press and hold the
desired button of the
remote control until DIAGNOSTIC LED flashes rapidly, then
release.
4. Repeat for programming other buttons that are desired.
ERASING REMOTE CONTROLS
Press and hold the LEARN button (over 5 seconds) until the
DIAGNOSTIC LED flashes rapidly. All learned remote controls will
be erased.
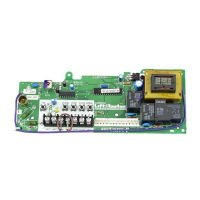
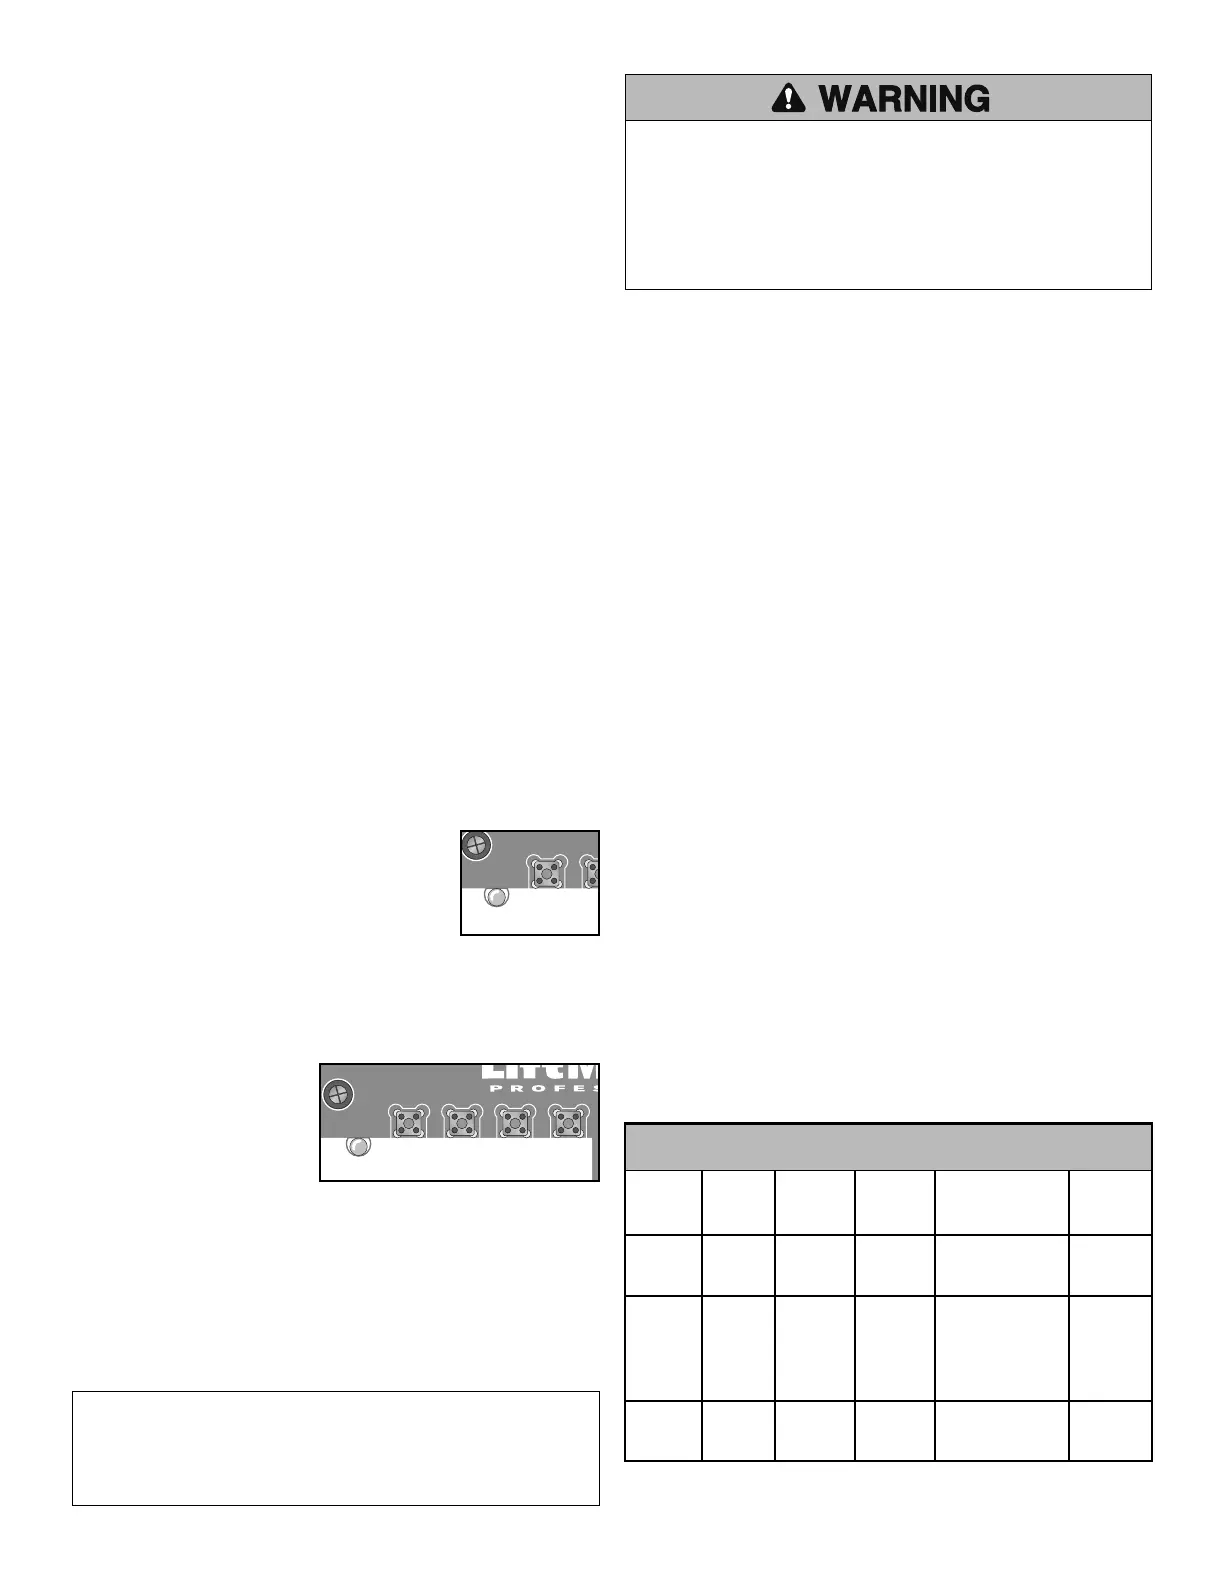
DIAGNOSTIC
D14
C18
LEARN STOP CLOSE OPEN
NOTICE: To comply with FCC and or Industry Canada (IC) rules, adjustment or modifications of this
receiver and/or transmitter are prohibited, except for changing the code setting or replacing the
battery. THERE ARE NO OTHER USER SERVICEABLE PARTS.
Tested to Comply with FCC Standards FOR HOME OR OFFICE USE. Operation is subject to the
following two conditions: (1) this device may not cause harmful interference, and (2) this device
must accept any interference received, including interference that may cause undesired operation.
MODE OPEN CLOSE STOP REVERSE FROM TTC
CLOSING RESET
B2 X X X X
B2
with X X X X WHEN
TTC OPEN
C2 X X X
© 2008, The Chamberlain Group, Inc.
01-34372B All Rights Reserved
To prevent possible SEVERE INJURY or DEATH, install
reversing sensors when:
• The radio is used.
• The 3-button control station is out of sight of the door.
• Or ANY other control (automatic or manual) is used.
Reversing devices are recommended for ALL installations.
 Loading...