11
INSTALL THE LIGHT AND LENS
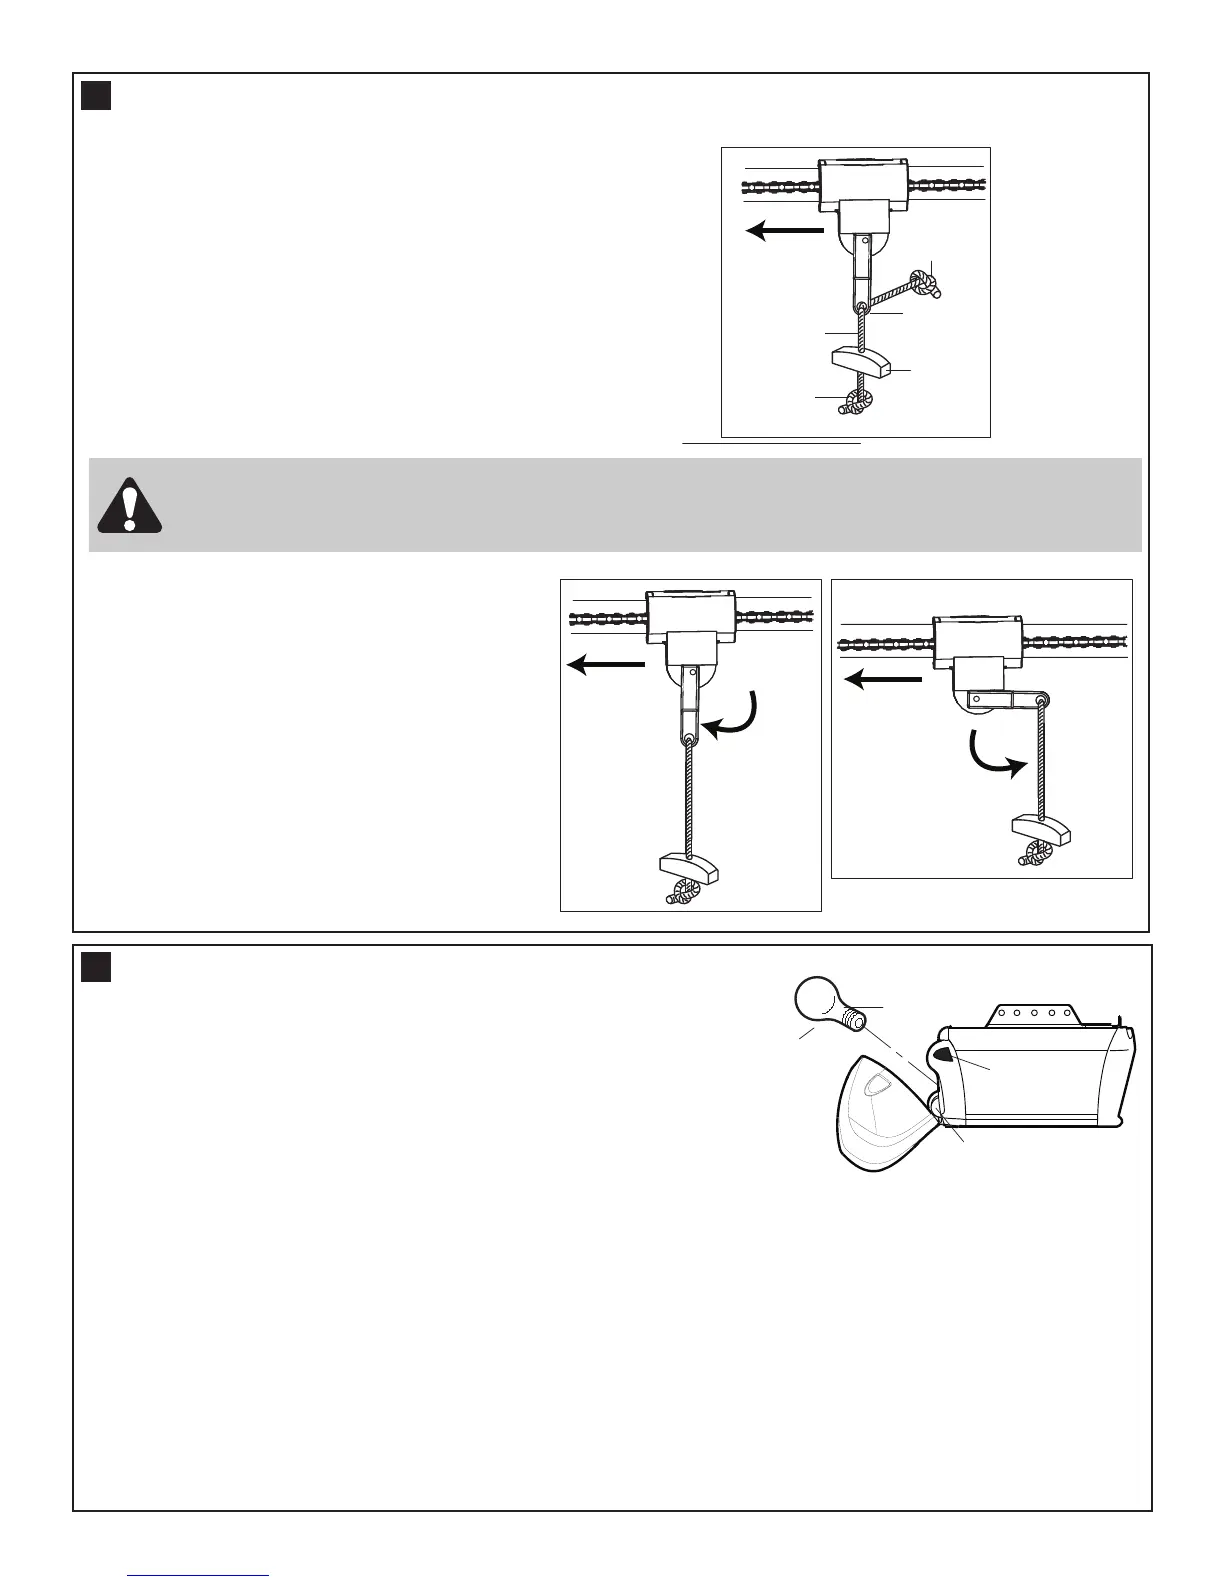
Install the 40 watt maximum light bulb (1) in the socket as shown.
The light will turn on and remain lit for 2-1/2 minutes when power is
connected. After 2-1/2 minutes it will turn off.
Replace light bulb.
Apply slight pressure on sides of the lens (2) and slide tabs (3) into
slots (4) in the end panel. Reverse the procedure to remove the
lens.
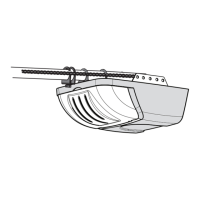
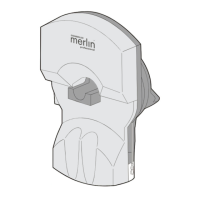
DOOR
DOOR
Disengaged
Engaged
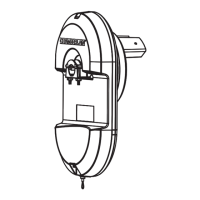
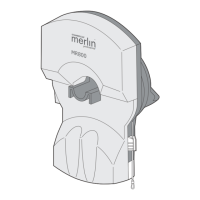
ATTACH MANUAL RELEASE ROPE & HANDLE
Thread one end of rope (1) through hole in top of red handle
so "NOTICE" reads right side up as shown (3). Secure with
an overhand knot (2). Knot should be at least 25mm (1")
from end of the rope to prevent slipping. Thread other end
of rope through hole in release arm of the outer trolley (4).
Adjust rope length so that handle is 1.8m (6 feet) above the
floor. Secure with an overhand knot.
Note: If it is necessary to cut rope, heat seal cut end
with a match or lighter to prevent fraying.
Door should be released in the closed
position if possible.
To Disengage:
Pull down the on red handle.
DO NOT USE THE HANDLE TO OPEN OR
CLOSE THE DOOR.
To Engage:
Pull the red handle up and back towards the
opener. The trolley will engage when opener
is activated.
DO NOT DISENGAGE THE OPENER TO MANUAL OPERATION WITH CHILDREN, PERSONS OR OTHER OBJECTS
INCLUDING MOTOR VEHICLES WITHIN THE DOORWAY: (The door is under significant tension and if the door has
developed a fault or incorrect tension, it may be unsafe and may fall rapidly.)
18
19
 Loading...