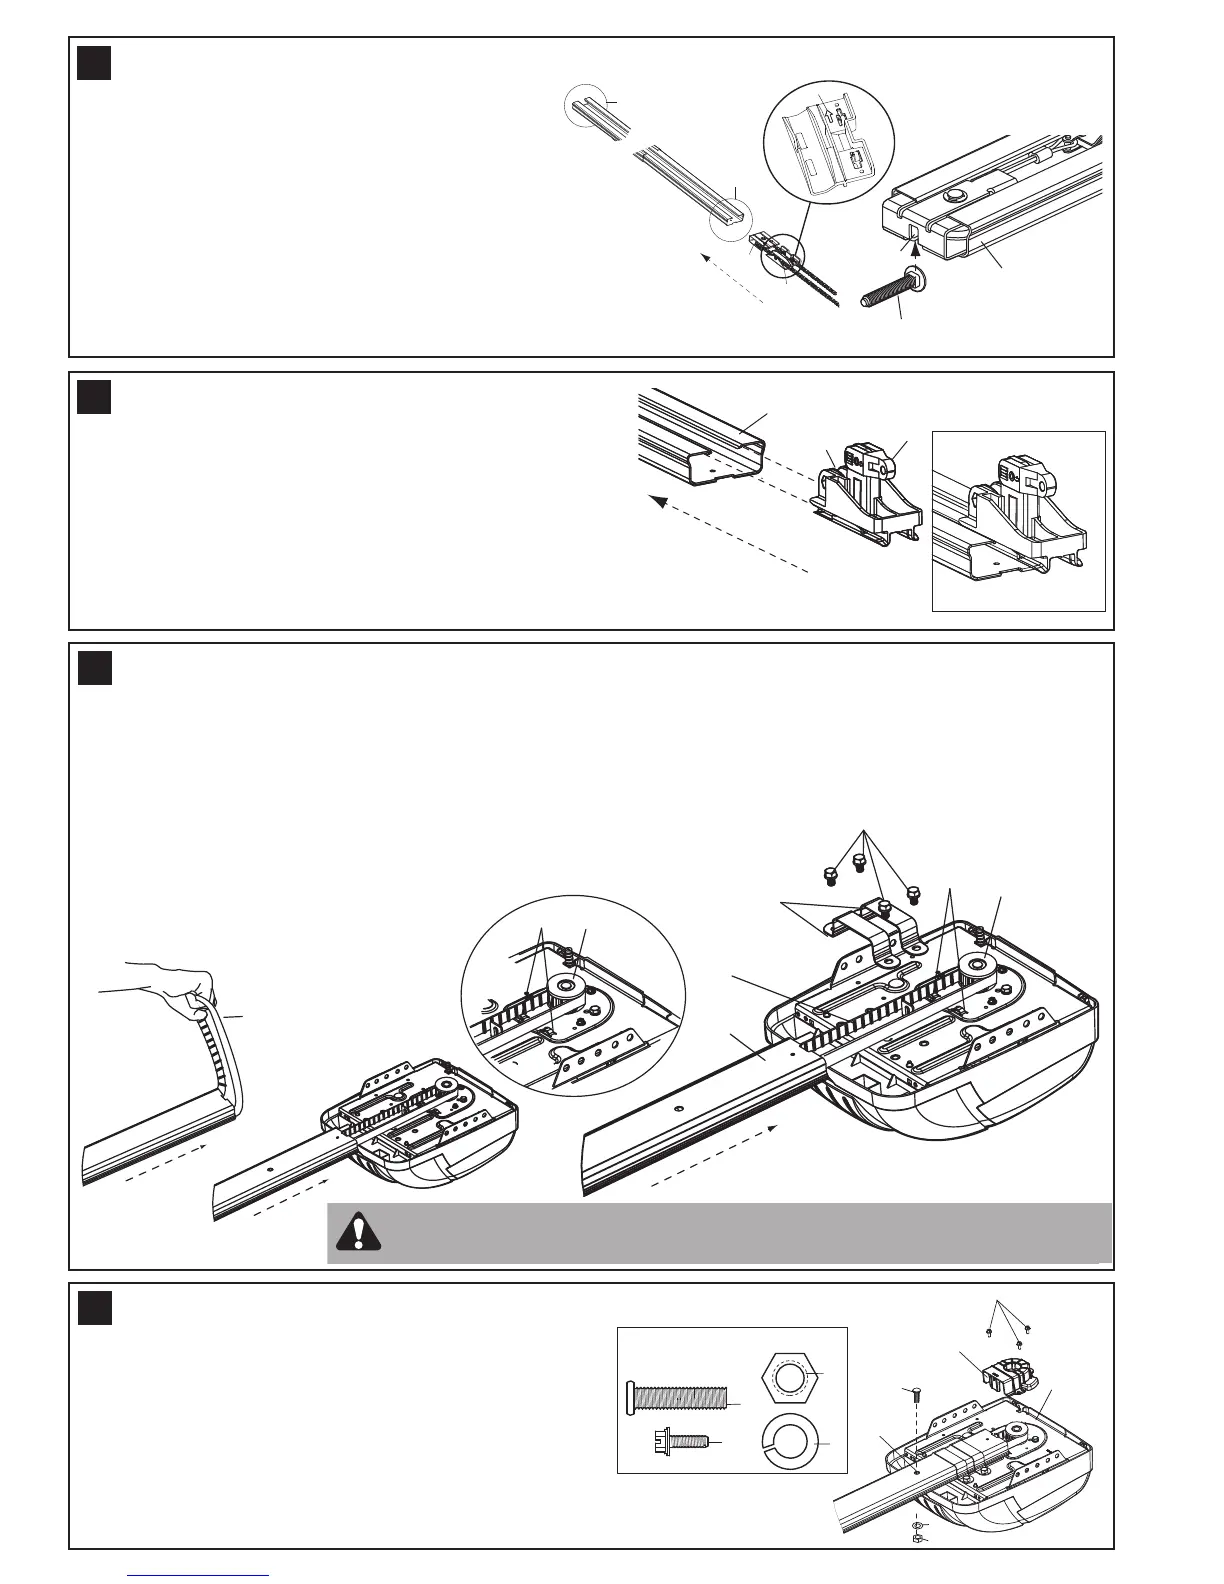
To prevent the belt from fouling, pull the excess to the
opener end before inserting the trolley.
Slide outer trolley (1) into back (opener end) of the rail
assembly (2), be sure end with trolley release arm (3) is
heading in direction of opener. Slide outer trolley down rail
until it engages with inner trolley.
Move the engaged trolley assembly to the midpoint of the rail,
then turn the rail assembly over ready to fasten to the opener.
8
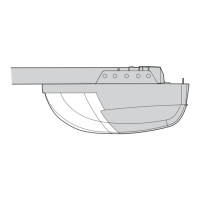
Remove four washered bolts (1) from top of opener. Place rail (2) on opener, flush with stop (3) on top of opener.
Wrap belt (4) over sprocket (5). Push idler pulley bracket assembly toward front of the rail to eliminate excess slack
in belt. Align bolt holes on brackets (6) with bolt holes on opener. Secure brackets to opener with the bolt previously
removed. Tighten bolts securely.
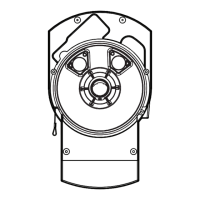
The opener sprocket teeth must engage the belt.
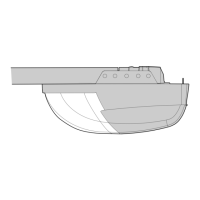
Place sprocket cover (1) on top of the opener (2),
secure with screws (3). Insert bolt (4) into trolley stop
hole (5), secure with washer (6) and nut (7).
9
10
Slide idler pulley bracket (1) and inner trolley (2)
into back (opener end) of rail assembly (3), be
s
ure to insert idler pulley bracket as shown. Arrow
on trolley (7) must face toward front (door end) of
rail (4). Push idler pulley bracket toward front
(door end) of rail (4). Insert carriage bolt (5) into
bolt cut out in the idler pulley bracket (6).
7
CAUTION: Use only those bolts mounted in the top of opener. Use of any
other bolts will cause serious damage to opener.
4
INSERT TROLLEY & IDLER PULLEY BRACKET INTO RAIL
FASTEN RAIL TO OPENER & INSTALL BELT
ATTACH TROLLEY TO RAIL
ATTACH SPROCKET COVER