This document describes the Chapin 50 Lb. Professional Landscaper Spreader, a device designed for spreading various materials, likely seeds, fertilizers, or other granular products, across a landscape. The manual provides comprehensive instructions for assembly, operation, maintenance, and troubleshooting, ensuring proper and effective use of the spreader.
Function Description
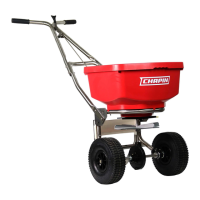
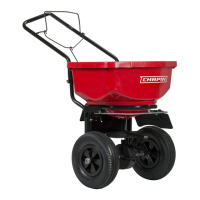
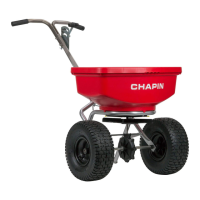
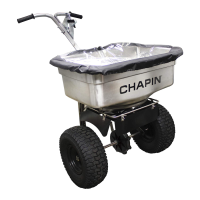
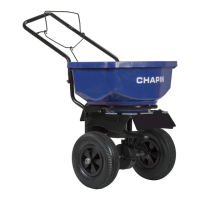
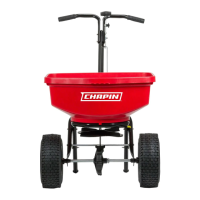
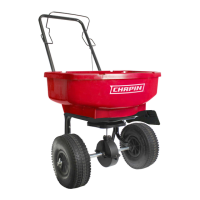
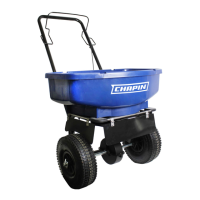
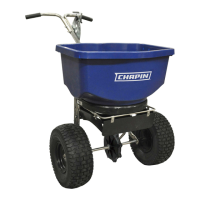
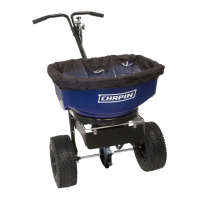
The Chapin 50 Lb. Professional Landscaper Spreader is a wheeled, push-style spreader designed for precise and even distribution of granular materials over a lawn or garden. It features a hopper to hold the material, an agitator to ensure consistent flow, and a gate control mechanism to adjust the spread rate. The device is equipped with a handle assembly for user control and wheels for mobility. Its primary function is to facilitate the efficient and uniform application of landscaping products, such as seeds, fertilizers, and other granular chemicals, over large areas. The spreader is designed to be user-friendly, with clear instructions for assembly and operation.
Important Technical Specifications
The spreader has a capacity of 50 pounds, indicating it can hold a significant amount of material, reducing the frequency of refills during use. The manual details various components and their specifications, which are crucial for assembly and maintenance.
Usage Features
The Chapin spreader is designed with several features to enhance its usability and effectiveness:
- Handle Assembly: The handle assembly (C-1) is attached to the frame (C-2) using hex bolts and nuts (H-2). The manual provides clear instructions for aligning the holes and securing the components.
- Frame Assembly: The frame assembly involves attaching the handle to the main body. The manual highlights the importance of using the correct bolts and nuts (H-2 and H-3) and ensuring proper alignment.
- Adjustable Handle Height: The handle offers three height settings: lowest, medium, and highest. This allows users to adjust the handle to a comfortable position, reducing strain during operation. The manual instructs users to utilize the different holes on the body for height adjustment.
- Actuator Rod Assembly: The actuator rod (C-4) is inserted through a hole in the control handle and secured with an M6 flat washer (H-7) and an external retaining ring (H-6). This rod is crucial for controlling the gate opening.
- Gate Control Adjustment: The gate control mechanism allows users to adjust the opening of the gate, thereby controlling the spread rate. The manual provides instructions for threading an M6 hex nut (H-1) onto the threaded end of the actuator rod (C-4) and securing it with an M6 locking split washer (H-9) and an M6 hex nut (H-1). This setup allows for precise adjustment of the gate opening.
- Gate Opening Stop: The spreader features a gate opening stop that can be adjusted to position 30, as shown in an illustration. This allows for consistent and repeatable spread settings.
- Handle in Closed Position: The manual emphasizes ensuring that the handle is completely loose as shown in Figure 1, which indicates the closed position.
- Rotary Gate, Turn Until Closed: To confirm the hopper gate is closed, users are instructed to reach under the hopper and turn the gate counterclockwise until the gate is closed. This ensures no material spills when the spreader is not in use.
- Open Position and Adjust Nuts: For the open position, users are instructed to move the handle to the open position and adjust both nuts approximately 1/4" up the rod as indicated in Figure 3. This ensures the gate is fully open for maximum spread. The manual warns that if the handle does not remain closed or open, the tension needs to be created by loosening or tightening the nuts in 1/4" increments until proper tension is created.
- Attaching Auger to Hopper: The auger (H-10) is attached to the hopper by screwing in the auger nut (H-5). This component is vital for agitating the material and ensuring a smooth flow.
Maintenance Features
The manual provides important guidelines for storage and maintenance to ensure the longevity and optimal performance of the spreader:
- Storage and Maintenance:
- Garden Hose Cleaning: Use a garden hose to wash down the spreader after each use. This prevents material buildup and corrosion.
- Direct Spray Avoidance: Be careful not to direct the spray directly onto the gear box, as this could damage the internal mechanisms.
- Power Washer Avoidance: It is recommended NOT to use a power washer on the spreader, as the high pressure can damage components.
- Grease Application: On models with a grease fitting, it's recommended to apply a general purpose grease at least once a month. This lubricates moving parts and prevents wear.
Application Chart / Table of Application
The manual includes an application chart for Scott's Turf Builder Weed and Feed, providing gate settings for various spread rates. This chart is crucial for users to achieve the desired application density.
- Gate Setting: The chart lists gate settings from 6 to 30.
- LBS/1000 SQ FT (0.005 KG/M2 (LB/1,000 P2)): The chart provides corresponding spread rates in pounds per 1000 square feet (or kilograms per square meter). For example, a gate setting of 6 corresponds to 1.2 lbs/1000 sq ft, while a setting of 30 corresponds to 18.1 lbs/1000 sq ft.
- Manufacturer's Instructions: The manual advises users to always follow the manufacturer's instructions for seeds and fertilizer applications.
- Sample Spread Pattern: A diagram illustrates a sample spread pattern, showing how to apply material in overlapping passes to ensure even coverage. This includes starting at the edge and making passes in a consistent direction.
Replacement Parts
The manual provides a detailed list of replacement parts, including their reference number, quantity, part number, and description in English, Spanish, and French. This ensures that users can easily identify and order necessary components for repairs.
- 1 (Qty 1) 6-9130 Gear Box Assembly: The central mechanism for driving the agitator.
- 2 (Qty 1) 6-4662 Impeller / Impulsor / Roue à ailettes: The component that disperses the material.
- 3 (Qty 1) 6-9044 Wheels w/hardware / Ruedas C/herrajes / Roues avec matériel (10" / 25.4cm): The wheels for mobility, including associated hardware.
- 4 (Qty 1) 6-9136 Grate / Parrilla / Grille: A screen that prevents large clumps from entering the spreading mechanism.
- 5 (Qty 1) 6-9137 Rear Baffle / Bafle posterior / Cloison arrière: A component that helps direct the spread pattern.
- 6 (Qty 1) 6-9133 Gate Control Assembly / Conjunto del control de la compuerta / Ensemble du contrôle de la vanne: The mechanism for adjusting the gate opening.
- 7 (Qty 2) 6-9062 Handle Grips / Cubiertas de manijas / Prises de poignées: The ergonomic grips for the handle.
- 8 (Qty 1) 6-9122 Hardware Blister / Bolsa de herrajes / Sac de matériel: A package containing various small hardware components.
The manual also includes a warning section in English, Spanish, and French, emphasizing the importance of reading and understanding all instructions before use to prevent improper use, product failure, or injuries. It highlights the need to wear protective eyewear and gloves when handling and applying lawn and garden chemicals and to read chemical label instructions.
Overall, the Chapin 50 Lb. Professional Landscaper Spreader is a robust and user-friendly device designed for efficient and precise application of granular materials, supported by comprehensive documentation for assembly, operation, and maintenance.