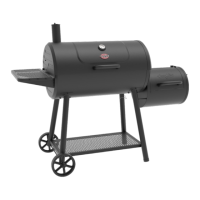
Do you have a question about the Char-Griller Smokin’ Outlaw 3724 and is the answer not in the manual?
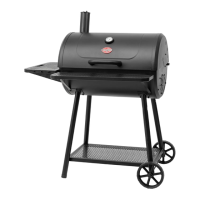
| Type | Charcoal Grill |
|---|---|
| Material | Steel |
| Fuel Type | Charcoal |
| Wheels | Yes |
| Side Shelf | Yes |
| Adjustable Fire Grate | Yes |
| Temperature Gauge | Yes |
| Features | Adjustable fire grate, temperature gauge, side shelf |
| Construction | Steel |
Provides essential safety guidelines for grill operation, setup, and maintenance.
Attaching long legs, short legs, and leg braces to form the base structure.
Securing the bottom shelf to the assembled leg structure.
Installing the axle, wheels, and hub caps for mobility.
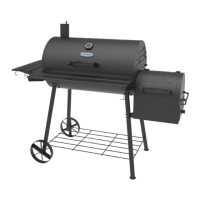
Connecting the main grill body to the leg assembly.
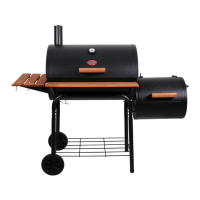
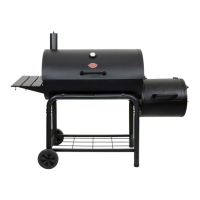
Attaching the Side Fire Box (SFB) to the main grill body.
Securing the side shelf to the main grill body.
Attaching the grill hood to the grill body using hinge pins.
Installing the smokestack onto the grill hood.
Installing the thermometer and hood handle onto the grill hood.
Attaching hood handle, side handle, and drawer latch.
Installing damper circle, drawer handle, and placing grates.
Placing ash pan, ash pan hangers, and grease cup holder.
Attaching utensil hooks and placing cooking grates.
Guidance on setting up the grill on a stable surface with adequate ventilation.
Instructions for the initial seasoning of the grill's cooking grates and surfaces.
Steps for safely lighting charcoal for cooking.
A comprehensive chart detailing smoking times and temperatures for various foods.