5
Instructions — “Chute” Attachment and Use
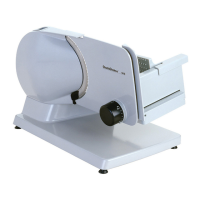
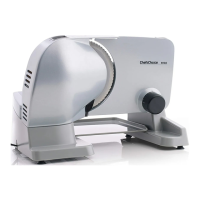
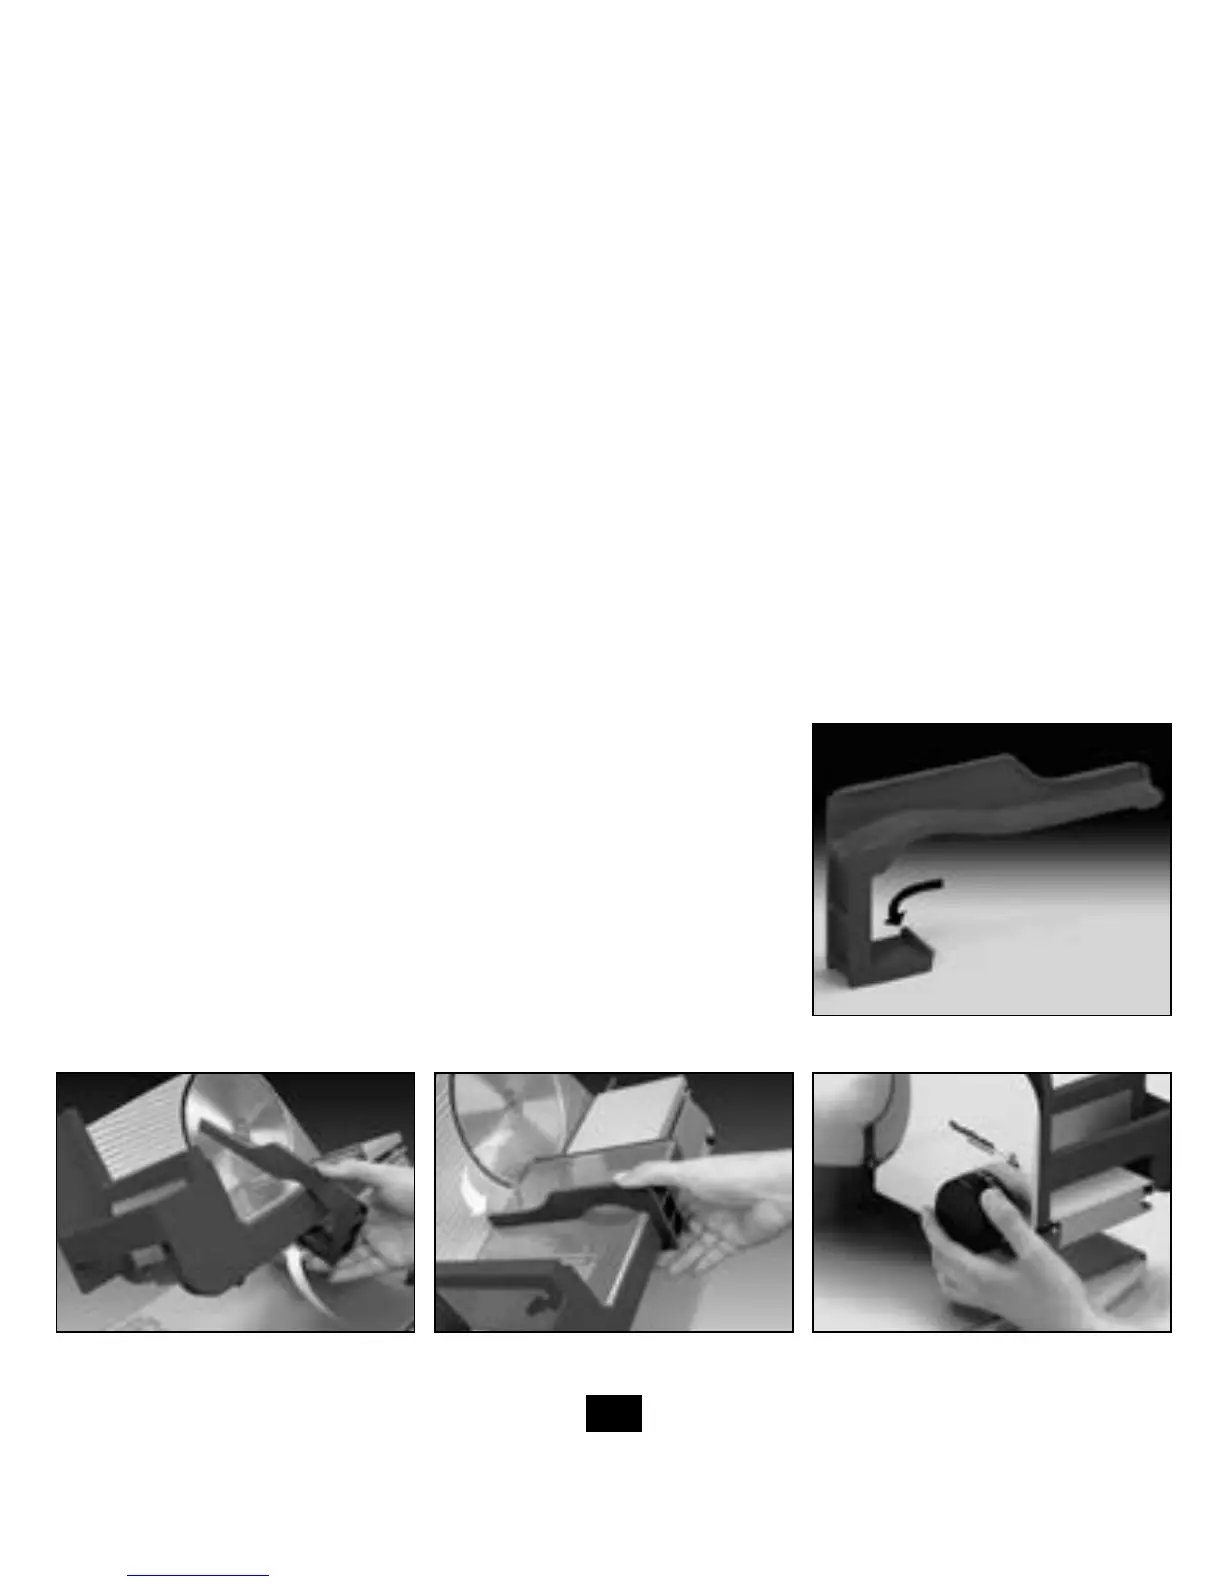
TheModel645FoodSlicercomesequippedwithaconvenient“chute”(seeFigure4)tohelpslicefooditemswhen
the slicer is operated in the “gravity feed” mode.
To mount the chute:
1. Remove the food carriage from the slicer.
2. Note the “engagement clip” on the “L” shaped chute. Position the “engagement clip” on the underside of the food
carriage behind the gray plastic lip.
3. Rotate the long portion of the “L” shaped chute onto the stainless steel top surface of the food carriage until it
snapsintoposition(Figure5and6).
Please note that when using the chute the food should self-feed while slicing in the “gravity feed” mode. The food
pusher cannot be used when the chute is in place.
Caution: Do not use hands or fingers to push the food. If the food does not easily self-feed during slicing, remove the
chute and use the food pusher to continue slicing.
Before You Slice
Caution: Avoid personal contact with the blade edge. Serious injury can result.
1. Beforeusingtheslicerforthersttime,disassembleandcleanit(seepage6).
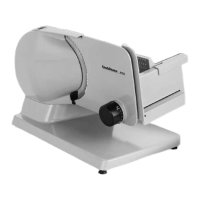
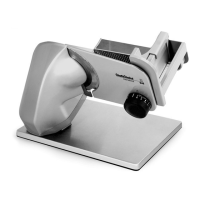
2. Place assembled slicer on a clean, dry smooth surface. Position slicer so
foodcarriage(5)istoyourrightandthicknesscontrolknob(7)toyour
left.Besurebladeisproperlysecured.(Retentionscrewtightenscounter
clockwise).Foodcarriageshouldglidesmoothlyinitstrack.Pullittoward
you and away from the blade.
3. Movesafetyswitch(Figure3)toPositionB.
4. Place the food on the carriage and attach the food pusher on the back
edge of the carriage. For extra large foods, such as briskets or slab bacon,
their length may have to be reduced to fit on the carriage.
5. Setthethicknesscontrolknobs(Figure7)fordesiredthickness.
6. Placefoodtrayonthebaseplate(8),tocatchtheslicedfood.
Figure 7.Figure 6.
Snaps into
position
Figure 5.
Engagement Clip
Figure 4.
Engagement
Clip
 Loading...