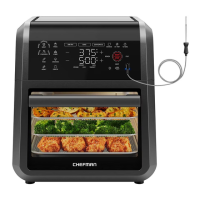
FEATURES BEFORE FIRST USE
With hardly any assembly required, you can be frying in no time!
1. Carefully unpack the Fry Guy and all parts. Read and remove all stickers, except for the rating
label on the bottom of the unit, which should remain on.
2. Clean the interior and exterior surfaces of the deep fryer with a damp cloth or sponge. Wipe
dry with a soft cloth. Never immerse the deep fryer or cord in water or any other liquid.
3. Position the deep fryer on a dry, level, heat-resistant surface. NOTE: We recommend using
a separate outlet and circuit from other appliances when using the deep fryer to avoid
overloading the circuit.
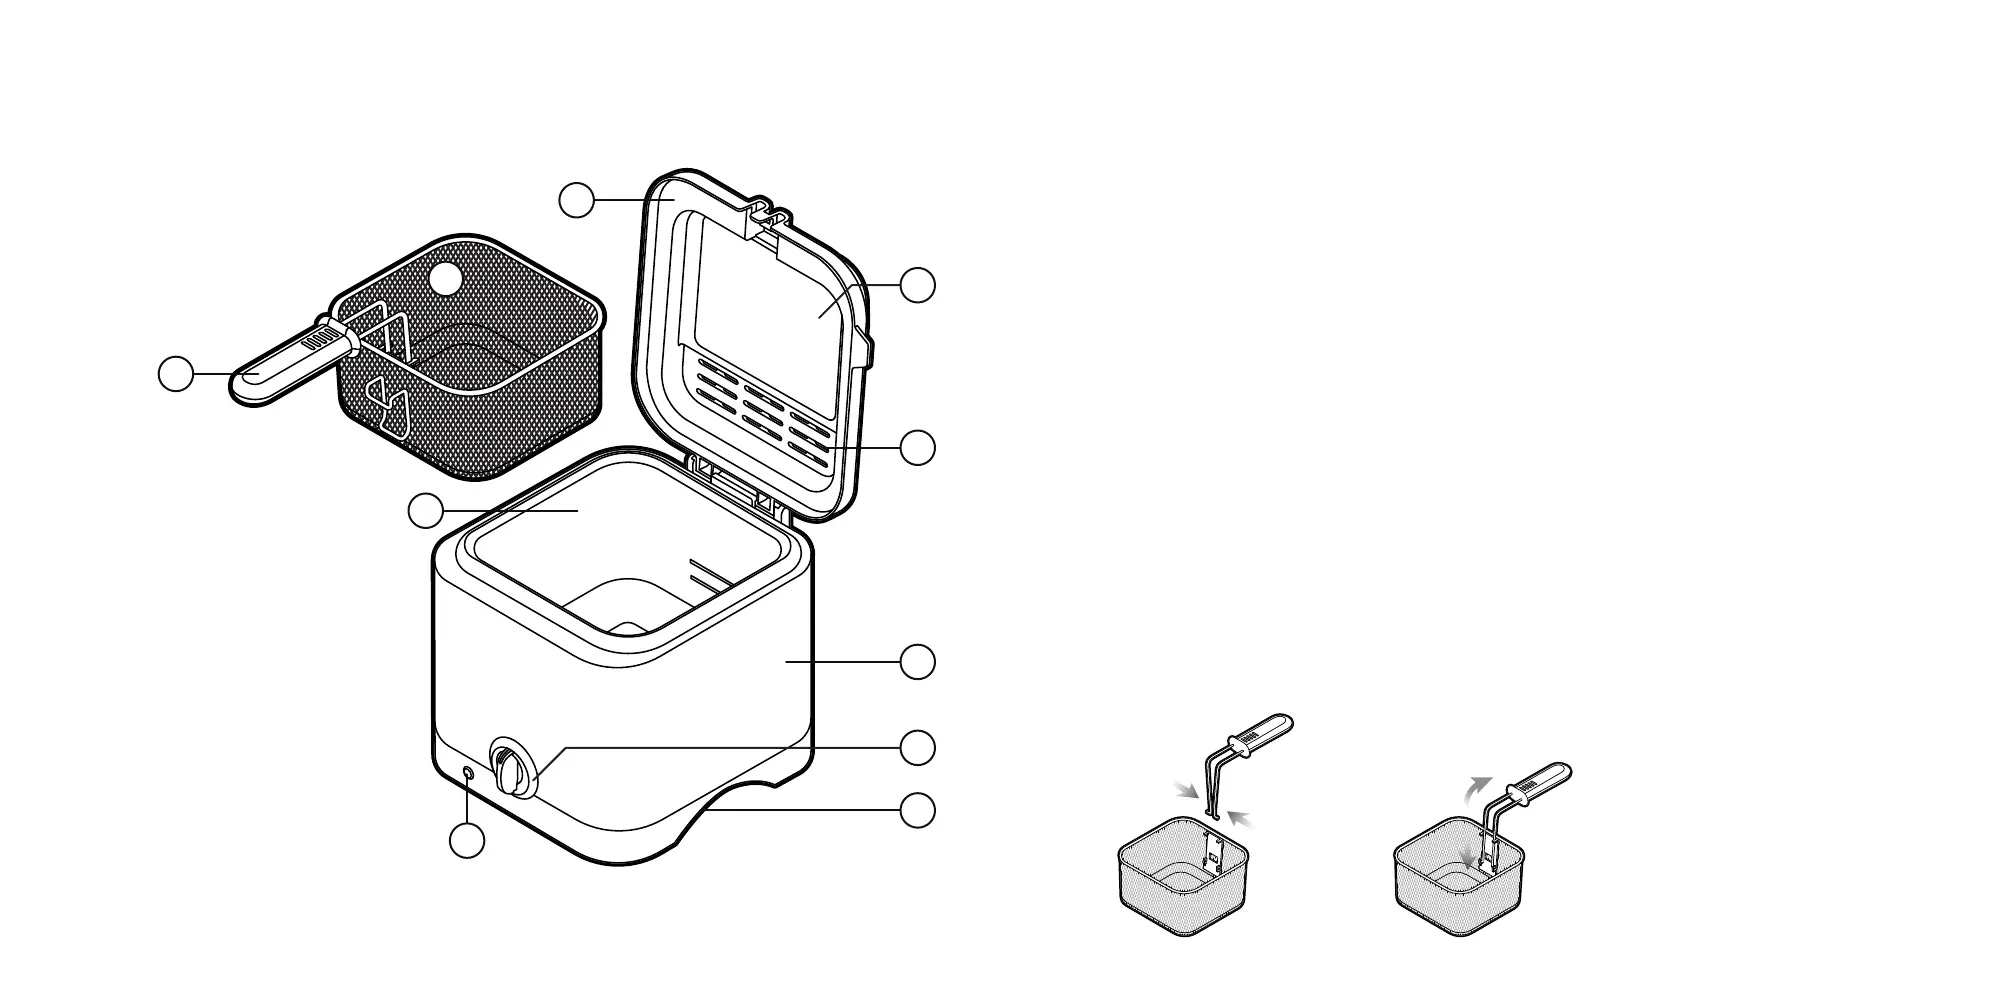
HOW TO ATTACH THE FRY BASKET HANDLE
For safety reasons, be sure the basket handle is attached securely. The basket handle
can remain in place for cleaning and storage or can be removed after each use to store
more compactly.
1. Attach the handle to the basket by pressing in on the tabs and inserting into the holes
of the basket until it locks into place as illustrated.
2. Check that the handle is securely in place by pulling on it. Both prongs should
be in the round holes, and both sides of the handle should be secured by the tabs
on the bracket.
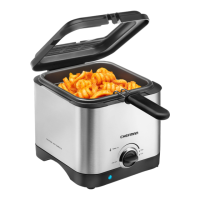
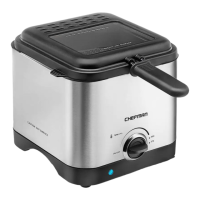
1. Lid
2. Glass Window
3. Filter
4. Wire Fry Basket
with Draining Hook
5. Detachable, Cool-Touch
Basket Handle
6. 1.6-Quart Nonstick Tank
7. Brushed Stainless-Steel
Housing
8. Temperature Control Knob
9. Power Indicator Light
10. Side Handles
11. Magnetic Breakaway
Power Cord (not shown)
1
6
9
5
4
3
7
10
2
8