REV. C PN J63143 - 7 -
6) Install the strainer so it is off the bottom of the chemical container (1 to 2-
inches (25-50mm)) and measure suction tubing length required. Cut tubing ends
square and install on suction fitting of the pump. Hand-tighten only, do not use
wrenches.
5. Operation
WARNING: Always make sure the voltage on the pump data plate matches the
installation voltage before plugging the pump into a wall outlet or hooking up to
an electrical supply. If you are unsure, have a licensed electrician inspect and
install your pump.
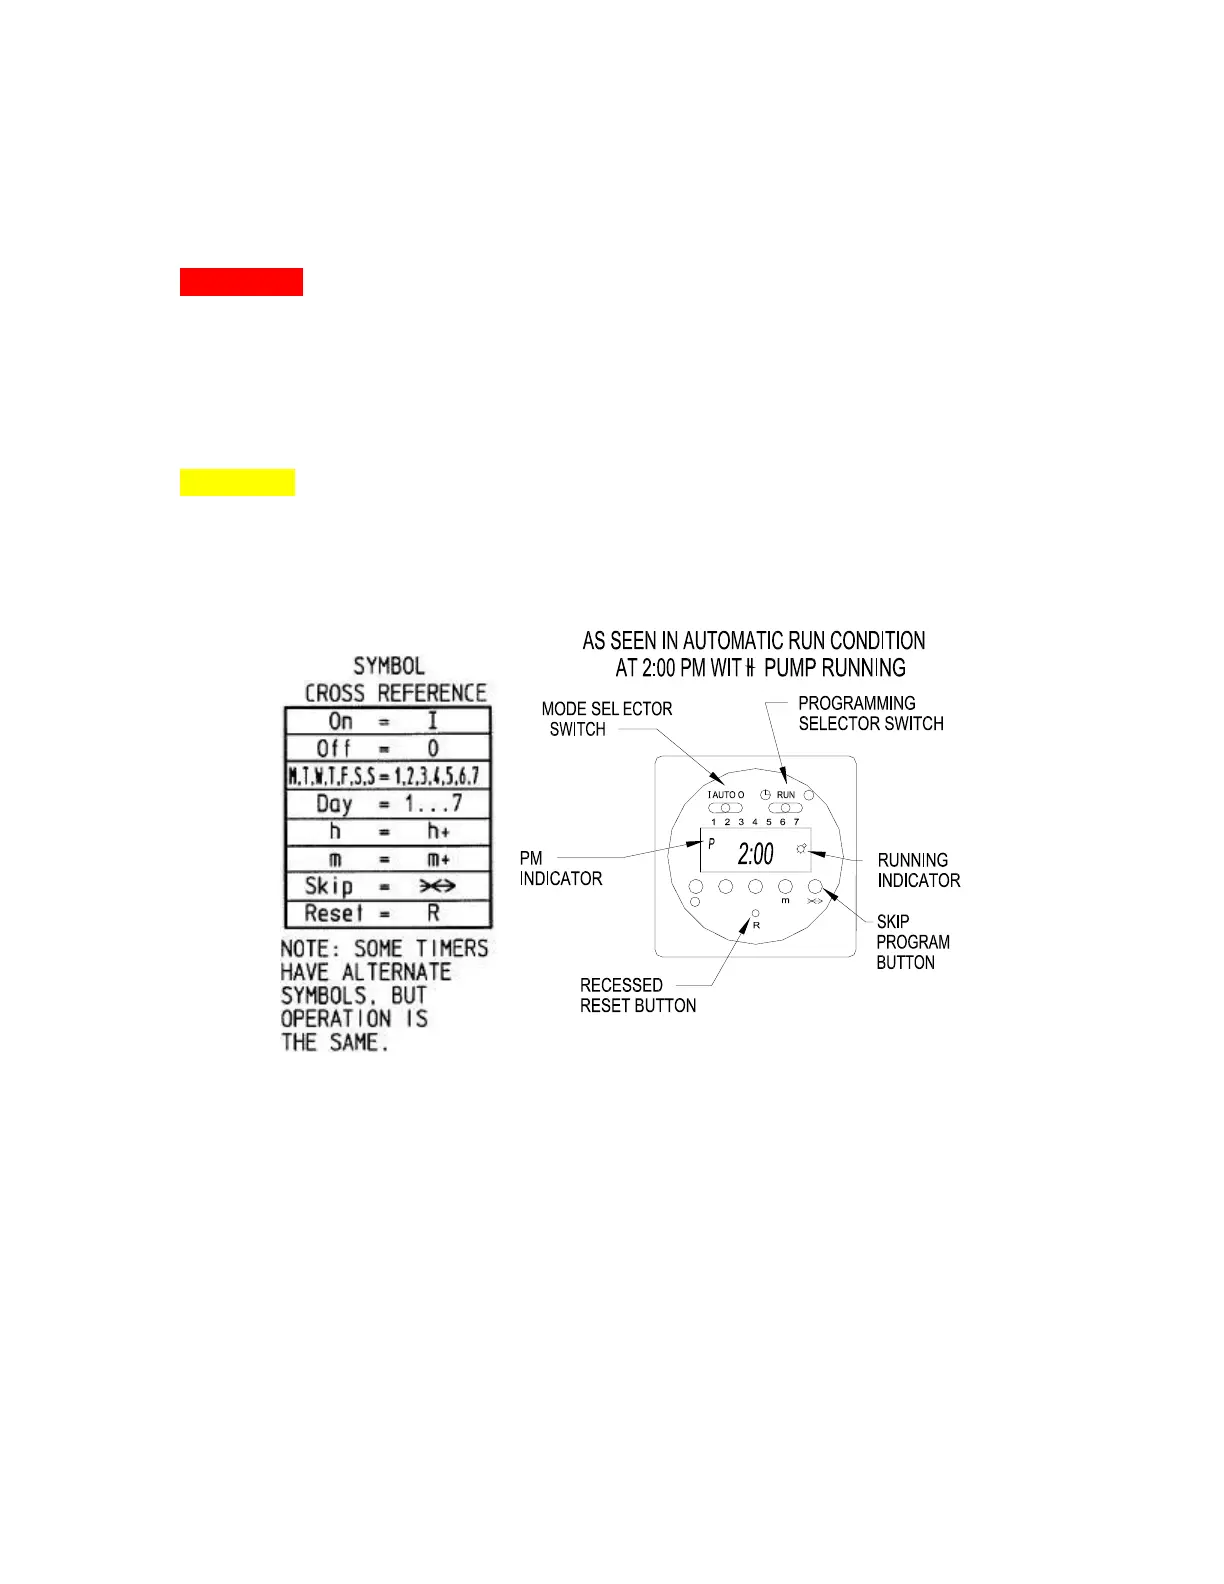
5.1. 7 Day Electronic Timer
CAUTION: Before plugging your pump into a wall outlet take a moment and
locate the control panel of your pump. The control panel is located on top of the
pump. The pump is equipped with a 3-position mode selector switch in the upper
left side of the control panel. Verify the switch in is the off-position before
plugging your pump into a wall receptacle – see Figure 6.
Figure 6
As previously mentioned the mode selector switch has three positions. The off-
position is the right side position of the switch. The switch also provides a
manually-on function in the far left side position. This function is very useful
when priming and/or replacing worn tubing in the pump. The middle position sets
the pump in the automatic (Timer) mode.