3. Use instructions
9
before sleep setting. The “Sleep” button can be used to shut off the screen, namely, shut off the
multiple-color screen in split air conditioners but the backlight in the package chillers.)
10) “Lock” button: It shall be in the “Unlocking” state by default, press this button and the remote
controller will switch “Lock” → “Unlock” → “Lock”. When the “Lock” button is actuated, all buttons
except for the “Lock” button on the remote controller have no effect. (Note: When the “Lock” button is
actuated, the package remote controller and air conditioner operation panel will have all the buttons
locked automatically, but automatically unlocked when this button is pressed again. In split air
conditioners, only remote controller will be locked, instead of the emergency button, but the main
board will have response.)
11) “Lamp” button: It shall be in the “No Lamp Display” state by
default, press this button and the remote controller will switch
“Lamp Display” → “Lamp Display Cancel” → “Lamp Display” . If
the “Lamp Display” is actuated, the “Lamp Display” will not be
cancelled after the “Mode” button is pressed. Press this button
when the remote controller is in its “Off” state, and the remote
controller will switch “Lamp Display” → “Lamp Display Cancel”
→“Lamp Display” .
12) “Purification” button: It shall be in the “No Purification” state by
default, press this button and the remote controller will switch
“Purification” → “Purification Cancel” → “Purification” . If the
“Purification” is actuated, the “Purification” will not be cancelled
after the “Mode” button is pressed. Press this button when the
remote controller is in its “Off” state, and the remote controller will
switch “Purification” → “Purification Cancel” →“Purification” .
2. “Cooling” mode
1) “Running On/ Off” button: Press this button and the remote controller will switch “On” → “Off” →
“On” . After shutdown, it will cancel such functions as “Lamp”, “Purification”, “Sleep”, “High Wind” or
“Timing”.
2) “-” button: The set temperature will have 1°C decreased once this button is pressed, and the
Celsius models will decrease progressively from “32°C → 31°C→…→17°C→16°C”;
3) “+” button: The set temperature will have 1°C increased once this button is pressed, and the
Celsius models will increase progressively from “16°C → 17°C→…→31°C→32°C”;
4) “Swing” button: Press this button to switch “Swing” → “Fixed Wind” → “Natural Wind” → “Swing” .
5) “Wind Direction” button: Press this button to switch “Swing” → “Stop” → “Swing” .
6) “Fan Speed” button: Press this button to switch “Auto Wind” → “High Wind” → “Moderate Wind” →
“Low Wind” → “Auto Wind” .
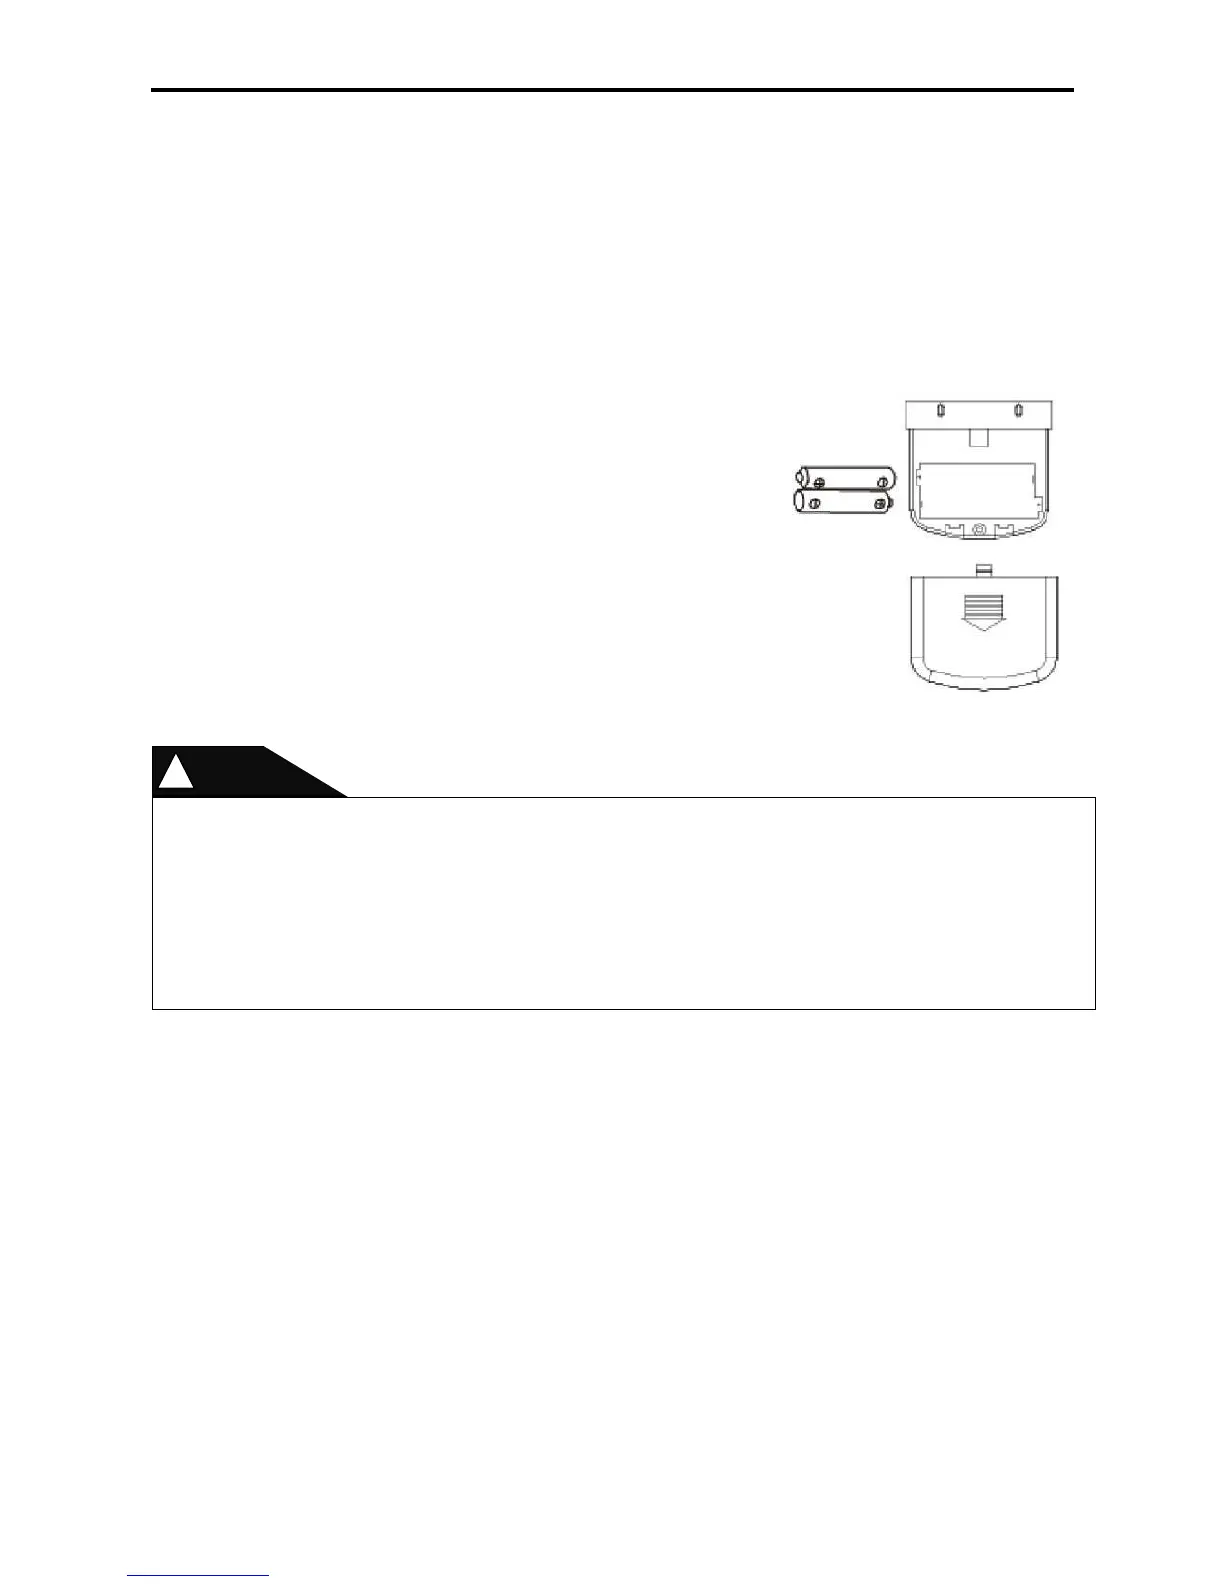
Never use new and old batteries together.
The remote controller should have its batteries taken out when idle for long.
In general conditions, the dry batteries meeting the JIS or IES standard can have the service life
of 6-12 months, but if beyond the service time or not meeting the above specifications, the dry
batteries may be subject to leakage and may even disable the remote controller operations.
The “recommended service life” is marked on batteries, but the actual service time may be
shorter.