Do you have a question about the Christie Roadster HD10K-M and is the answer not in the manual?
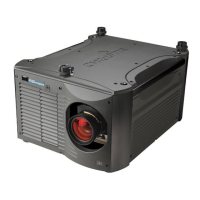
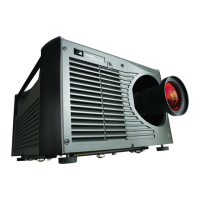
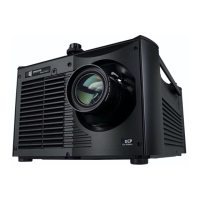
Provides an overview of the M Series projector family and their DLP technology.
Details the operating temperature, storage, humidity, and altitude limits for the projector.
Crucial safety precautions to prevent personal injury and equipment damage during service.
Guidelines for maintaining projector cleanliness, focusing on optics and internal components.
Procedure to adjust lens mount tilt for proper screen-to-projector alignment using test patterns.
Steps to correct color misalignment (red, green, blue) for precise image overlap.
Step-by-step guide on how to retrieve diagnostic error logs from the projector.
A list of common LCD error messages, their conditions, and recommended solutions.
Diagnostic flowchart for identifying and resolving critical hardware fault errors.
A comprehensive list of projector parts and modules with their corresponding part numbers.
Information on available accessories for the Christie M Series projector.
Procedure to remove the main card cage assembly, providing access to other components.
Steps to remove and replace the panel driver board, which handles various interfaces.
Guide to safely remove and replace the projector's power supply unit.