Do you have a question about the cias MANTA 50 and is the answer not in the manual?
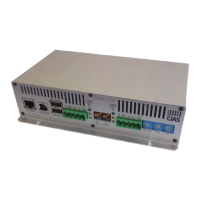
Details the layout of connectors, jumpers, LEDs, and presetting on the transmitter board.
Lists pin functions for the 10-pin connector for local PC serial line connection.
Lists pin functions for the connector for the MW oscillator (DRO).
Explains the function and default settings of transmitter jumpers Jp1, Jp2, and Jp3.
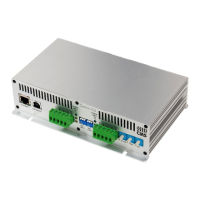
Details the layout of connectors, jumpers, LEDs, and presetting on the receiver board.
Lists pin functions for the receiver terminal block MS1 (alarm, tamper, fault relays, etc.).
Lists pin functions for the receiver terminal block MS2 (power and data connections).
Lists pin functions for the 10-pin connector for local PC serial line connection.
Lists pin functions for the connector for the MW detector.
Explains the function and default settings of receiver jumpers Jp1 and Jp2.
Details the 10 positions of the SW1 function switch for various operations like alignment and setting.
Explains the use of SW2 and SW3 for reading/setting parameters during alignment.
Details how to connect the unit to the power supply using appropriate cables and terminal strip MS2.
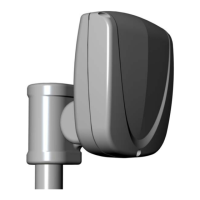
Details steps for transmitter setup, including radome removal, voltage check, and channel selection.
Guides through receiver setup, including radome removal, voltage check, tamper switch, horizontal alignment, signal acquisition, and threshold adjustments.
| Brand | cias |
|---|---|
| Model | MANTA 50 |
| Category | Protection Device |
| Language | English |