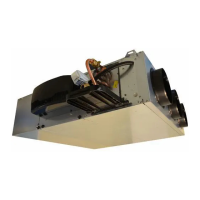
5.4 Heat exchange coil
A clean coil is crucial to the efficiency of the unit. If necessary, clean the coil with a
vacuum cleaner, taking care not to damage the fins.
If the coil must be disassembled on account of a leak:
Disconnect the electrical supply to the unit before carrying out any work.
• Removing the coil :
- Suspended ceiling :
Firstly, disconnect the coil.
- Undo the 4 screws from the hydraulic coil (Fig.15)
- Remove the removable lower panel (a) using the 4 screws.
- Ensure the pan + coil are held securely
- Remove the coil + pan by tilting the assembly on the manifold side downwards.
- Perform the steps in reverse to reassemble
- Raised floor :
Firstly, disconnect the coil.
- Undo the 4 screws from the hydraulic coil (Fig.15)
- Remove the removable upper panel (a) using the 4 screws.
- Take the out coil from the top
- Perform the steps in reverse to reassemble, taking care to ensure the insulation
is not damaged
EN-33 COMFORT LINE™

 Loading...