21
Cisco 12000 Series Router Memory Replacement Instructions
78-4338-16
Replacing and Upgrading Route Processor Route Memory
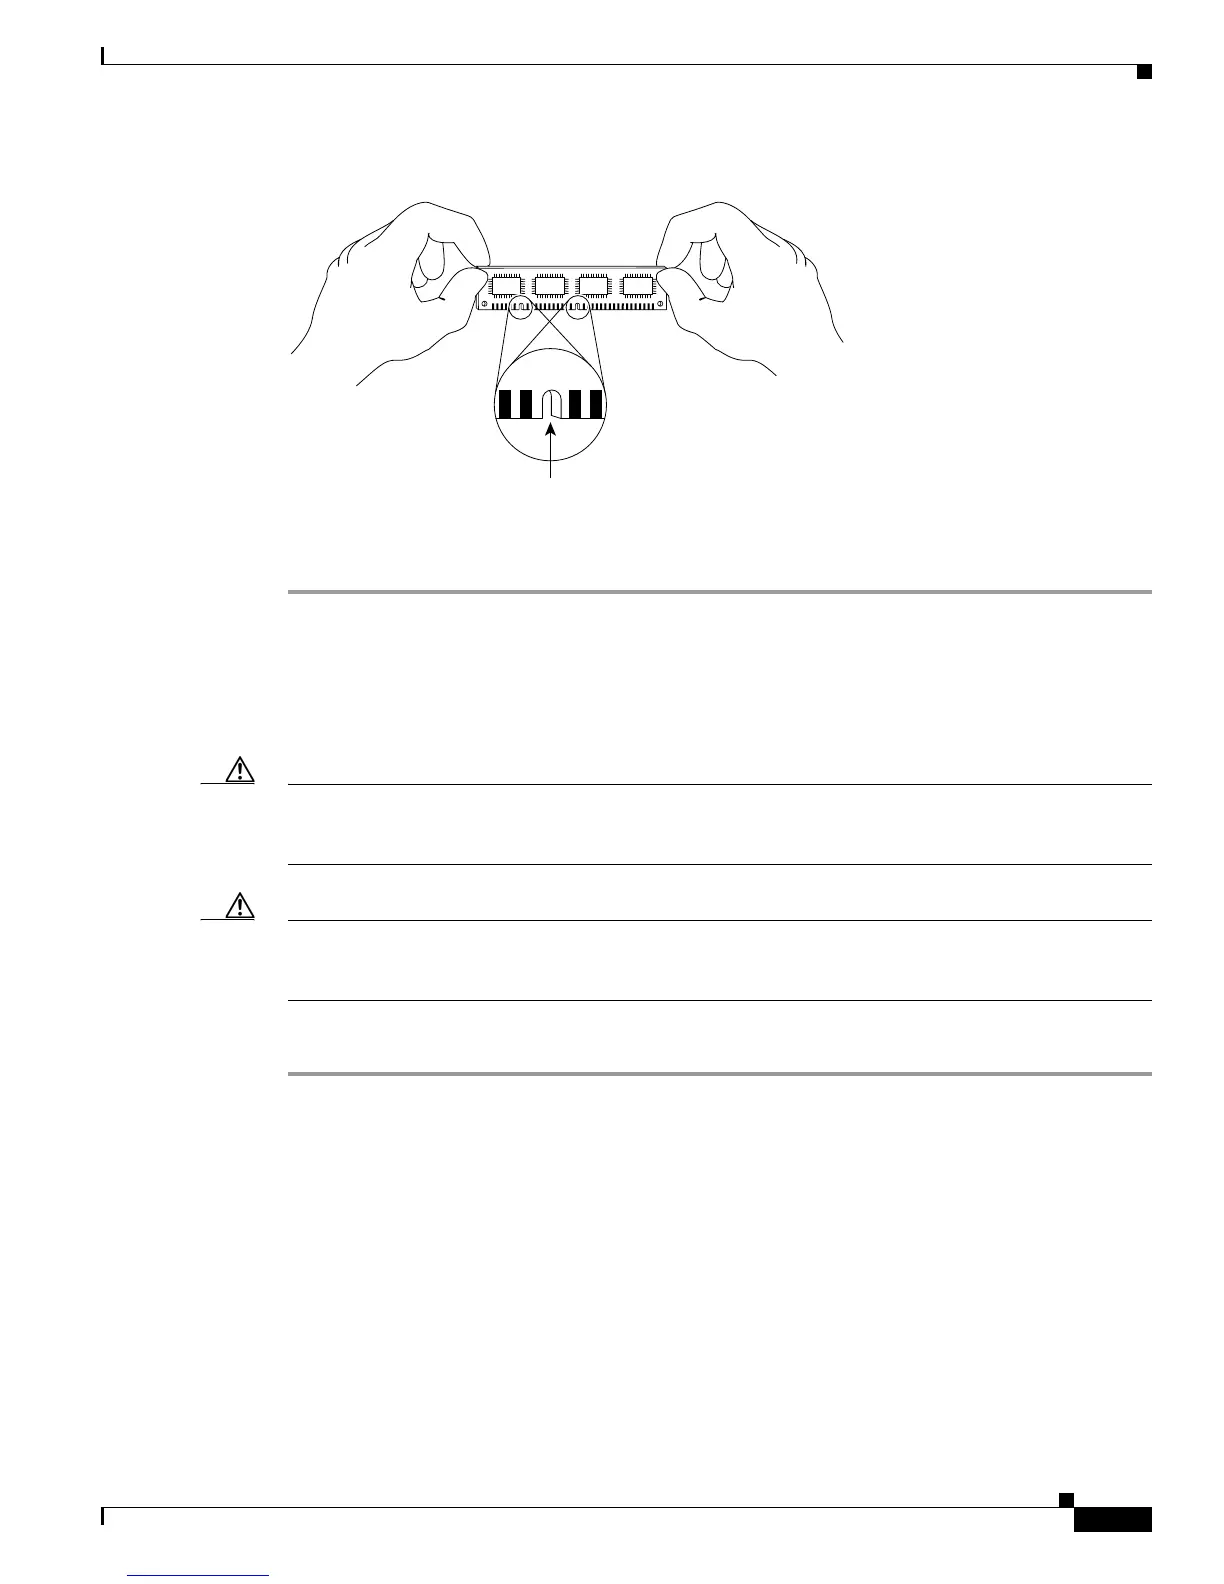
Figure 8 Handling a DIMM
Step 6
Place the DIMM in an antistatic bag to protect it from ESD damage.
Repeat Step 4 through Step 6 for the remaining DIMM, if required for your upgrade.
Installing Route Memory DIMMs on an RP
This section describes how to install a new DIMM on the RP.
Caution To prevent router and memory problems when installing memory, the card’s DIMMs must be 3.3-volt,
60-ns, extended data output (EDO) devices. Do not attempt to install other devices in the RP’s DIMM
sockets.
Caution DIMMs are sensitive electronic components that can be damaged by ESD and contaminated by
mishandling. Do not touch the integrated circuit devices on the DIMM, the metal traces, or fingers, along
the edge of the DIMM, or the pins in the DIMM socket.
To install the new DIMMs, follow these steps:
Step 1 Attach an ESD-preventive wrist strap to your wrist and connect the leash to one of the ESD connection
sockets on the front of the chassis or to a bare metal surface on the chassis.
Step 2 Place the RP on an antistatic mat or pad and position the RP so that the faceplate is toward you and the
backplane connector is away from you.
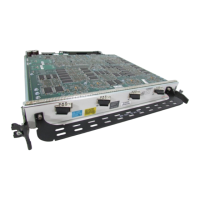
Step 3 Locate the two DIMM sockets on the RP, labeled as follows (see Figure 1 and Figure 2):
• U39 (bank 1) GRP
• U42 (bank 2) GRP
• U15 (bank1) PRP
• U18 (bank2) PRP
Step 4 Remove a new DIMM from the antistatic bag.
H6507
Key
 Loading...