22
Cisco 12000 Series Router Memory Replacement Instructions
78-4338-16
Replacing and Upgrading Route Processor Route Memory
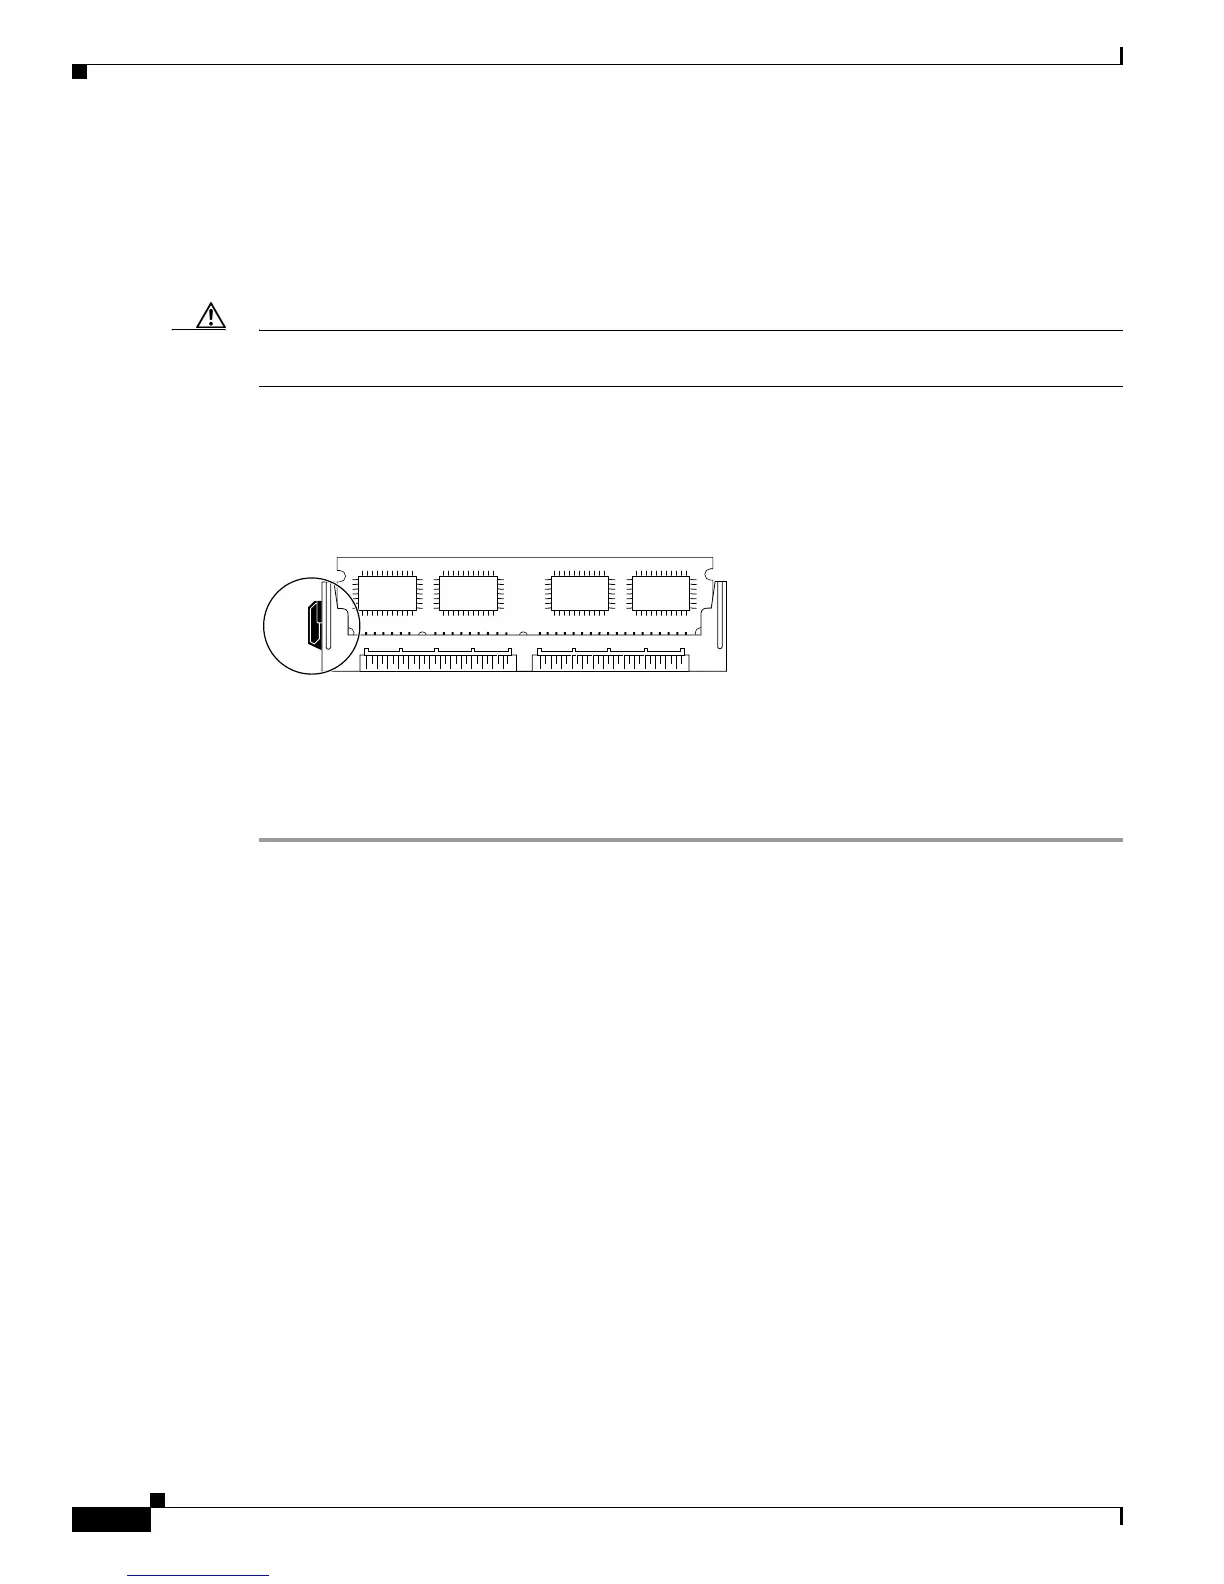
Step 5 Hold the DIMM component-side-up, with the connector edge (the metal fingers) closest to you. Hold the
ends of the DIMM between your thumb and forefinger. (See Figure 8.)
Step 6 Tilt the DIMM to the same angle as the socket and insert the entire connector edge into the socket. The
two notches (keys) on the bottom edge of the module ensure that the DIMM edge connector is registered
properly in the socket.
Caution When inserting DIMMs, use firm but not excessive pressure. If you damage a socket, you will have to
return the RP to the factory for repair.
Step 7 Gently push the DIMM into the socket until the lever is flush against the side of the DIMM socket and
the DIMM’s edge connector is fully inserted. (See Figure 9.) If necessary, rock the DIMM gently back
and forth to seat it properly.
Figure 9 Installing a DIMM in a DIMM Socket
Step 8
Check that the release lever is flush against the side of the DIMM socket. If it is not, the DIMM might
not be seated properly. If the DIMM appears to be misaligned, carefully remove it and reseat it in the
socket. Push the DIMM firmly back into the socket until the release lever is flush against the side of the
DIMM socket.
Step 9 Repeat Step 4 through Step 8 to install the remaining DIMM, as required.
Proceed to the next section and follow the procedure to replace the RP in the card cage slot from which
you removed it. If the router is equipped with a single RP, you will need to restart the router before you
can perform an installation check. If the router is equipped with an optional, redundant RP, the RP you
return to the card cage will power up and reinitialize when it is seated in the backplane connector.
Checking the Installation of RP Memory
Turn on power and allow the router to reboot. The time required for the router to initialize varies with
different router and memory configurations. Routers with 256 MB or more of memory might take longer
to boot than those with less. If the router fails to boot properly or if the console terminal displays a
checksum or memory error after you have installed new DIMMs, check the following:
• Ensure that all DIMMs are installed correctly. If necessary, shut down the router and remove the RP.
To check the DIMMs, look straight down on the DIMMs to inspect them at eye level. They should
all be aligned at the same angle and the same height when properly installed. If a DIMM appears to
stick out or rest in the socket at a different angle from the others, remove the DIMM and reinsert it.
Then replace the RP in the card cage and reboot the router for another installation check.
• DIMMs must be EDO, 3.3-volt, 60-ns DRAM (GRP) or PC-133-compliant SDRAM (PRP) devices.
The speed is printed along one edge of the DIMM.
H6512
 Loading...