30
Cisco 12000 Series Router Memory Replacement Instructions
78-4338-16
Removing and Installing Line Card Memory
Step 4 Locate the route memory socket on the line card. (See Figure 5 for ISE line cards or Figure 6 for Engine
4 and Engine 4+ line cards.)
Step 5 Remove the new SODIMM from its protective antistatic bag.
Caution Grasp the edges of the SODIMM only. Do not touch the integrated circuit devices on the SODIMM, the
metal traces, or fingers, along the edge of the SODIMM, or the pins in the SODIMM socket.
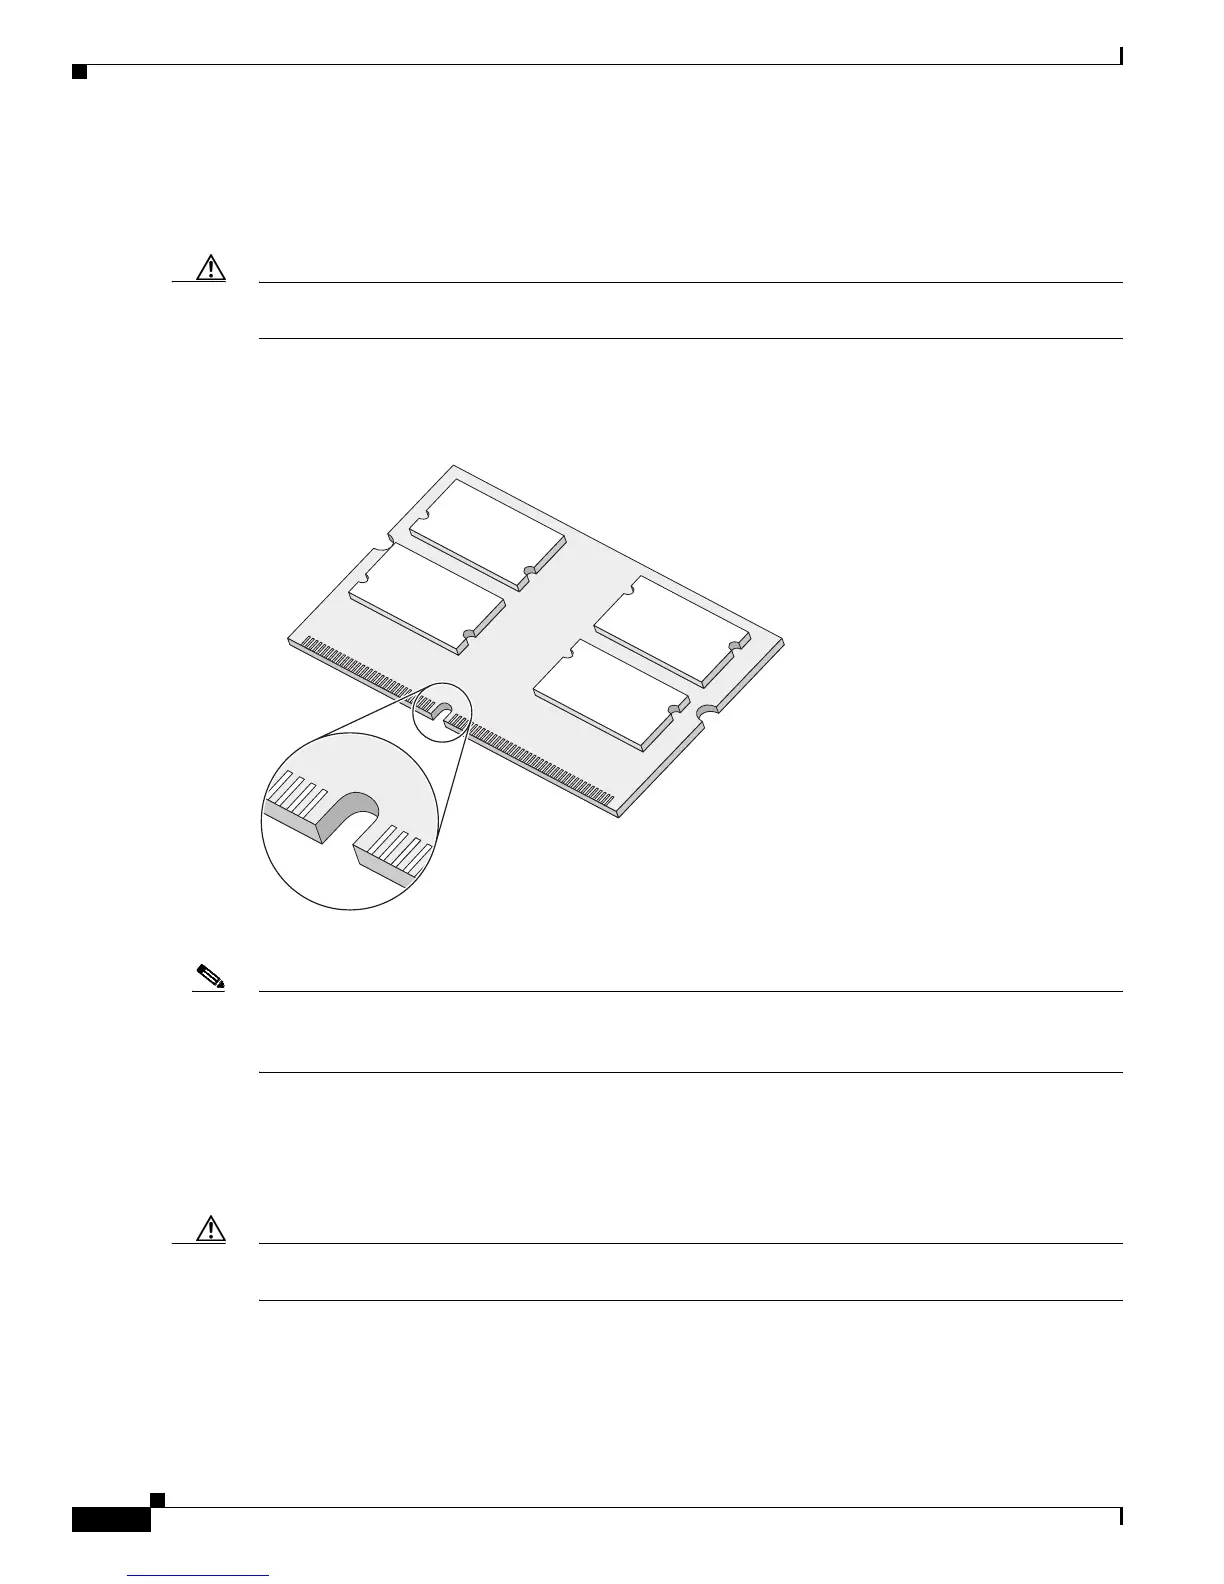
Step 6 Line up the SODIMM key with the key in the board socket. (See Figure 16.)
Figure 16 SODIMM with Key in Face-Up Position
Step 7
The SODIMM must be lined up at a 45-degree angle. (See Figure 17a.)
Note When the key is in the face-up position, the metal traces on the left side of the key measure 0.9 inches
(23.20 mm). The metal traces on the right side of the key measure 1.29 inches (32.80 mm). The
SODIMM can not be inserted until the keys are lined up properly.
Step 8 Place both thumbs at the end of the socket and use your index fingers to guide the module in to the socket
until it is fully seated.
Be sure your index fingers are located on the outer corners of the SODIMM to maintain even pressure
when the module is seating in the socket.
Caution On ATM ISE line cards, take care that the module being installed in DIMM1 does not touch the
SODIMM module installed in DIMM0.
75759
 Loading...