17
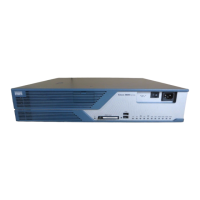
Installing and Upgrading Fans in the Cisco 3825 Series Routers
78-18642-01B0
Upgrading the Cisco 3825 Fan Unit
Step 1 Lower the fan unit down and onto the chassis floor.
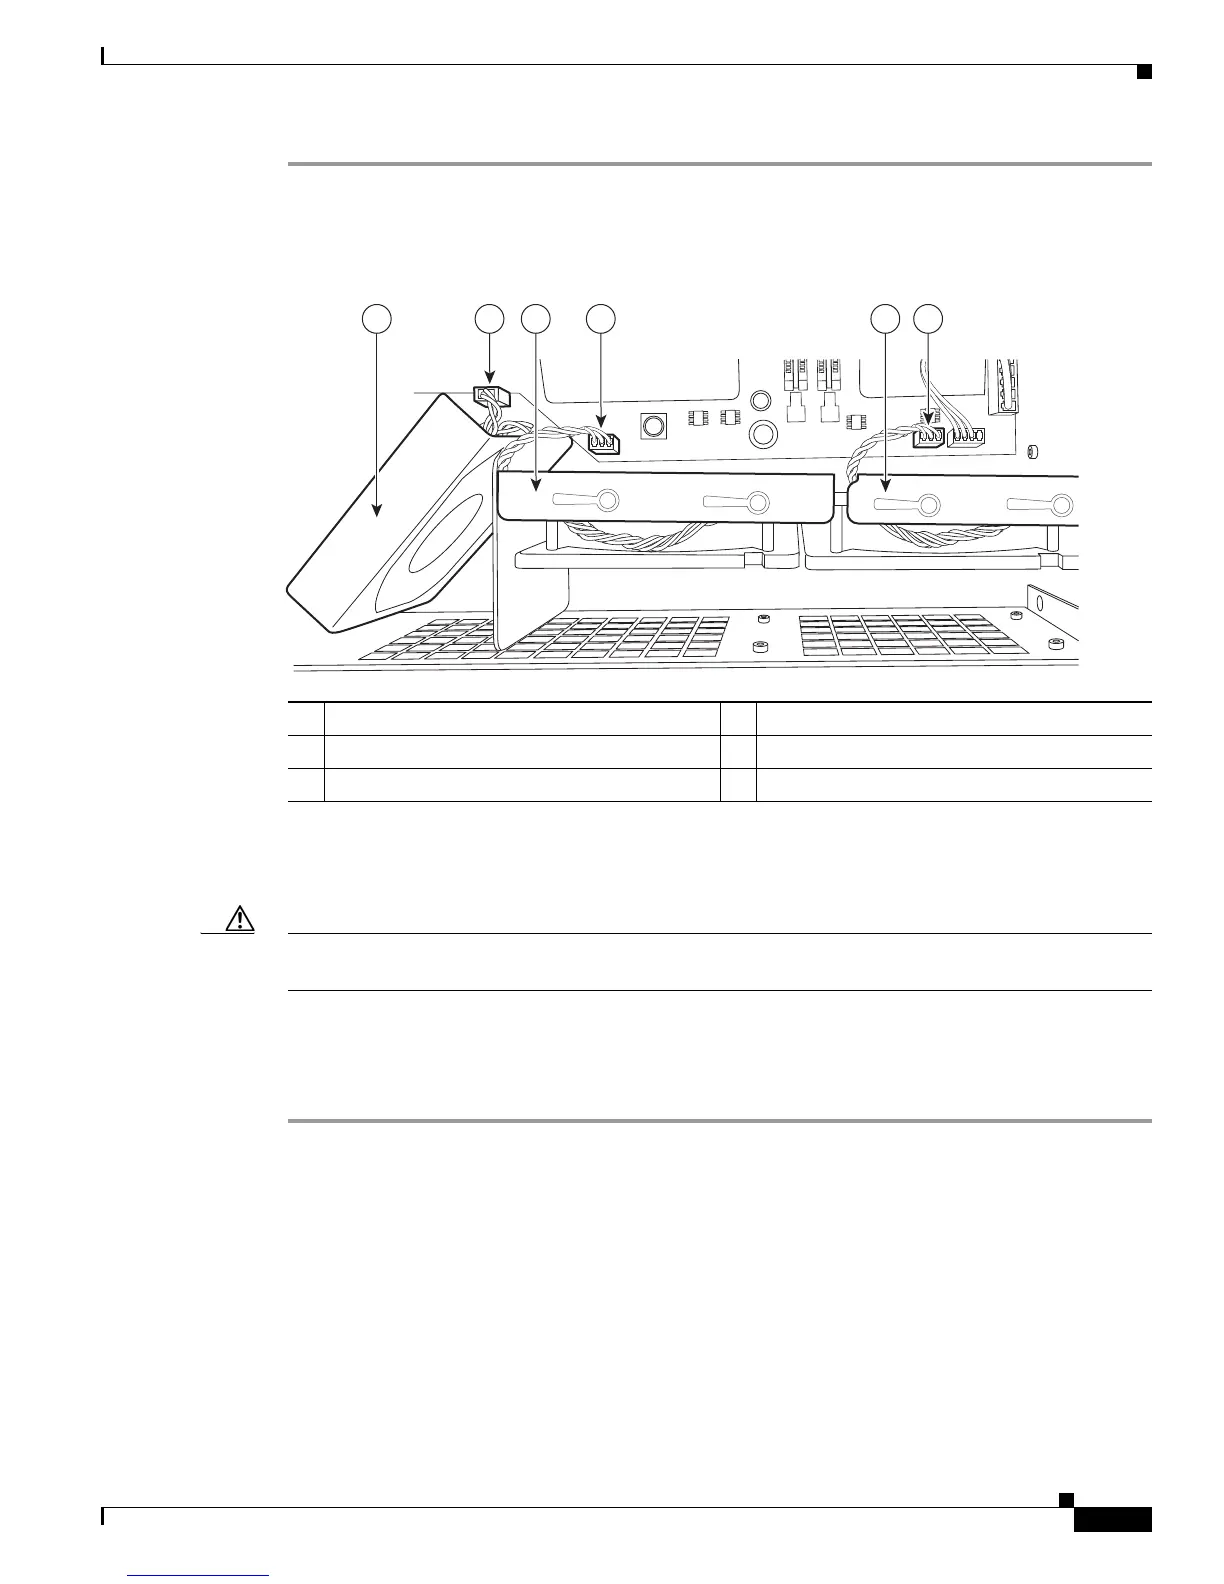
Step 2 Attach fan 1 to the J4 connector on the motherboard. (See number 1 and 2 in Figure 7.)
Figure 7 Attaching Fan Cable to the J Connectors
Step 3
Attach fan 2 to the J18 connector on the motherboard. (See number 3 and 4 in Figure 7.)
Step 4 Attach fan 3 to the J25 connector on the motherboard. (See number 5 and 6 in Figure 7.)
Caution Orient the fan connectors correctly before you insert them. Incorrect orientation can damage the
connector pins.
Step 5 Reinstall the two screws on the front of the chassis. (See Figure 6 on page 16.)
Step 6 Reinstall the four screws on the side of the chassis. (See Figure 5 on page 15.)
Step 7 Reinstall the two screws on the top of the fan unit. (See Figure 4 on page 15.)
1 Fan 1 2 Fan 1 to J4 connector
3 Fan 2 4 Fan 2 to J18 connector
5 Fan 3 6 Fan 3 to J25 connector
1 2 43 65
280475
 Loading...