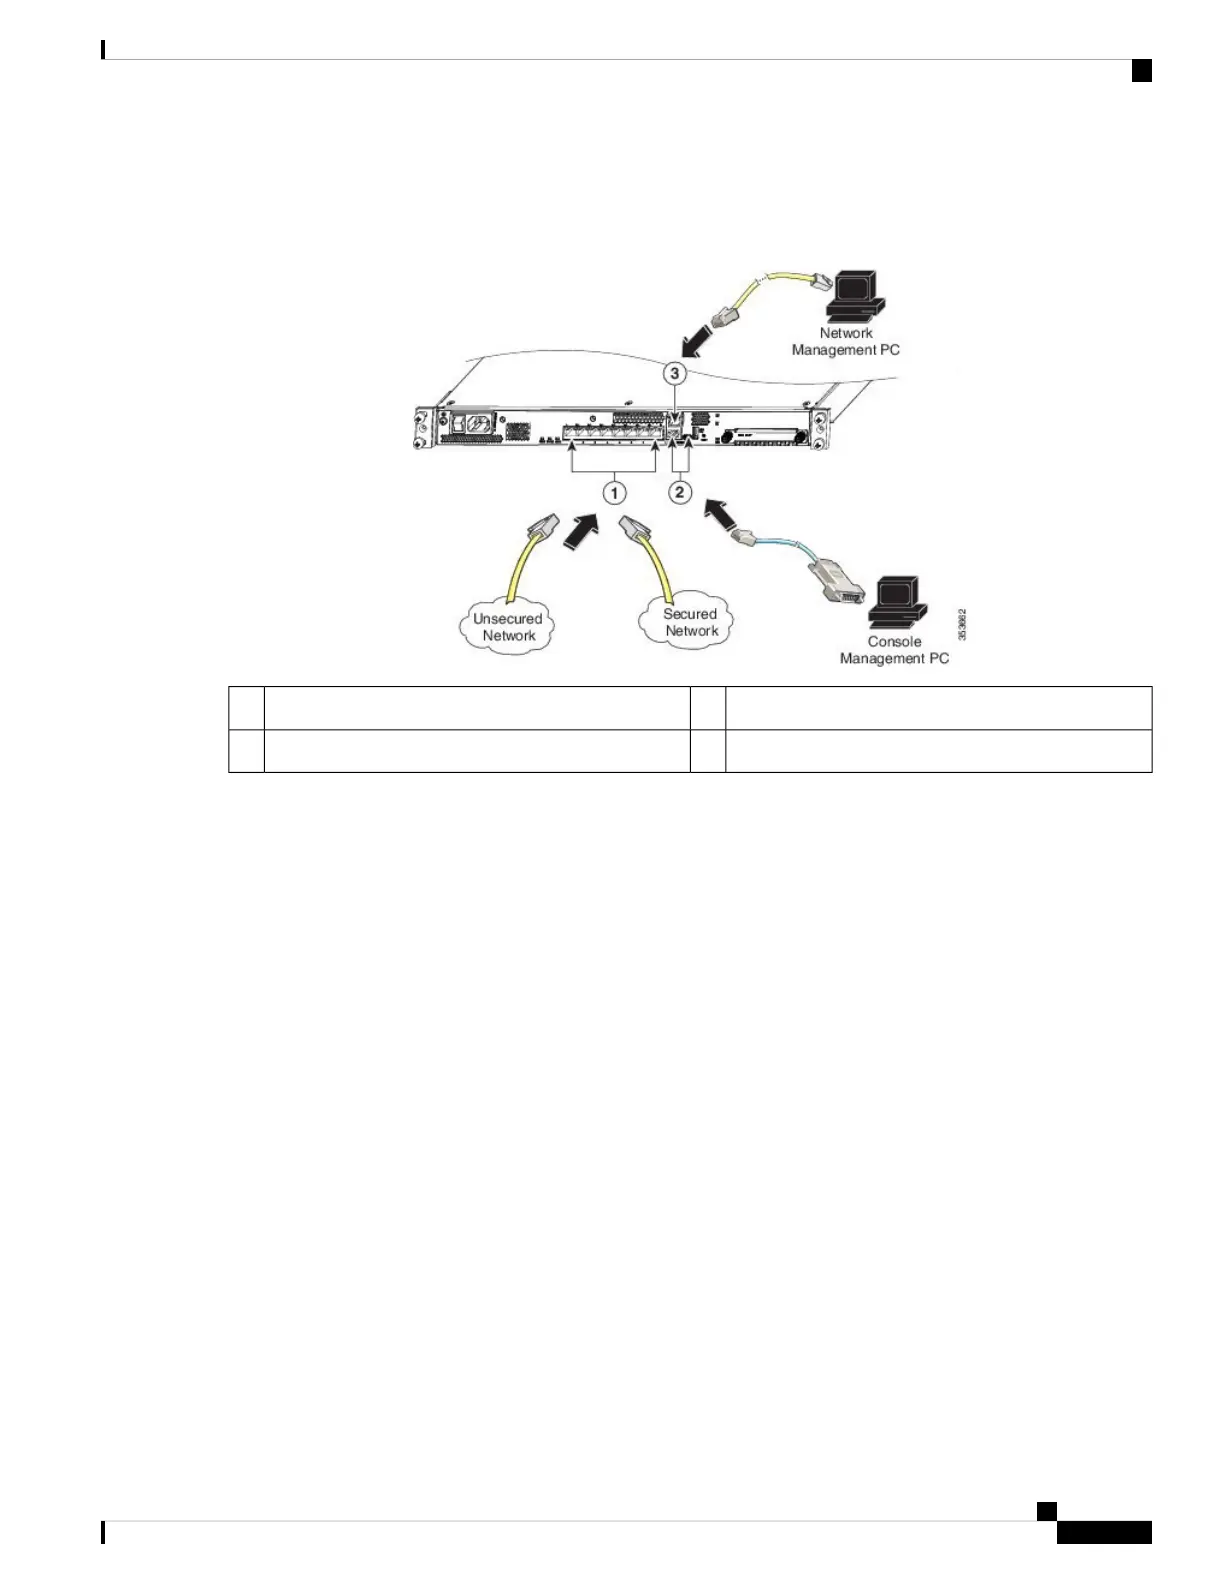
Figure 2: ASA 5508-X and ASA 5516-X Cabling
Console port (RJ-45 or Mini USB Type B)2Gigabit Ethernet data interface (RJ-45)1
Management 1/1 interface (RJ-45)3
b) (Optional) Console port – For use with the CLI. Connect a computer or terminal server using a serial console cable
to either the RJ-45 or Mini USB Type B port.
Only one console port can be active at a time. When a cable is plugged into the USB console port, the RJ-45 port
becomes inactive. Conversely, when the USB cable is removed from the Mini USB Type B port, the RJ-45 port
becomes active. See Connect to a Console Terminal or PC, on page 4 for specific instructions for connecting the
console port.
c) Gigabit Ethernet ports – For the network interfaces; use standard RJ-45 Ethernet cables.
You can use any available Gigabit Ethernet port on the ASA 5508-X or ASA 5516-X as a failover link. The failover
link interface is not configured as a normal networking interface; it should only be used for the failover link. You
can connect the failover link by using a dedicated switch with no hosts or routers on the link.
Step 2 Connect the power cord to the ASA, and plug the other end to your power source.
Step 3 Press the power switch to turn the appliance on.
When the Power LED is solid green, the ASA is completely powered on.
Step 4 Check the Status LED on the ASA chassis.
When it is solid green, the ASA has passed power-on diagnostics.
Step 5 See the Cisco ASA 5508-X and ASA 5516-X Quick Start Guide to continue setting up your ASA.
Mount and Connect
3
Mount and Connect
Connect Cables, Turn on Power, and Verify Connectivity

 Loading...


