EasyManuals Logo

Cisco ATA 192 Manual

Cisco ATA 192
10 pages
To Next Page IconTo Next Page
To Previous Page IconTo Previous Page
Page #6 background imageLoading...
Page #6 background image
Install Your New ATA
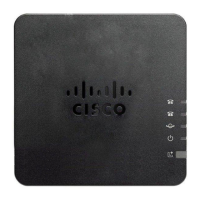
Your ATA comes with everything to power it up, connect it to the network, and set it up on your desk.
Before you begin
Before you begin the installation, make sure you have the following equipment:
Ethernet cable to connect to your network.
Analog phone or fax machine to connect to your ATA.
Phone cable to connect your phone.
Uninterruptible power supply (UPS) to provide backup power.
Procedure
Step 1 Connect the network cable to your network and to the NETWORK port on the ATA.
Step 2 Connect the phone cable to the PHONE 1 port on the ATA and to your analog device (phone or fax machine).
Your ATA
6
Your ATA
Install Your New ATA

Other manuals for Cisco ATA 192

Questions and Answers:

Question and Answer IconNeed help?

Do you have a question about the Cisco ATA 192 and is the answer not in the manual?

Cisco ATA 192 Specifications

General IconGeneral
Ports2 FXS ports
Network Interface10/100 Ethernet
Voice ProtocolSIP
Audio CodecsG.711, G.726, G.729
Operating Temperature0 to 40°C (32 to 104°F)
Storage Temperature-20 to 60°C (-4 to 140°F)
Humidity10 to 90% non-condensing
ComplianceFCC, CE, UL
Fax SupportT.38, G.711 pass-through

Related product manuals