Chapter 3 Installing the Switch
Rack-Mounting the Switch
3-6
Catalyst 4900 Series Switch Installation Guide
78-18039-02
• Your own ESD grounding strap or the disposable ESD strap included with the
system
The following tools and equipment are required to install the chassis in a rack:
• Rack-mount kit
• Tape measure and level
Rack-Mounting the Switch
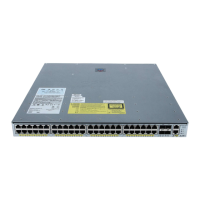
Note The illustrations shown are of a Catalyst 4948-10GE switch. The process for the
Catalyst 4948 and Catalyst 4928-10GE is identical.
Follow these steps to install the switch in a rack.
Step 1 Prepare for installation:
a. Place the chassis on the floor or on a sturdy table as close as possible to the
rack. Leave enough clearance to allow you to move around the chassis.
b. Use a tape measure to measure the depth of the rack. Measure from the
outside of the front mounting posts to the outside of the rear mounting strip.
The depth must be at least 19.25
inches (48.9 cm) but not greater than
32
inches (81.3 cm).
c. Measure the space between the inner edges of the left front and right front
mounting posts to ensure that it is 17.75
inches (45.09 cm) wide. (The chassis
is 17.5
inches [44 cm] wide and must fit between the mounting posts.)
d. Open the rack-mount kit, and refer to Table 3-1 to verify that all parts are
included.
Ta b l e 3-1 Rack-Mount Kit Checklist
Quantity Part Description Received
2 L brackets
8 M4 x 8 mm Phillips flat-head screws
 Loading...