34
Getting Started Guide for Cisco Digital Media Players
78-19212-02
Configure Settings
Step 8 Will a network address translation (NAT) service give your DMP a private IP address? If so:
a. Choose Yes from the Using NAT list.
b. Enter in the NAT IP Address field the 1-to-1 public address (which is configured on the local router)
that corresponds to the private IP address.
Step 9 Click Apply.
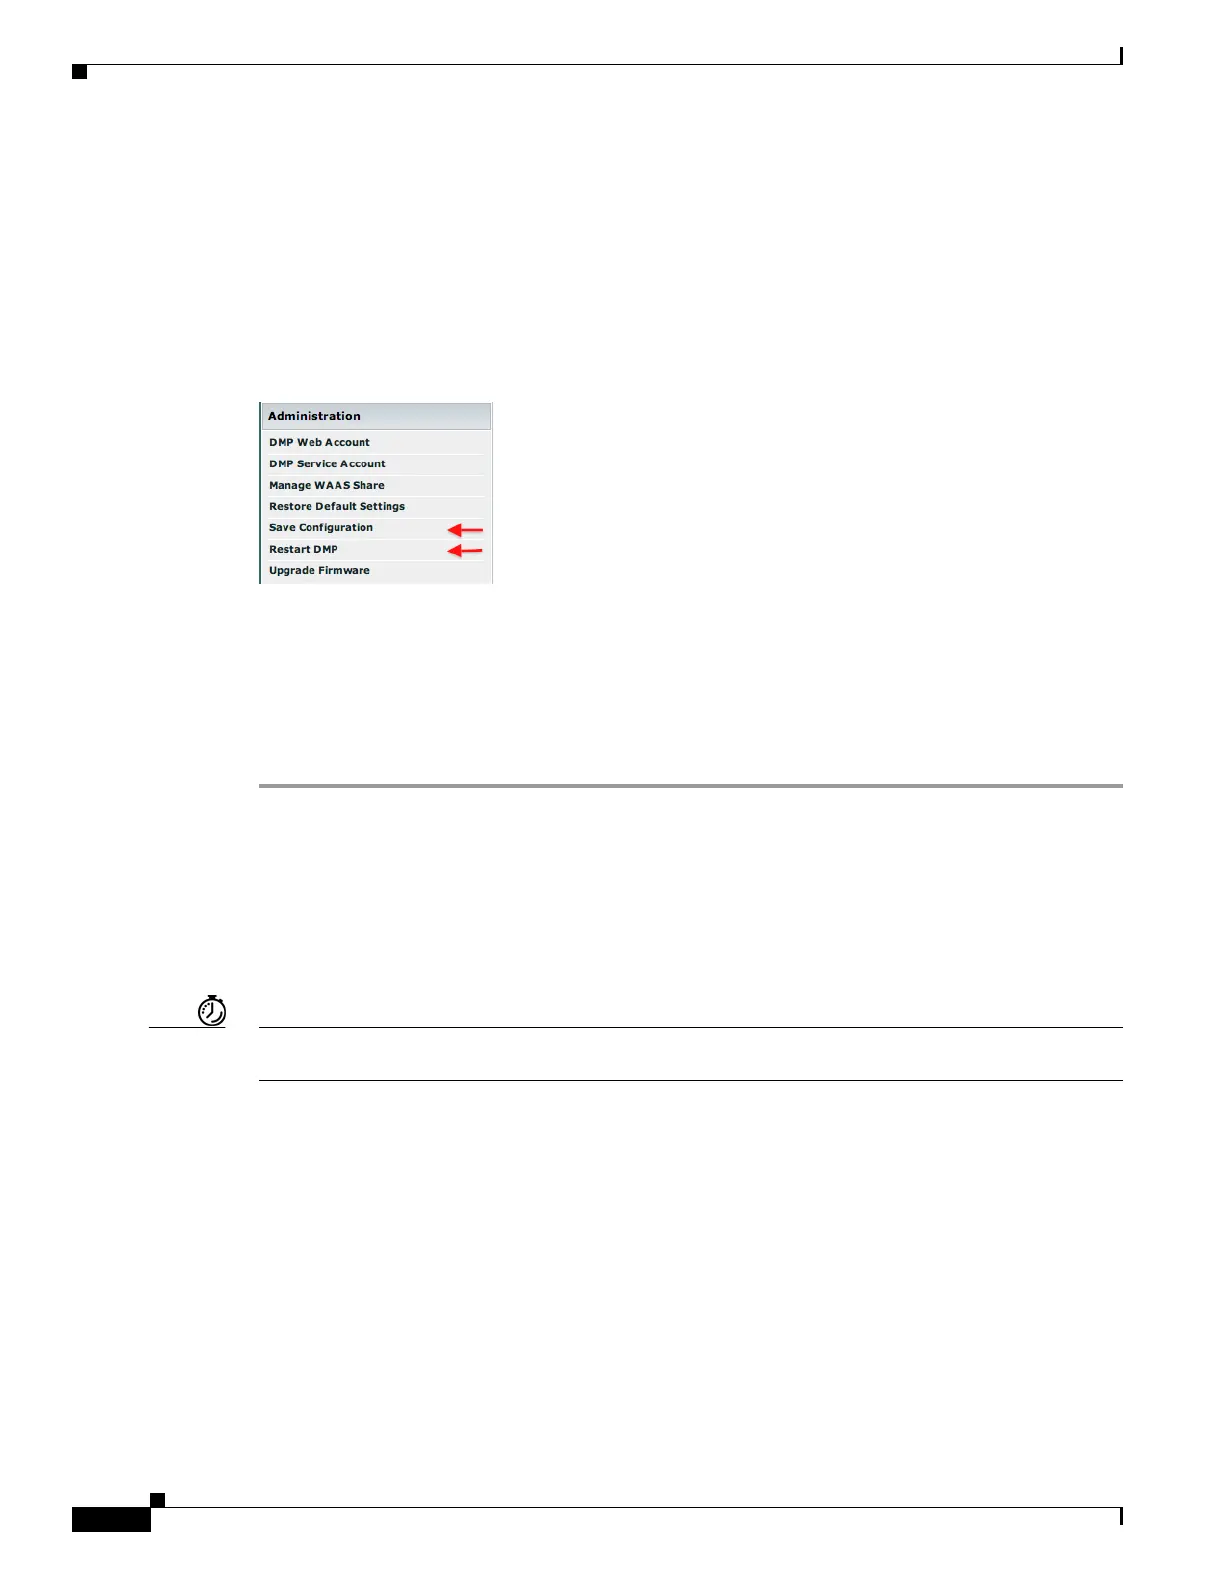
Step 10 Click Save Configuration in the Administration list, and then click Save.
Step 11 Click Restart DMP in the Administration list, and then click Restart.
Step 12 Ship or deliver the DMP to its deployment site, and then:
a. Connect it to its presentation system.
b. Connect it to its local network segment.
c. Connect it to its power source.
Step 13 Stop. You have completed this procedure.
Related Topics
• Prepare Your DMP to Use a Static IP Address Over Wireless, page 34
Prepare Your DMP to Use a Static IP Address Over Wireless
Timesaver Complete this optional procedure at your discretion. It explains what to do when a DMP’s ultimate deployment site does
not use DHCP.
Before You Begin
• Verify that your wireless network is working correctly, is available, and you understand how it
authenticates connection requests.
• Establish an Ethernet Connection.
• Establish a Wireless Network Connection.
• Log in to DMPDM.