Connect the Cable Modem
The following installation procedure ensures proper setup and configuration for the
cable modem.
1 Choose an appropriate and safe location to install the cable modem (close to a
power source, an active cable connection, your PC—if using high-speed Internet,
and your telephone lines—if using VoIP). For assistance, go to Where Is the Best
Location for My Cable Modem? (on page 13).
WARNING:
To prevent possible damage to equipment, disconnect any other telephone
service before connecting your cable modem to the same wires.
Hazardous electrical voltages can exist on the telephone, Ethernet, or
coaxial cable wiring. Be sure to disconnect AC power from all devices
while installing your service.
All wiring and connections must be properly insulated to prevent
electrical shock.
Telephone connections to an installed home telephone wiring network
should be done by a qualified installer. The cable telephone service
provider may offer professional installation and connection to the home
telephone wiring network. A fee may be charged for this service.
2 Power off your PC and other networking device; then, unplug them from the
power source.
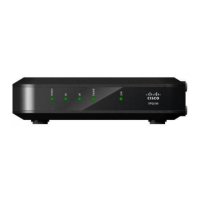
3 Connect the active RF coaxial cable from your service provider to the coaxial
connector labeled CABLE on the back of the cable modem.
Note: To connect a TV, DHCT, set-top, or VCR from the same cable connection,
you will need to install a cable signal splitter (not included). Always check with
your service provider before using a splitter as a splitter may degrade the signal.
4 Connect your PC to the cable modem by connecting one end of the yellow
Ethernet cable to the Ethernet port on your PC, and the other end to the yellow
ETHERNET port on the back of the cable modem.
Note: To install more than one Ethernet device on a cable modem that has only
one Ethernet port, use an external multi-port Ethernet switch(s) or cable router
(not provided).