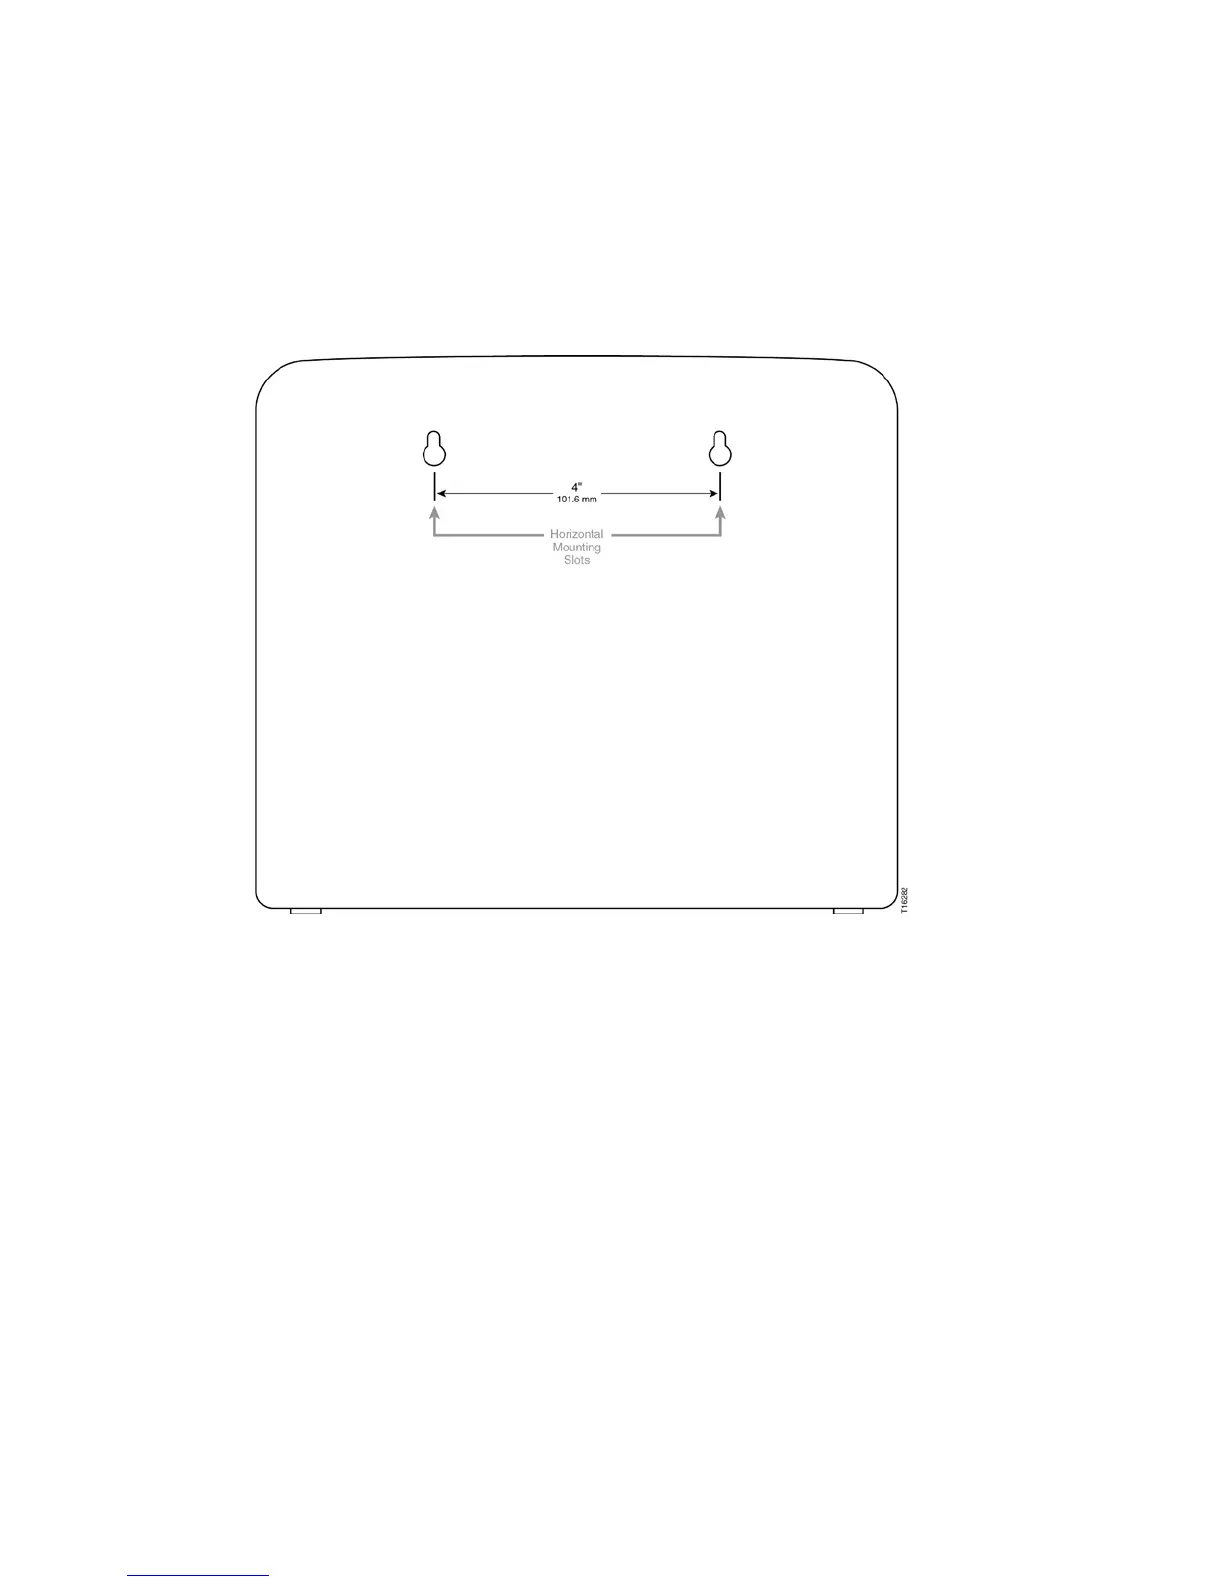
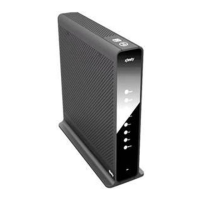
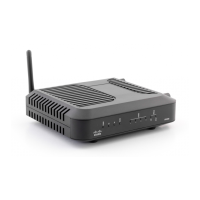
Location and Dimensions of the Wall-Mounting Slots
The following illustration shows the location and dimensions of the wall-mounting
slots on the side of the residential gateway. Use this illustration as a guide for
mounting the residential gateway to the wall.
Note: Image not to scale.
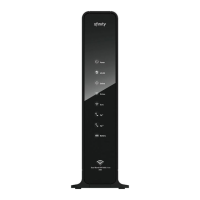
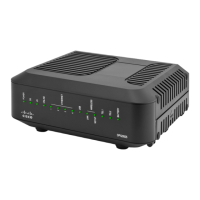
Mounting the Wireless Residential Gateway on a Wall
1 Using a drill with a 3/16-inch bit, drill two holes at the same height and 4 inches
apart.
Note: The preceding graphic illustrates the location of the mounting holes on the
back of the residential gateway.
2 Are you mounting the residential gateway into a drywall or concrete surface
where a wooden stud is available?
If yes, go to Step 3.
If no, drive the anchor bolts into the wall, and install the mounting screws
into the anchor bolts; leave a gap of about 1/2-inch between the screw head
and the wall. Then, go to Step 4.
3 Install the mounting screws into the wall; leave a gap of about 1/2-inch between
the screw head and the wall. Then, go to Step 4.
4 Verify that no cables or wires are connected to the residential gateway.