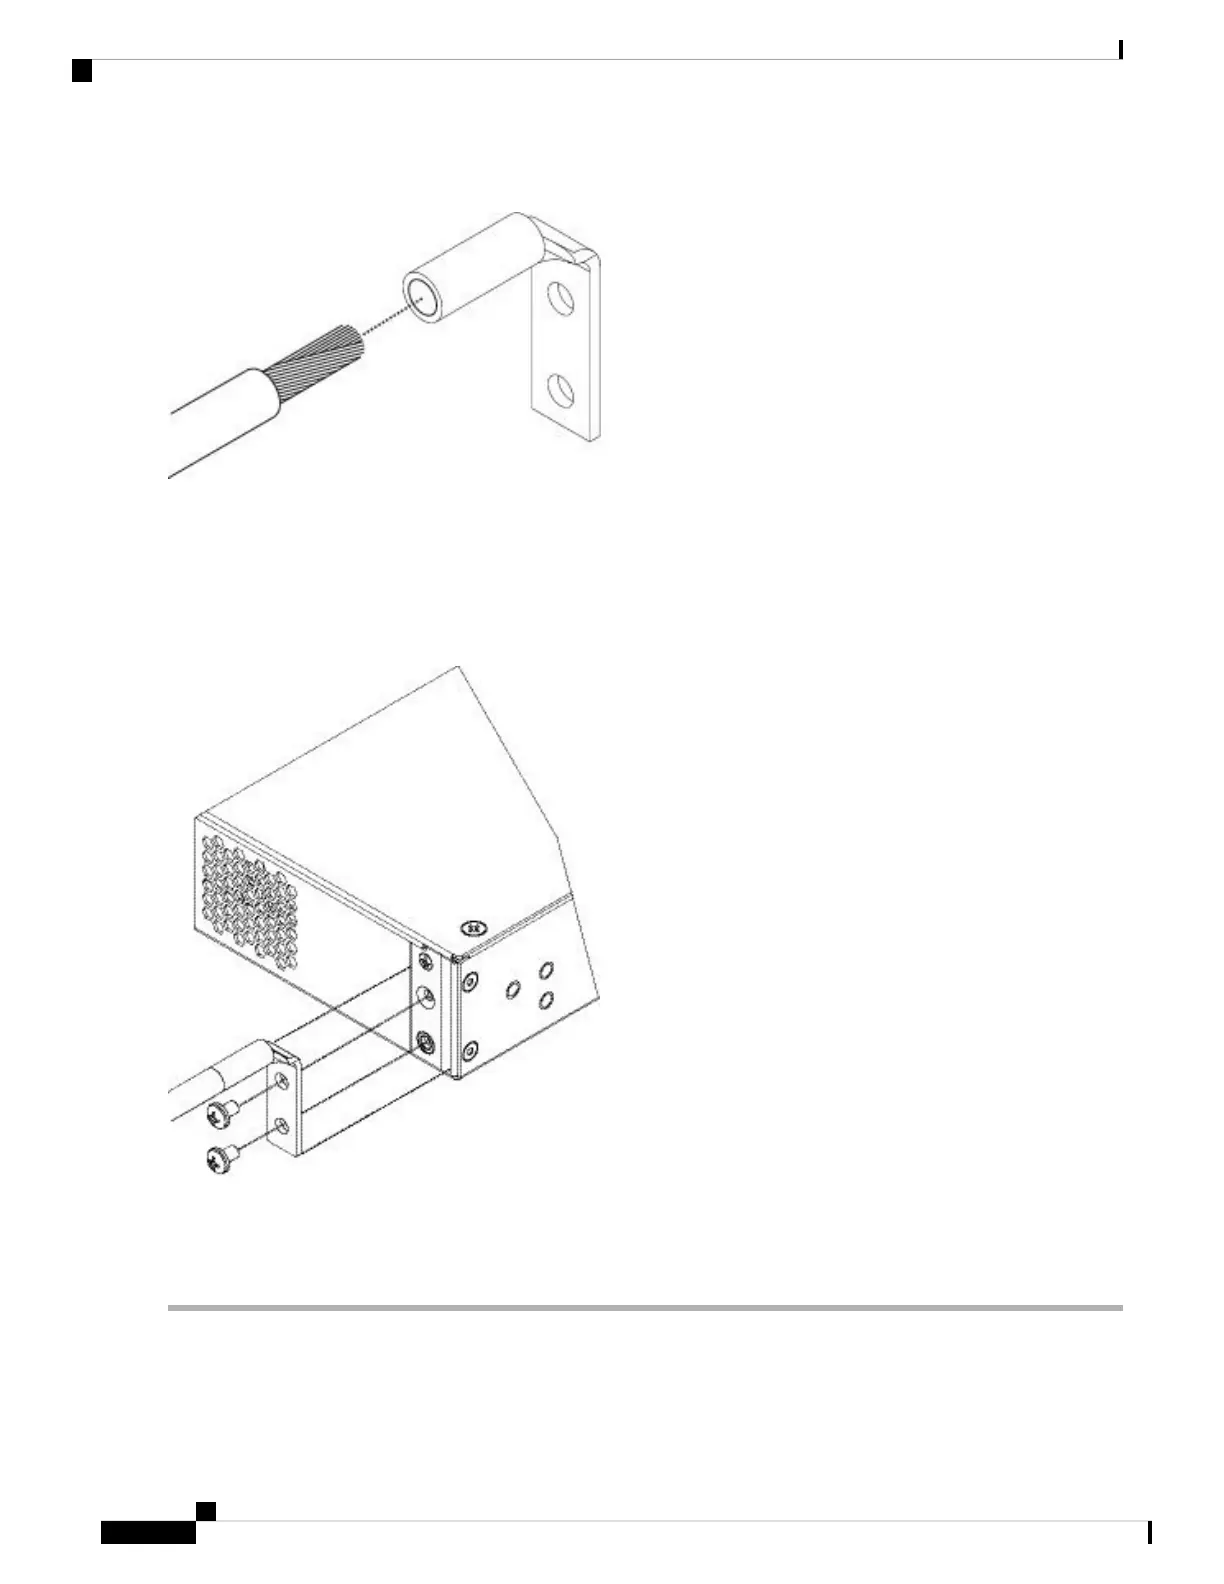
Figure 41: Insert the Cable into the Grounding Lug
Step 3 Use the crimping tool to secure the grounding cable in the grounding lug.
Step 4 Remove the adhesive label from the grounding pad on the chassis.
Step 5 Place the grounding lug against the grounding pad so that there is solid metal-to-metal contact, and insert the 2 screws
with washers through the holes in the grounding lug and into the grounding pad.
Figure 42: Attach the Grounding Lug
Step 6 Make sure that the lug and cable do not interfere with other equipment.
Step 7 Prepare the other end of the grounding cable and connect it to an appropriate grounding point in your site to ensure
adequate earth ground.
What to do next
Continue with one of the following:
Cisco Firepower 2100 Series Hardware Installation Guide
56
Mount and Connect
Ground the Chassis
 Loading...


