


Do you have a question about the Cisco Firepower 2140 and is the answer not in the manual?
Remove chassis from container and keep all packaging material for future shipping needs.
Compare received items against the official equipment list provided by customer service.
Notify customer service of any damage or missing items, providing necessary details.
Secure the rack-mount brackets to the sides of the chassis using the specified screws.
Attach the optional cable management bracket to the rack-mount bracket with screws.
Mount the chassis, now equipped with brackets, into the rack using appropriate rack screws.
Connect the inner rails to the chassis sides using screws or chassis pegs.
Open the front securing plate on slide-rail assemblies before insertion into rack posts.
Align and securely fasten the slide rail assemblies to the rack posts, ensuring they are level.
Slide the chassis with inner rails into the mounted rack slide rails until they lock.
Use the front mounting bracket captive screws to fully secure the chassis to the rack.
Strip approximately 0.75 inches of covering from the grounding cable end.
Insert the stripped end of the grounding cable into the designated opening of the grounding lug.
Utilize a crimping tool to firmly secure the grounding cable within the grounding lug.
Remove the adhesive label from the chassis grounding pad to ensure direct metal-to-metal contact.
Position the grounding lug on the pad and secure it using screws and washers.
Ensure the grounding lug and cable do not interfere with other installed equipment.
Connect the free end of the grounding cable to an appropriate site earth grounding point.
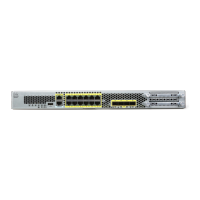
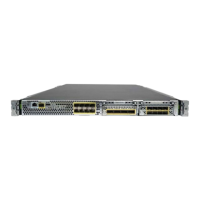
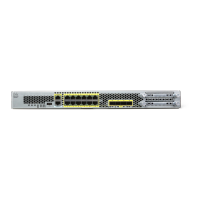
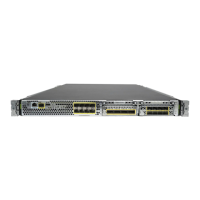
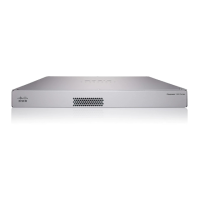
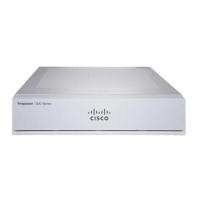
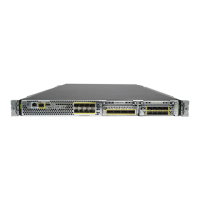
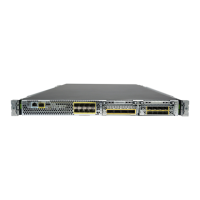
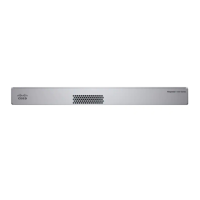
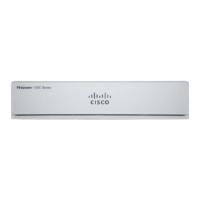
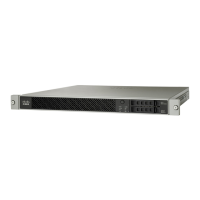
The Cisco Firepower 2100 series is a network security appliance designed for rack-mounting, offering robust protection and flexible deployment options. This device serves as a critical component in securing network infrastructure, capable of being integrated into various rack environments.
The Firepower 2100 series functions primarily as a security appliance, providing advanced threat protection and network visibility. It is designed to be rack-mounted, supporting both bracket-based and slide-rail installations, making it adaptable to different data center and server room setups. Once installed, the chassis requires proper grounding to ensure electrical safety and optimal performance. The device is also capable of supporting optional cable management brackets to maintain an organized and efficient rack environment. After physical installation and grounding, the chassis is configured with its default software, and cables are installed to integrate it into the network. For enhanced security, the device can also accommodate a FIPS opacity shield.
| Model | Cisco Firepower 2140 |
|---|---|
| Category | Firewall |
| Firewall Throughput | 20 Gbps |
| Power Supply | Dual, Hot-swappable |
| Firewall Throughput (Maximum) | 20 Gbps |
| Firewall Throughput (Application Visibility and Control AVC) | 10 Gbps |
| Form Factor | 1 RU |
| Memory | 32 GB |
| Operating System | Cisco Firepower Threat Defense (FTD) |
| Maximum Concurrent Sessions | 4, 000, 000 |
| Network Interfaces | 8 x 1G/10G SFP+ |
| Concurrent Sessions | 4, 000, 000 |
| Interfaces | 8 x 1G/10G SFP+ |
| Throughput | 20 Gbps |

 Loading...