4
F
A
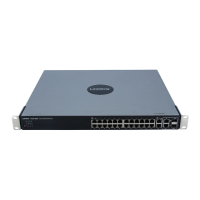
Nella schermata Mode Settings
(Impostazioni modalità), fare
clic sul pulsante di opzione
Infrastructure (Infrastruttura) per
consentire la comunicazione
tra le reti cablate e wireless
tramite un punto di accesso
wireless. Fare clic sul pulsante di
opzione A
d-Hoc (Ad hoc) per
collegare direttamente più
computer wireless.
Nel campo WBName (Nome
ponte wireless), immettere un
nome univoco per il ponte.
Fare clic su Next (
Avanti).
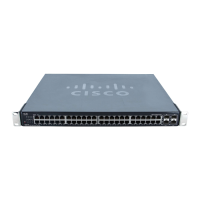
B Nella schermata Wireless
Settings (Impostazioni wireless),
immettere l'SSID della rete
wireless. Se è stata scelta la
modalità Ad-Hoc (Ad hoc),
selezionare il canale tramite il
quale la rete trasmette il
segnale wireless. Quindi, fare
clic su Next (
Avanti).
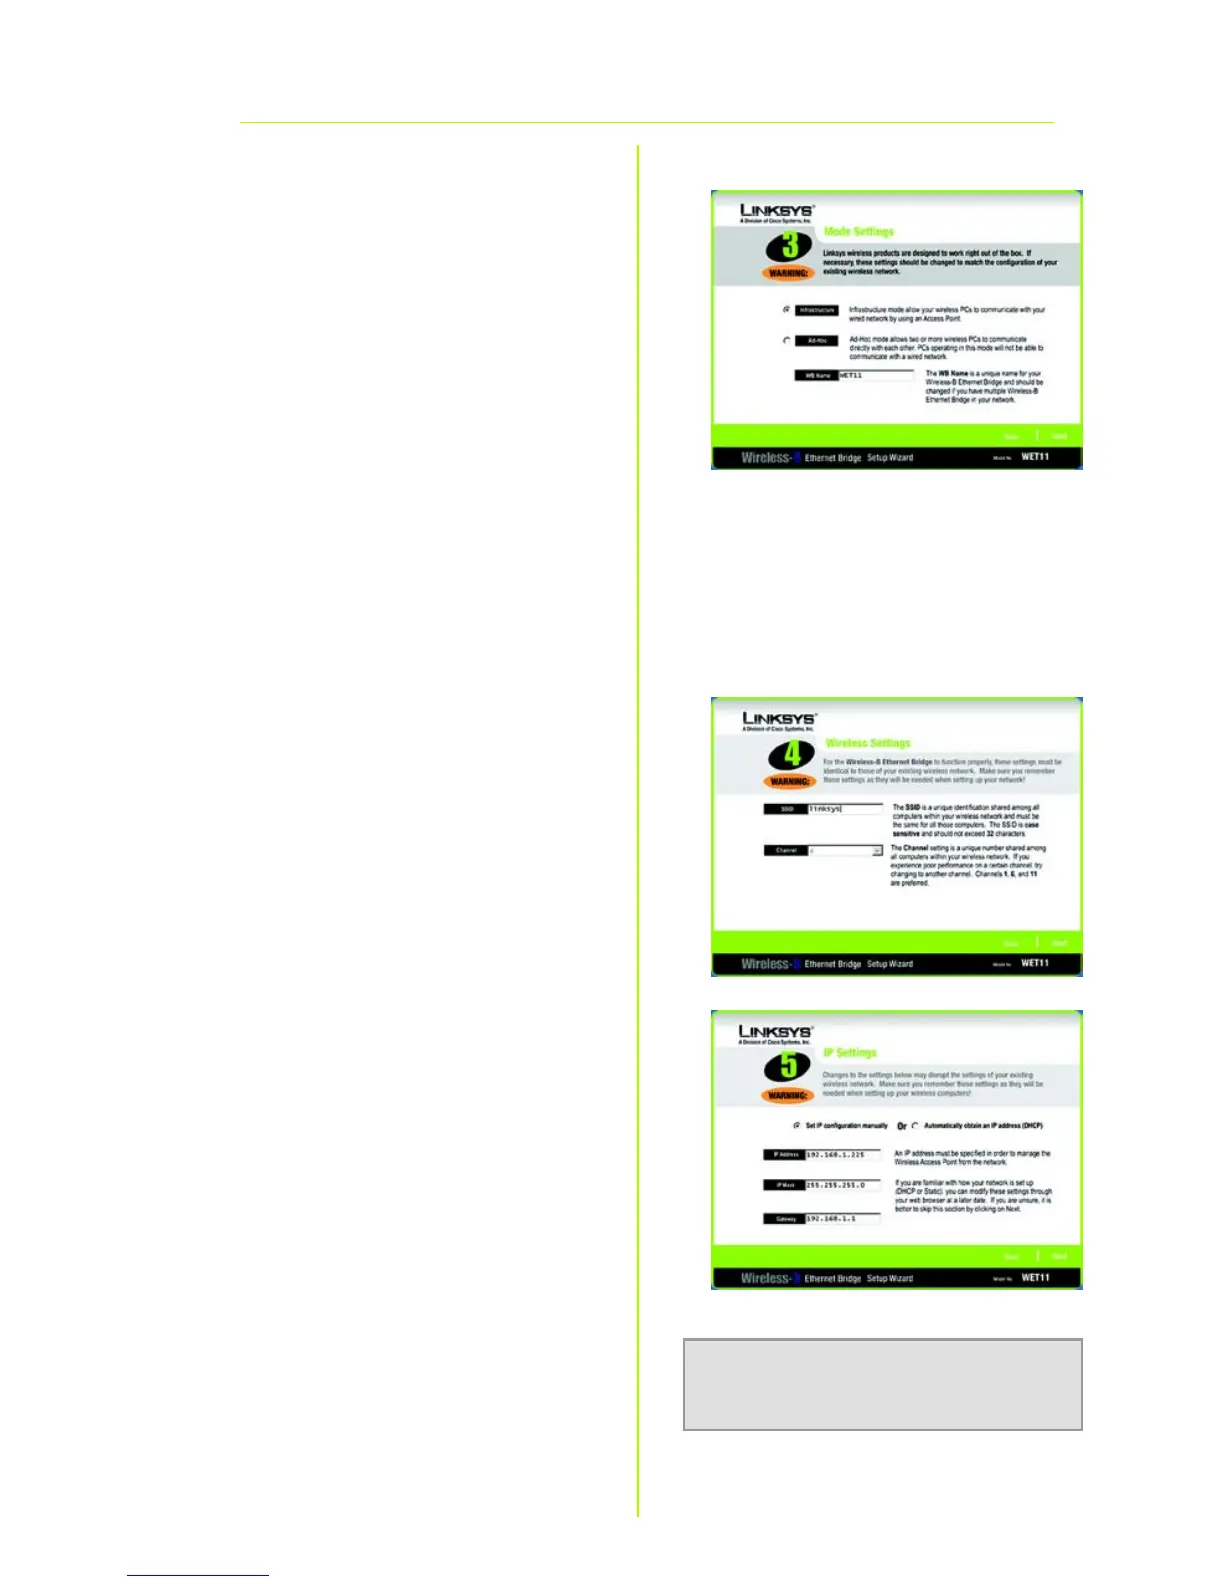
C Viene visualizzata la schermata
IP Settings (Impostazioni IP). Se
la rete dispone di un router o un
server DHCP che assegna
automaticamente indirizzi IP,
selezionare il pulsante di
opzione accanto a
Automatically obtain an IP
address (DHCP) (Ottieni
automaticamente un indirizzo
IP - DHCP). Fare clic su N
ext
(Avanti) e passare alla fase I.
Se è necessario assegnare un
indirizzo IP statico al ponte, fare
clic sul pulsante di opzione
accanto a Set IPconfiguration
manually (Configura IP
manualmente). Immettere un
indirizzo IP, una maschera IP (o
di sottorete) e un gateway
adatti alla rete. È necessario
NOTA: L'indirizzo IPpredefinito del
ponte è 192.168.1.225.
G
H
 Loading...