8
Chapter 4: Connecting the Wireless-B Ethernet Bridge for Setup
Wireless-B Ethernet Bridge
Chapter 4: Connecting the Wireless-B Ethernet Bridge for
Setup
1. Attach the Bridge’s antenna.
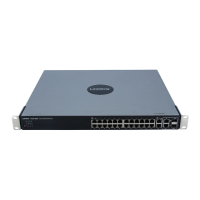
2. Plug the included Ethernet network cable into the LAN port on the back panel of the Bridge, shown in Figure
4-1.
3. The X-II (MDI/MDI-X) slide switch offers a choice between two settings. Slide the X-II switch to the X position
if you are connecting the Bridge to a PC’s network adapter. Slide the X-II selection switch to the II position if
you are connecting the Bridge to a hub or switch.
4. Plug the other end of the Ethernet network cable into the RJ-45 port of the hub, switch, or PC you wish to use
to configure the Bridge.
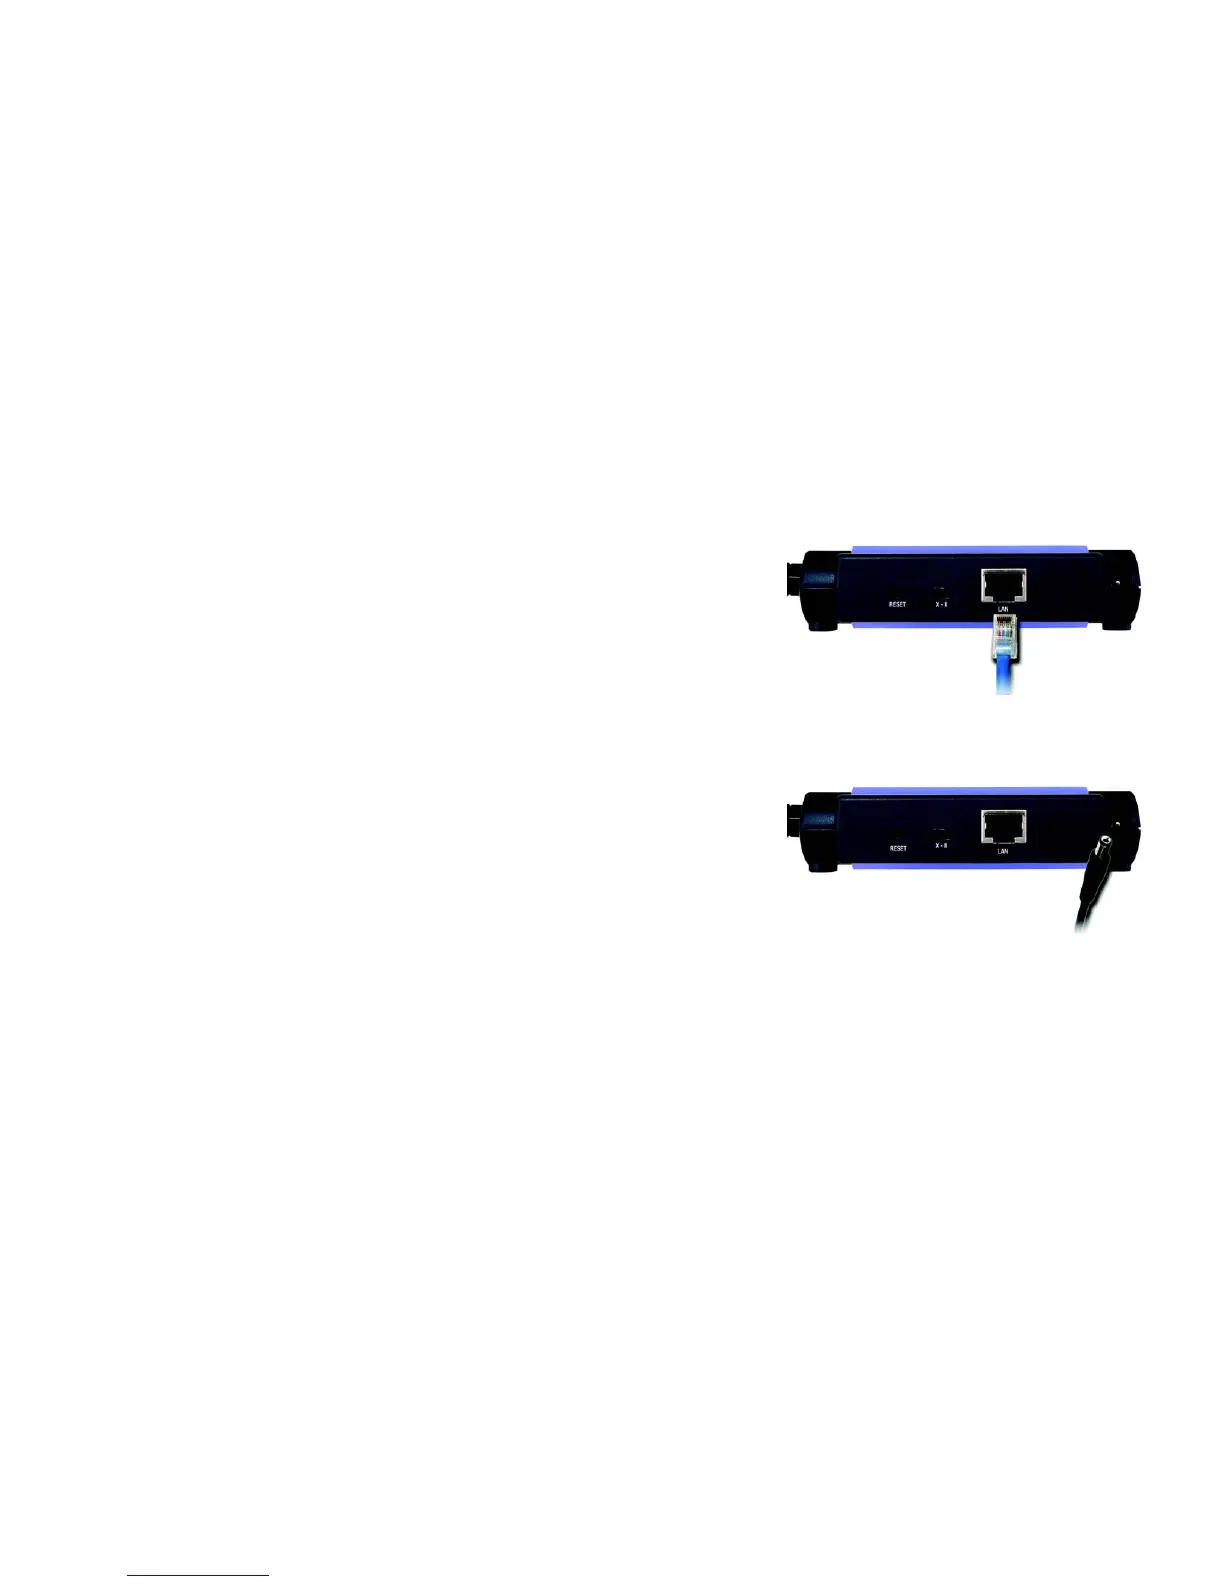
5. Plug the supplied power adapter into the Power port on the back panel of the Bridge, shown in Figure 4-2.
Then plug the other end into an electrical outlet.
Proceed to the next section, “Chapter 5: Setting Up the Wireless-B Ethernet Bridge.”
Figure 4-1: Connect the Ethernet Network Cable
Figure 4-2: Connect the Power Adapter
 Loading...