Chapter 1
Product Overview
5
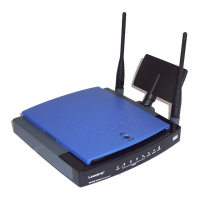
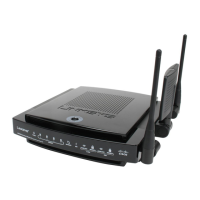
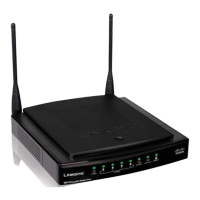
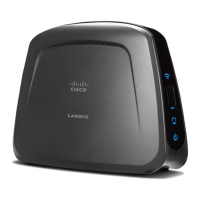
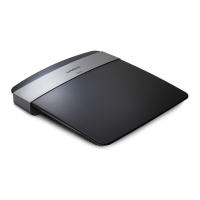
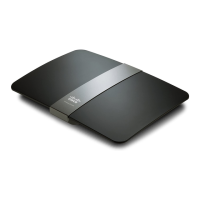
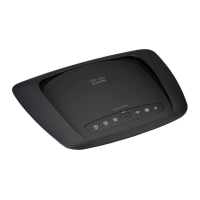
Wireless-N Gigabit Router
Wall-Mounting Placement
h
R
r h
w
w
ll-m
n
l
n i
m
anel. The distance between the slots is 152 mm
6 inc
es
.
w
r
w
r
n
m
n
h
R
r
Suggested Mounting Hardware
.5-
.
m
-
mm
-
.
mm
ote: Mounting hardware illustrations are not
true to sca
e.
NOTE:
inks
s is not responsible
or damages
incurred by insecure wall-mounting hardware.
F
w
in
r
i
n
Determine where you want to mount the Router. Make
ure that the wall
ou use is smooth, flat, dr
, and
turd
. Also make sure the location is within reach o
n
l
ri
l
l
Dri
two
o
es into t
e wa
. Ma
e sure t
e
o
es are
.
152 mm (6 inc
es) apart
In
r
r
w in
h h
l
n
l
v
mm
0.12 inches) of its head ex
osed
Maneuver t
e Router so t
e wa
-mount s
ots
ine up
i
h
h
w
r
w
P
ace t
e wa
-mount s
ots over t
e screws an
s
i
e5.
he Router down until the screws
it snugl
into the
ll-m
n
l
152 mm
a
Mounting Temp
ate
Print t
is page at 100% size.
Cut a
on
t
e
otte
ine, an
p
ace on t
e wa
to
ri
precise spacin
 Loading...