11
Installing an AC-Input Power Supply
Warning
This product requires short-circuit (over current) protection to be provided as part of the building installation.
Install only in accordance with national and local wiring regulations.
Step 1 Ensure that the system (earth) ground connection is made. For ground connection instructions, see the “Connecting the
Chassis Ground” section on page 6.
Step 2 Verify that the power switch is in the Off (0) position.
Step 3 Plug the power cord into the power supply.
Step 4 Connect the other end of the power cord to an AC-input power source.
Caution In a system with dual power supplies, connect each power supply to a separate input source. In case of a power
source failure, the second source will most likely still be available.
Step 5 Turn the switch on the power supply to the On (|) position.
Step 6 Verify power supply operation by checking the power supply LEDs. The power supply LEDs should be in the following
states:
• Input OK LED is green
• Fan OK LED is green
• Output Failed LED is not lit
If the LEDs indicate a power issue, see the “Identifying Startup Issues” section on page 23.
4 Connecting Management Interfaces and Performing Initial System
Configuration
This section explains how to connect the SCE 8000 platform to a local console and how to cable the Gigabit Ethernet
management interface.
Connecting the Local Console
You must first connect the unit to a local console and configure the initial settings for the SCE8000 to support remote
management.
Make sure that the terminal configuration is as follows:
• 9600 baud
• 8 data bits
• No Parity
• 1 stop bits
• No flow control
The above Cisco SCE8000 port parameters are fixed and are not configurable.
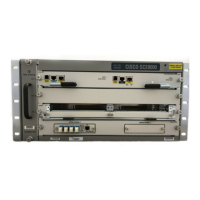
Step 1 Plug the RS-232 serial cable provided with the Cisco SCE 8000 into the Con port on the front panel of the
SCE8000-SCM-E (item #2 in Figure 8).