Connecting Equipment
1
Before you begin the installation, make sure that you have the following equipment:
●
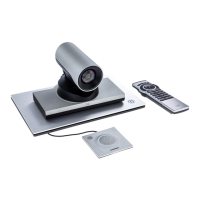
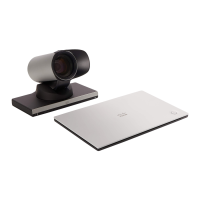
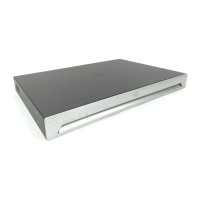
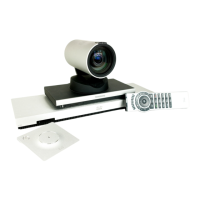
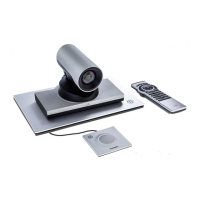
SX20 Codec
●
Power Supply and Power Cable
●
Ethernet Cable for LAN
●
Codec Wall Mounting Kit (optional)
●
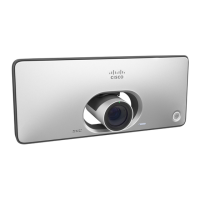
Camera (Precision 40 or PrecisionHD 12x)
●
Camera Cable
●
Camera Mounting Bracket (optional)
●
Table Microphone 20 (1 default and 1 optional)
●
Microphone Extension Cable (optional)
●
TRC6 Remote Control and two AAA Batteries
●
Touch 10 Controller (optional)
●
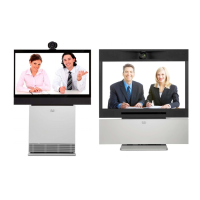
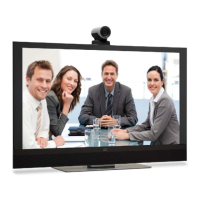
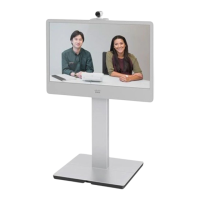
Monitor or Projector
●
Loudspeaker (external or built-in to the monitor)
●
HDMI Cable for Monitor (1 default)
●
PC
●
VGA to DVI-A Cable for PC Connectivity (optional)
●
HDMI to DVI-D Cable for PC Connectivity (optional)
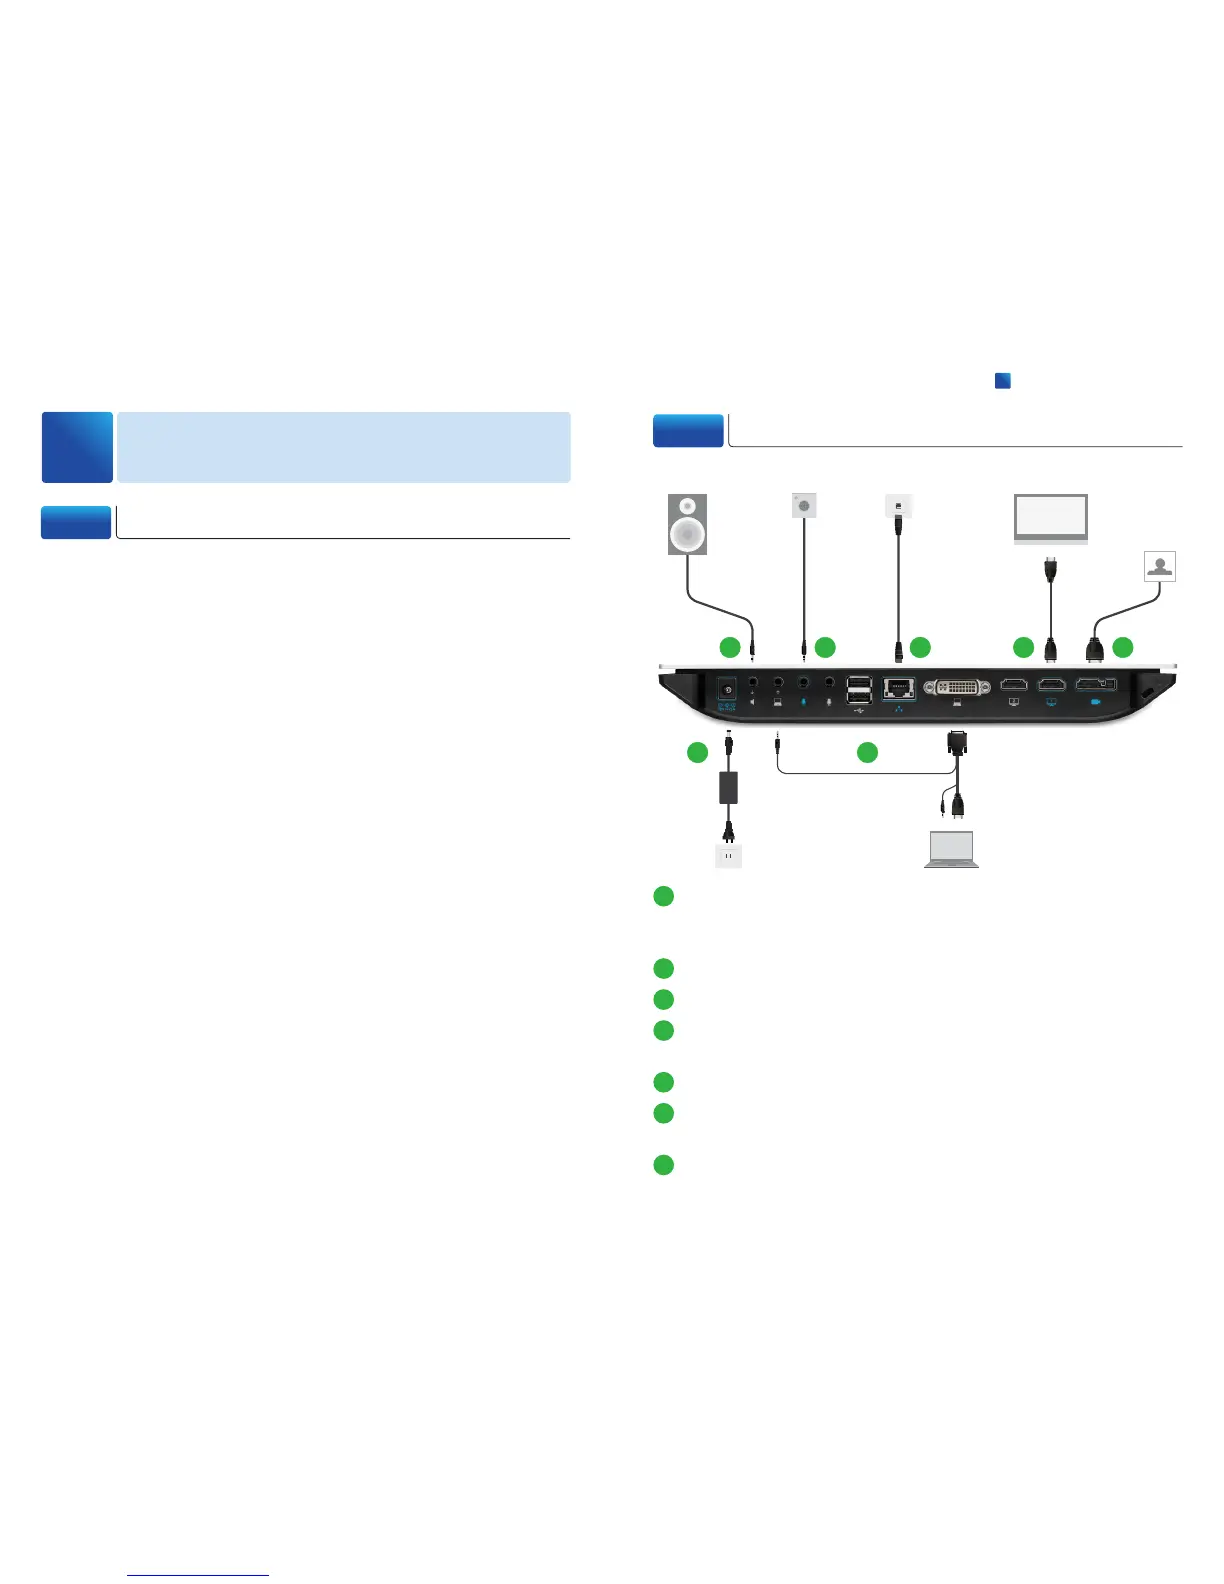
Make sure that all units are switched off when connecting or disconnecting devices.
1-1 Before You Begin
1-2 Connecting Cables
1
If connecting an external loudspeaker, please take care to use an active speaker
(built-in amplifier). Use an ungrounded (floating) speaker to avoid ground loop
noise.
2
Connect one or two microphones to your codec.
3
Connect the codec to LAN/Ethernet.
4
Connect your primary display to the blue colored HDMI socket. With the dual dis-
play option, connect the second display to the other HDMI output.
5
Connect your camera to the codec.
6
Connect a PC (video and audio) to be able to share presentations (locally, or with
remote participants).
7
Always use the provided power supply.
Connect all cables as illustrated.
1 2 3 4 5
67
 Loading...