- Eng 8 -
Ǒ¡Ûȣ
Pyɫɫɤɢɣ Français Español
English
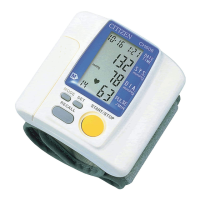
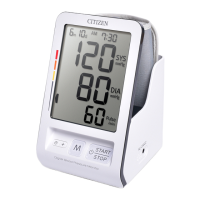
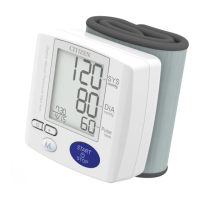
TIME ADJUSTMENT
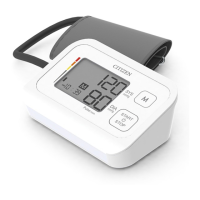
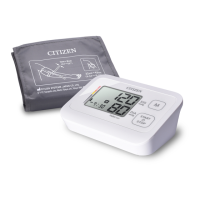
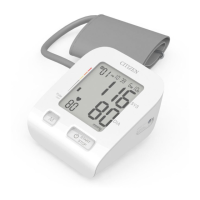
Setting the clock enables measurements to be accurately recorded.
The monitor can record the date and time of measurement as well as the
measurement results. Be sure to set the clock after inserting the batteries.
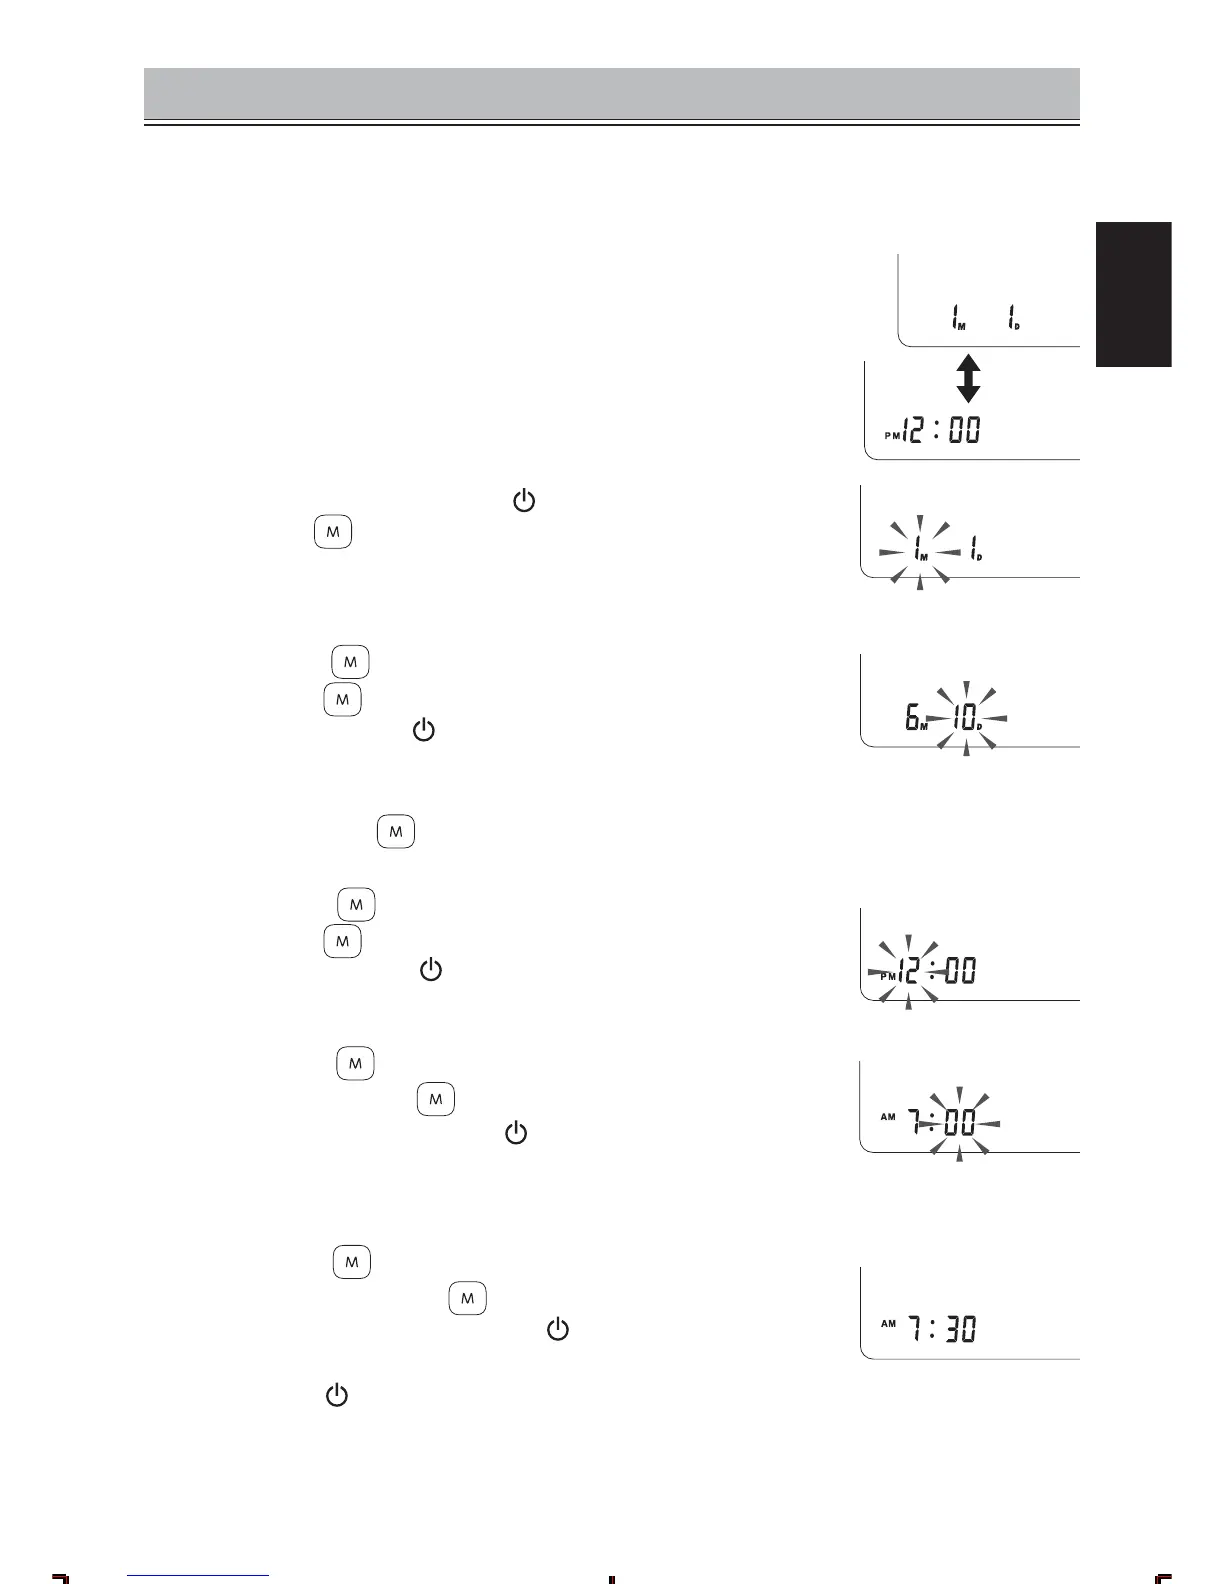
1 When you install the batteries for the first time, the
monitor will display time and date by turns.
2 Press and hold both the “
START/STOP” switch
and the “ MEMORY” switch for approximately
two seconds, a beep is heard and the “month”
indicator blinks at first.
3
P
re
ss the “ MEMORY” switch to adjust the “month”.
Press the “ MEMORY” switch to increase the number
by one. Press the “ START/STOP” switch to confirm the
setting. The “month” is set and the “day” indicator blinks.
* You can fast-forward the numbers in display by pressing
and holding the
MEMORY switch.
4 Press the “ MEMORY” switch to adjust the “day”.
Press the “ MEMORY” switch to increase the number
by one. Press the “
START/STOP” switch to confirm
the setting. The “day” is set and the “hour” indicator blinks.
5
P
ress
the “ MEMORY” switch to adjust the
“hour”.
Press the “ MEMORY” switch to increase the
number by one. Press the “ START/STOP” switch to
confirm the setting. The “hour” is set and the “minutes”
indicator blinks.
6 Press t
he “ MEMORY” switch to adjust the
“minutes”.
Press the “ MEMORY” switch to increase
the number by one. Press the “
START/STOP” switch to
confirm the setting.
* Press the “
START/STOP” with the time signal on the
radio, etc. to complete clock adjustment.
00CHU304All.indbEng-82015/06/0211:00:49